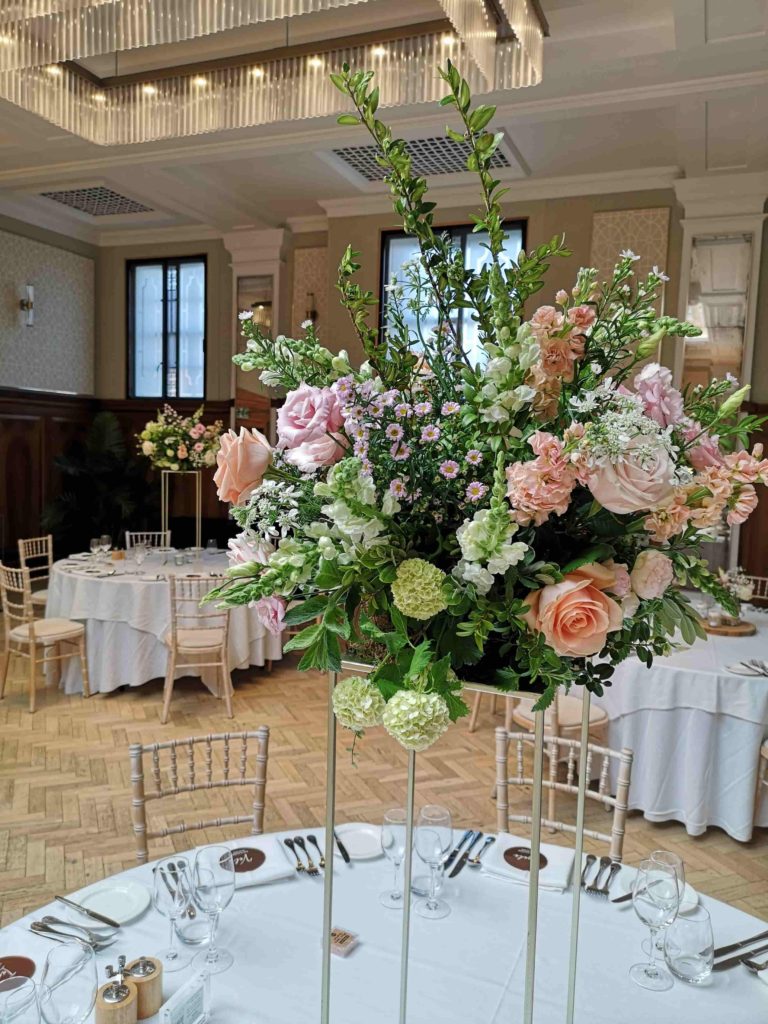
Foam free elevated table centre
Since I wrote this original post in 2019 I have continued to learn and develop new techniques and I’ve updated with another method I used for this arrangement at the end of 2021.
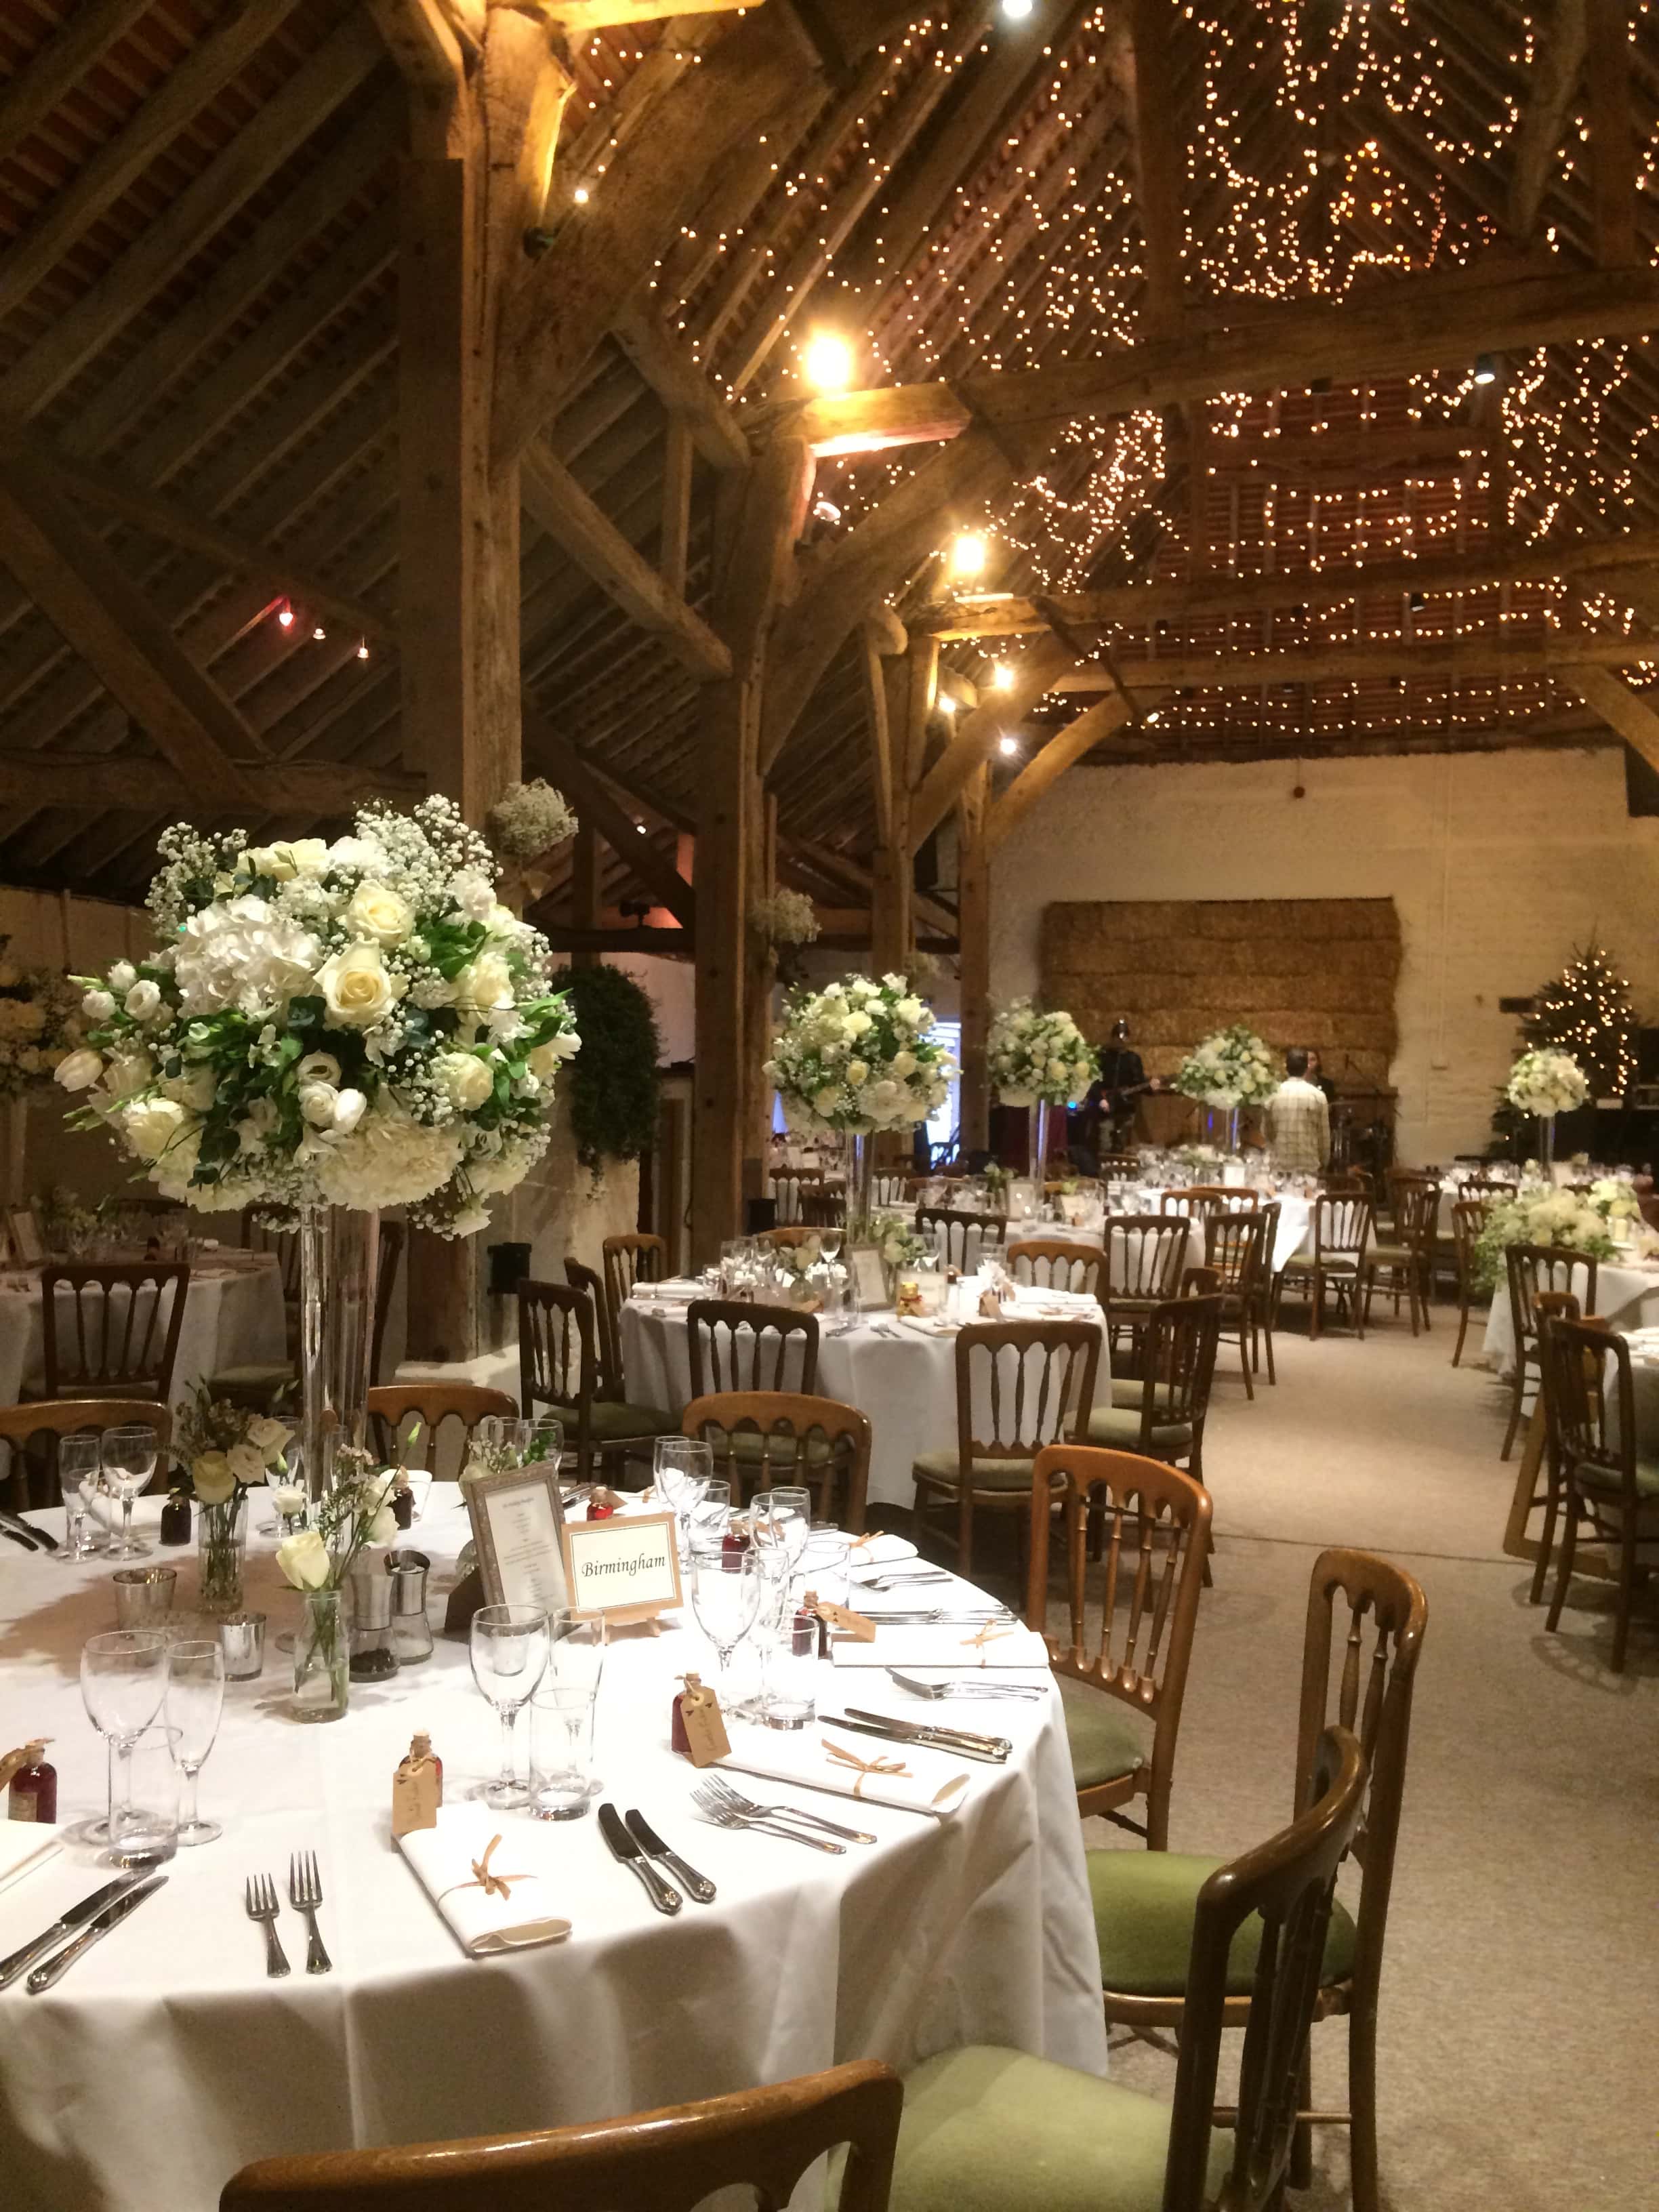
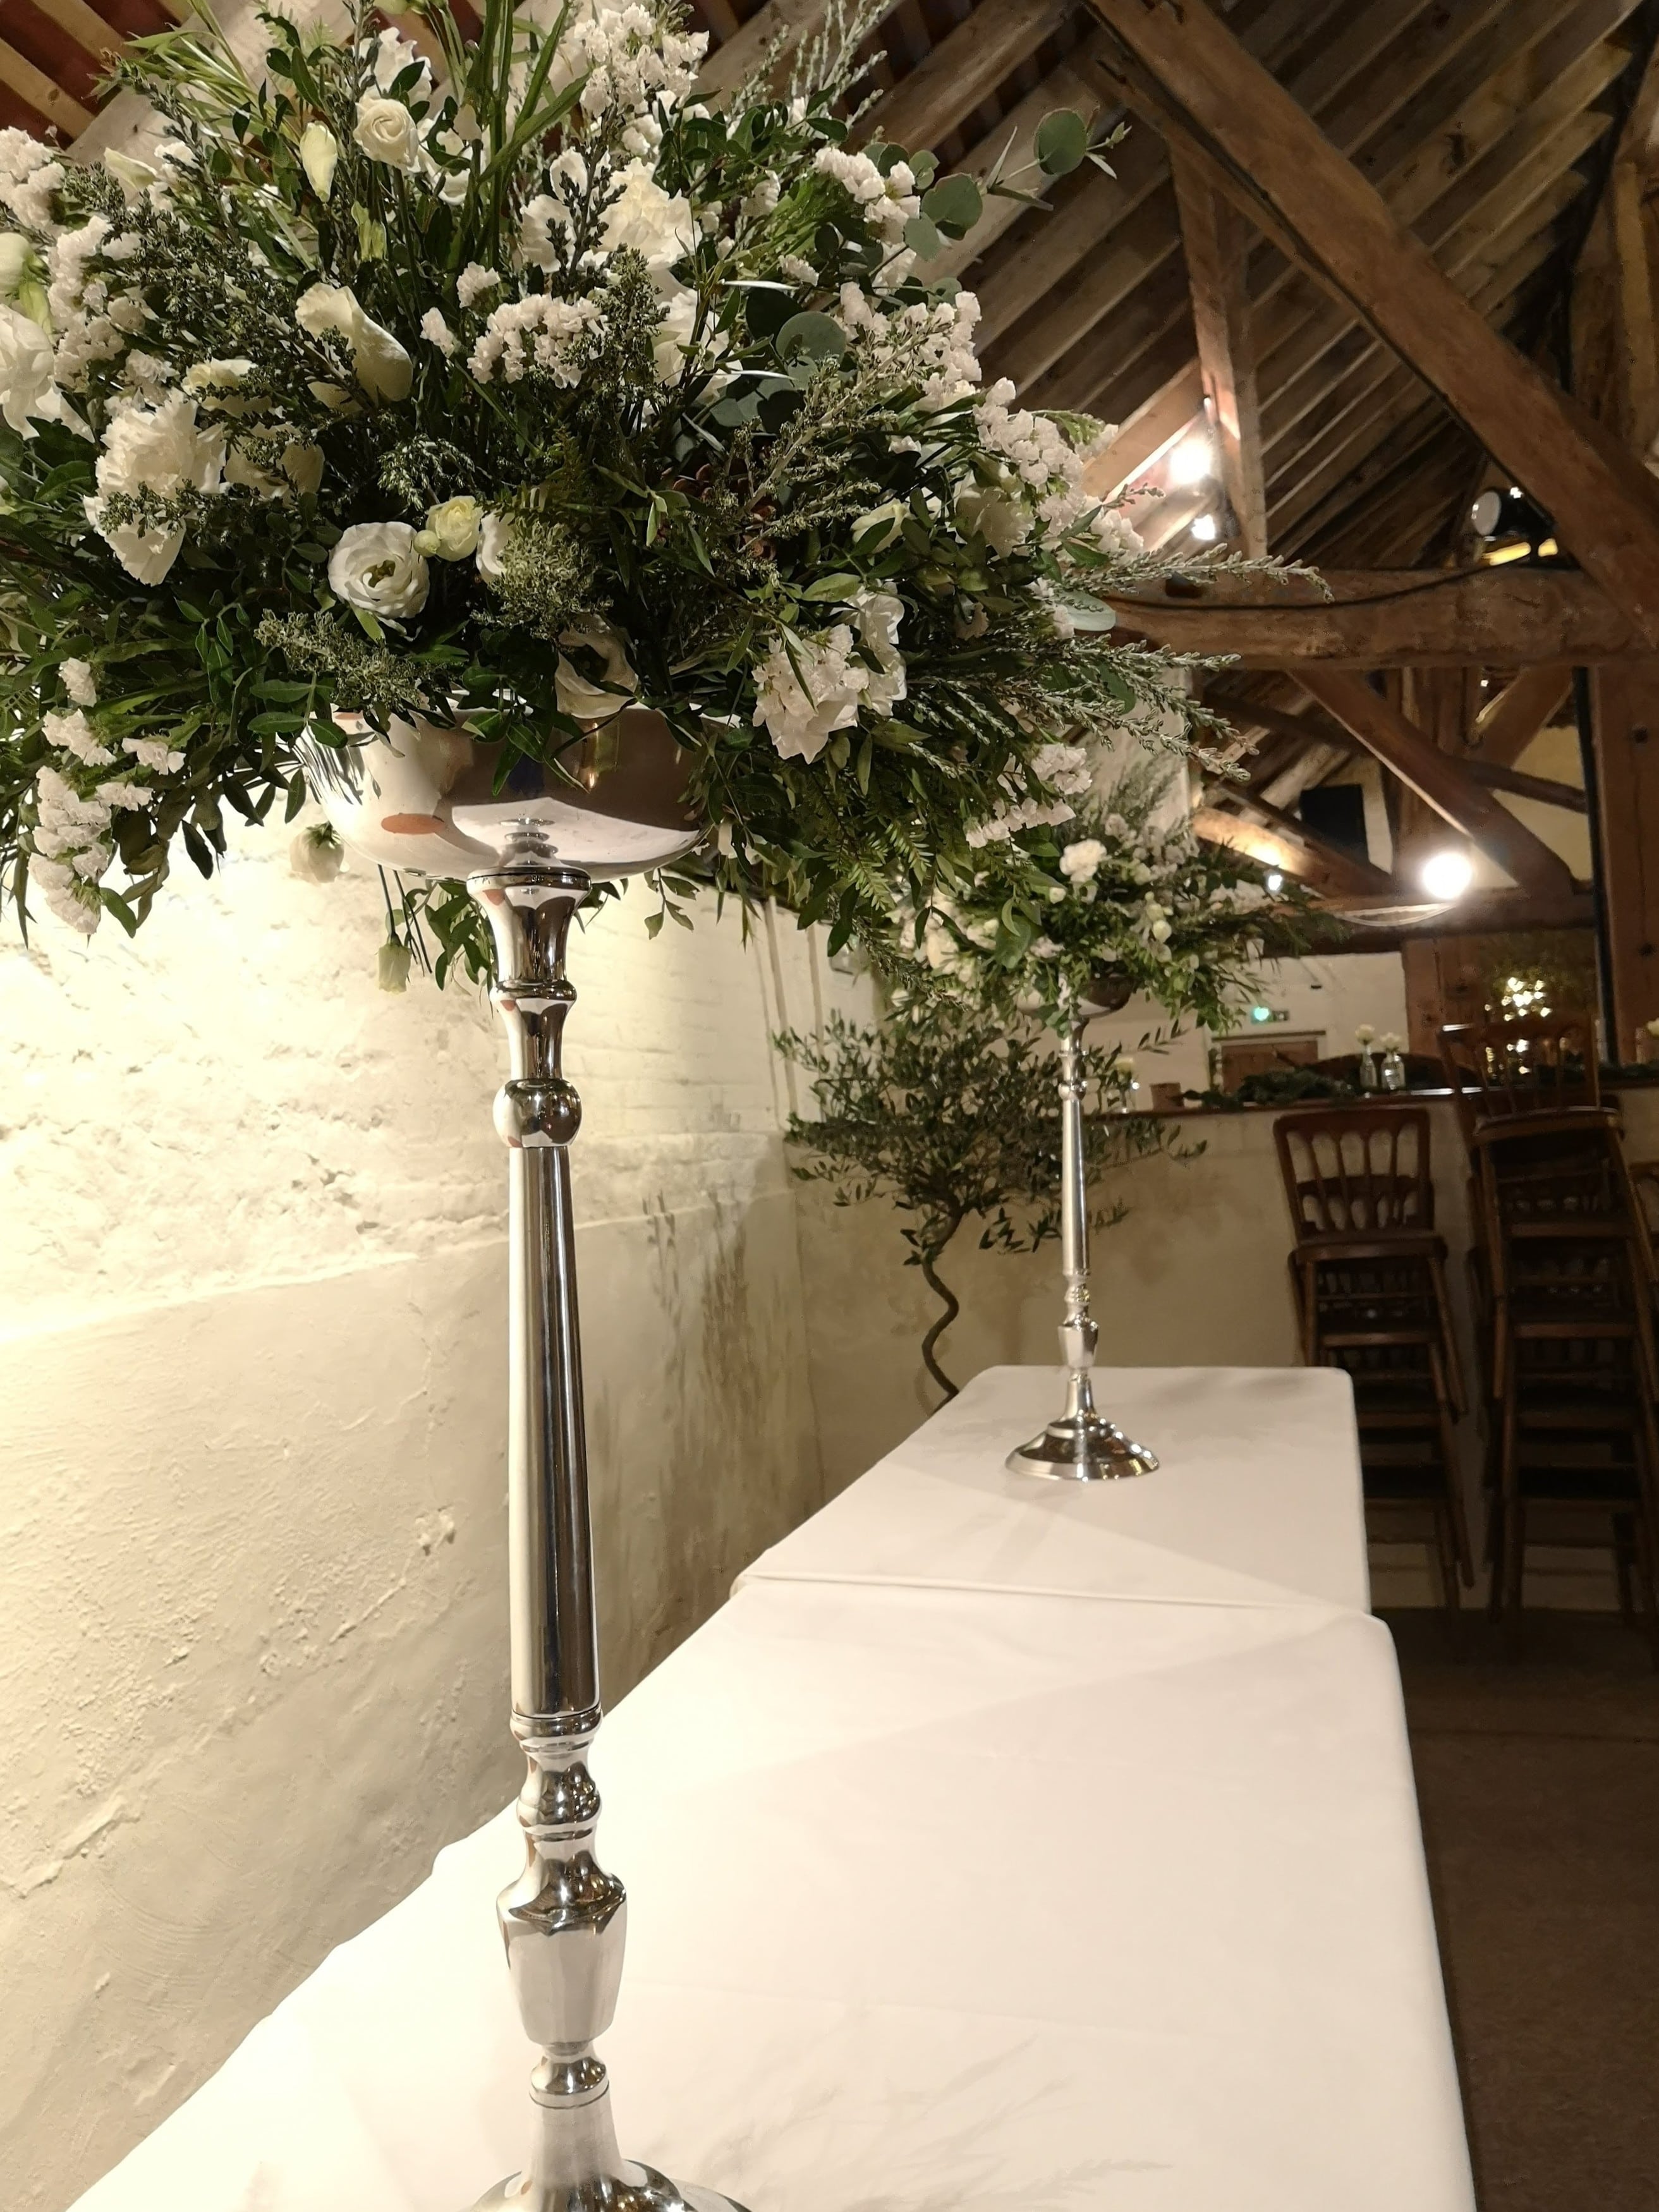
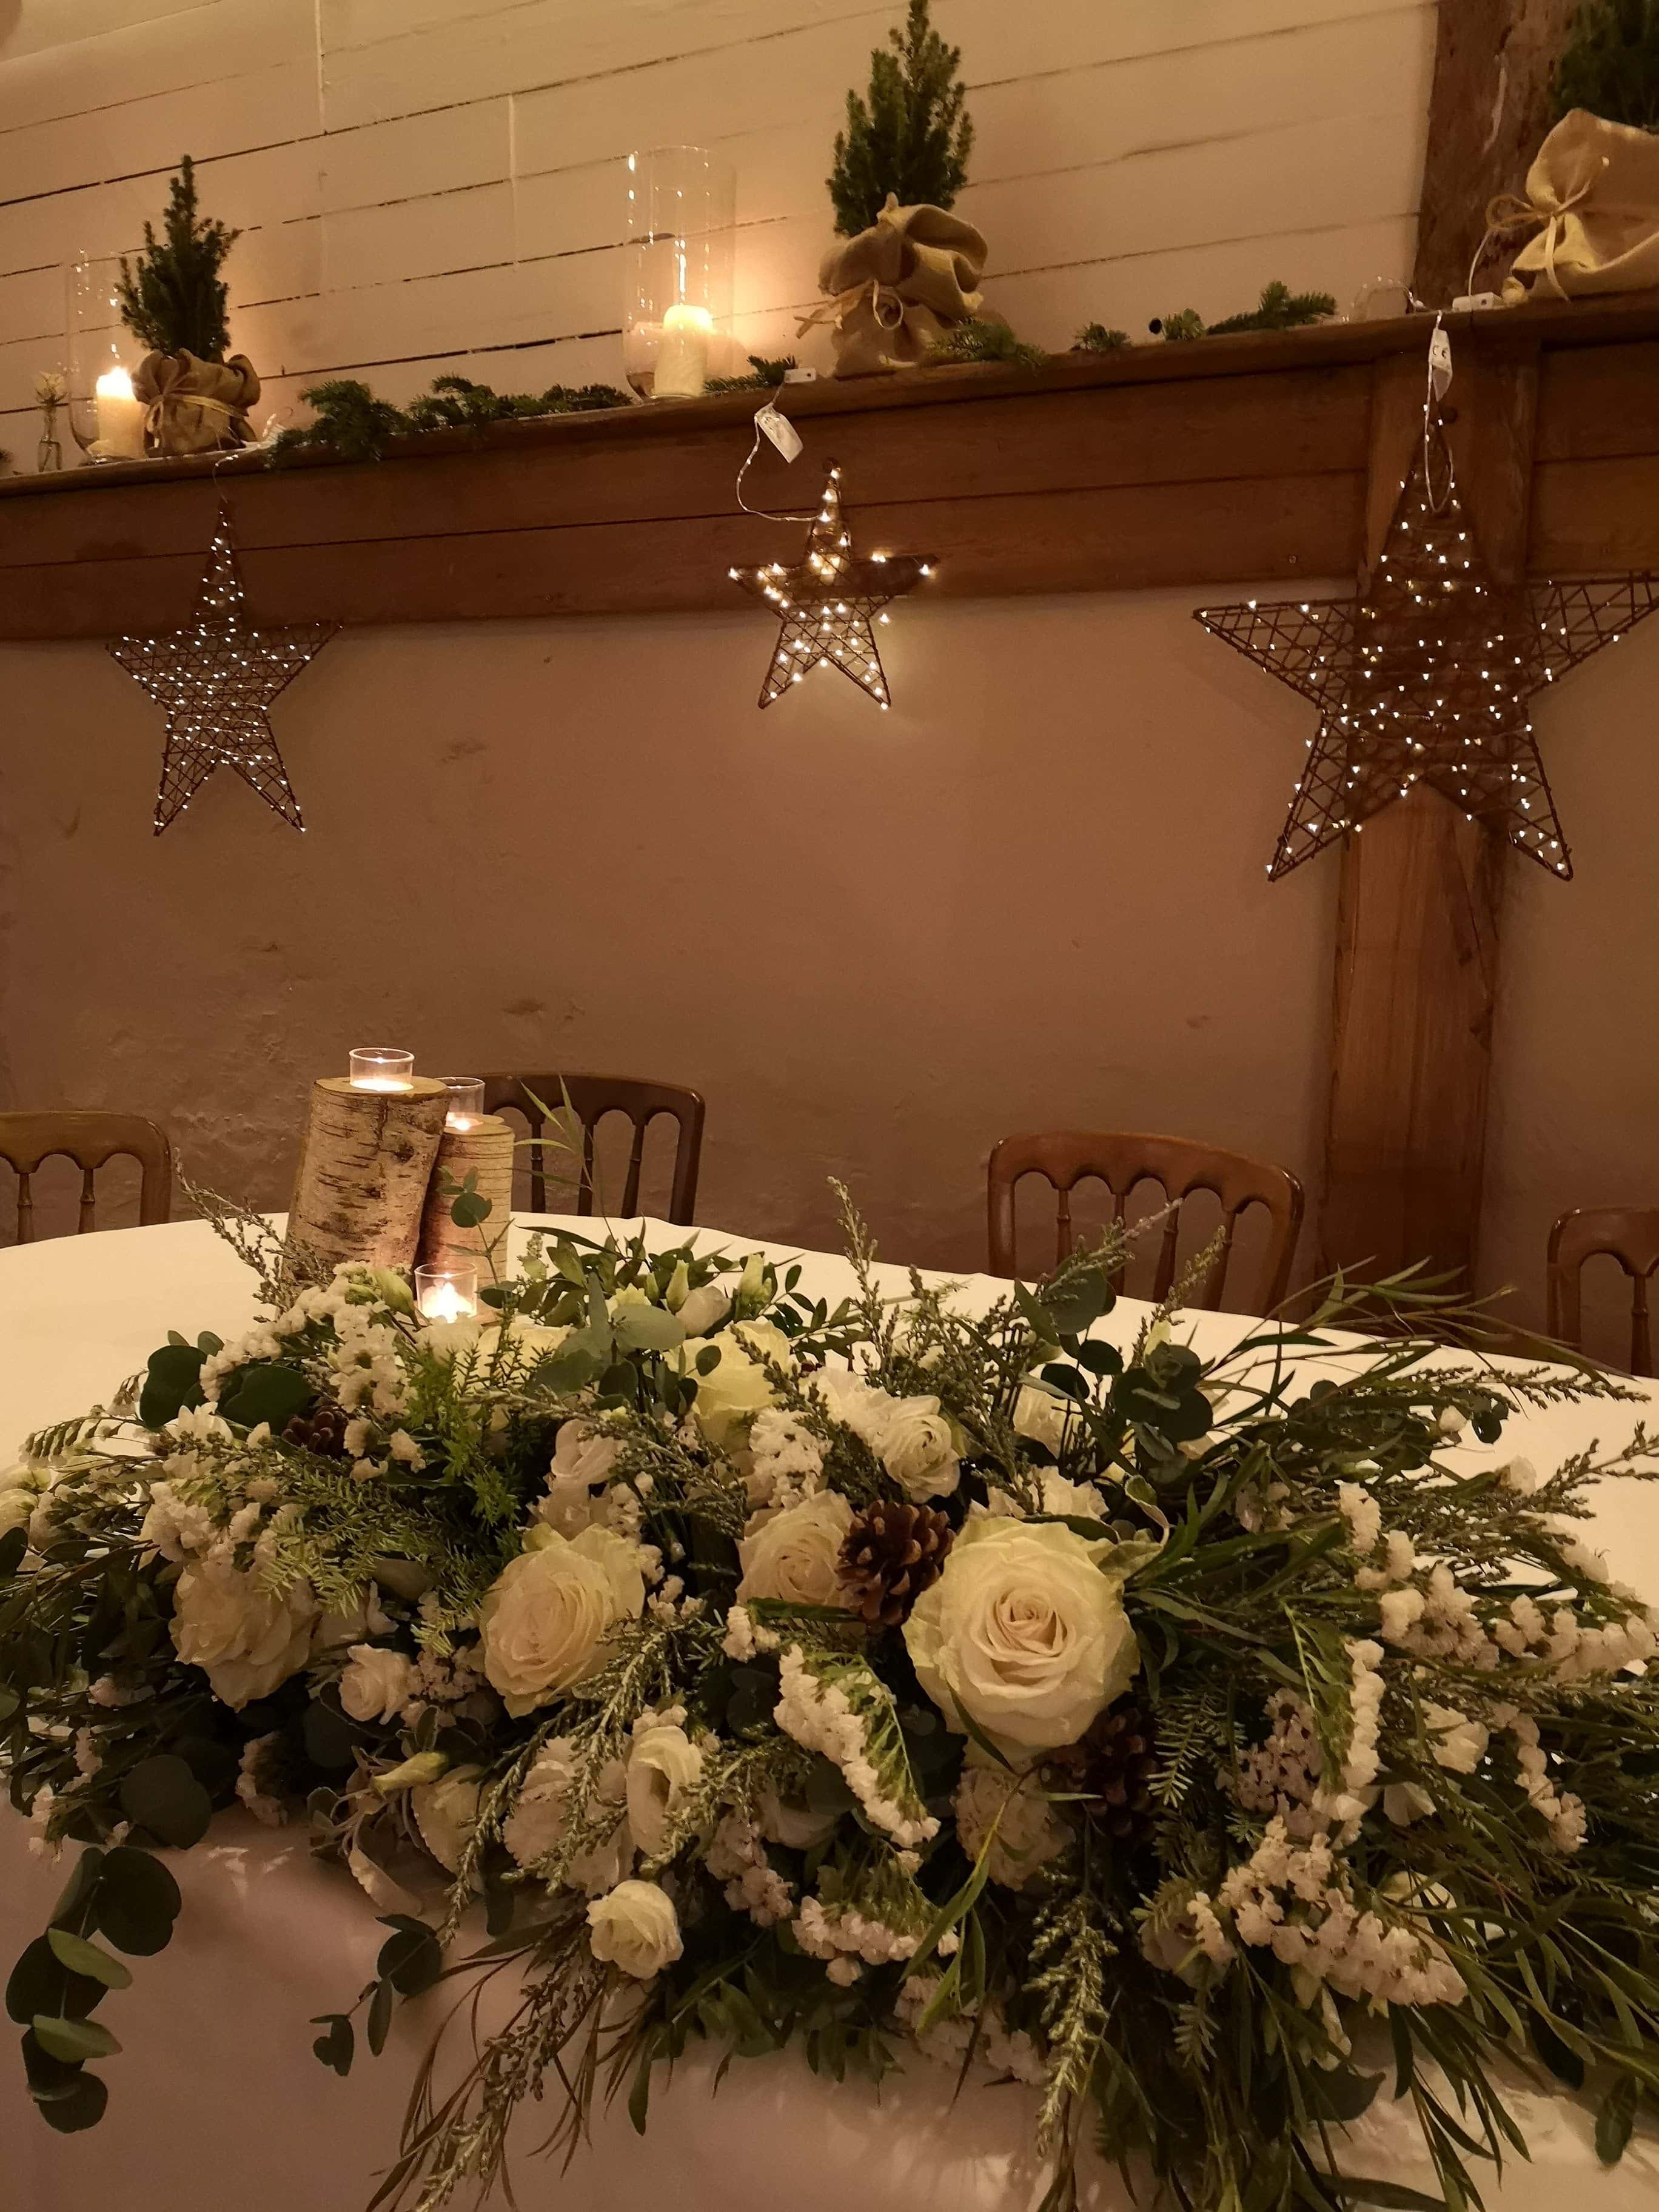
The classic tall ball of flowers is a very popular design at weddings, and for good reason – it’s beautiful and bursting full of flowers! An elevated floral design really adds impact to the room as it allows you to see the table flowers as soon as you enter. This has also been the hardest floral design to get to grips with whilst working foam free. I created a very similar design in 2016 for a Christmas wedding (also at Pangdean Barn like the one pictured below!) and I was really stumped with how to move forward without using foam. In the end that’s exactly what I did, I didn’t feel confident enough in an alternative way of working in this particular design. I know that’s still how a lot of florists feel now so hopefully this post can help with that. Part of the problem when you are working on weddings and events, it’s a very pressured and scary time to be testing out new ways of working – you really want your methods to be tried and tested before using them on someones wedding day!
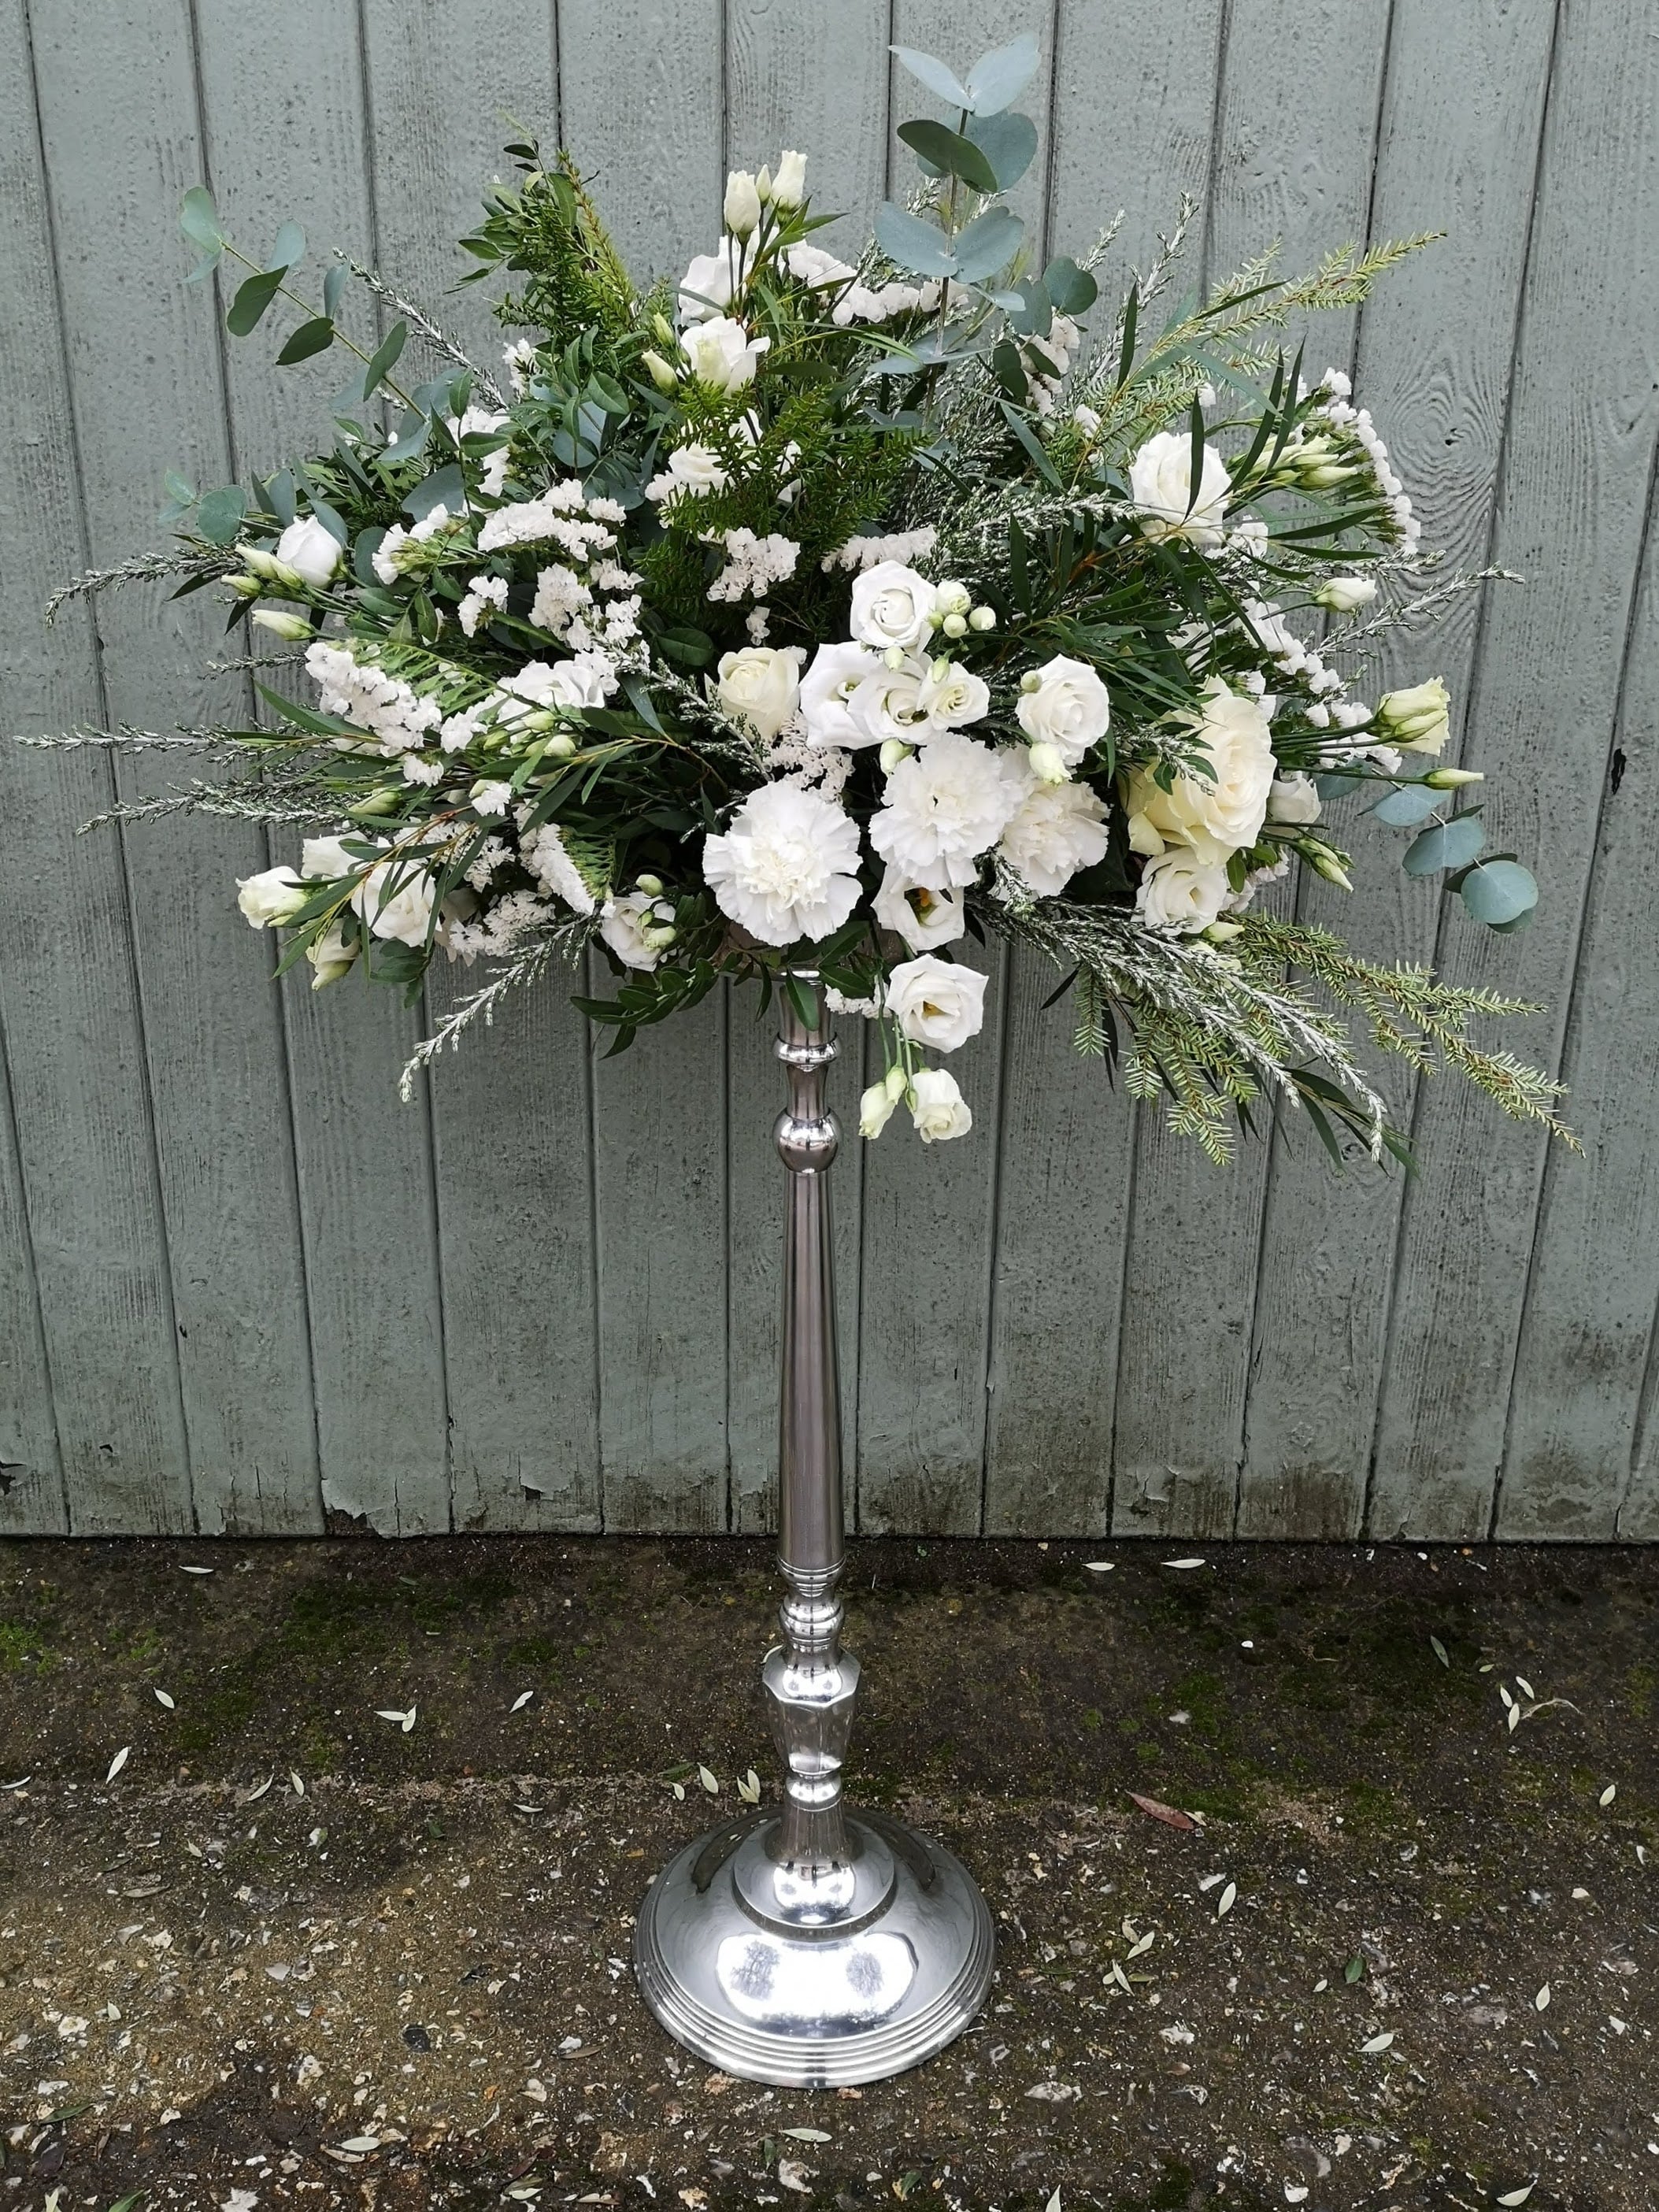
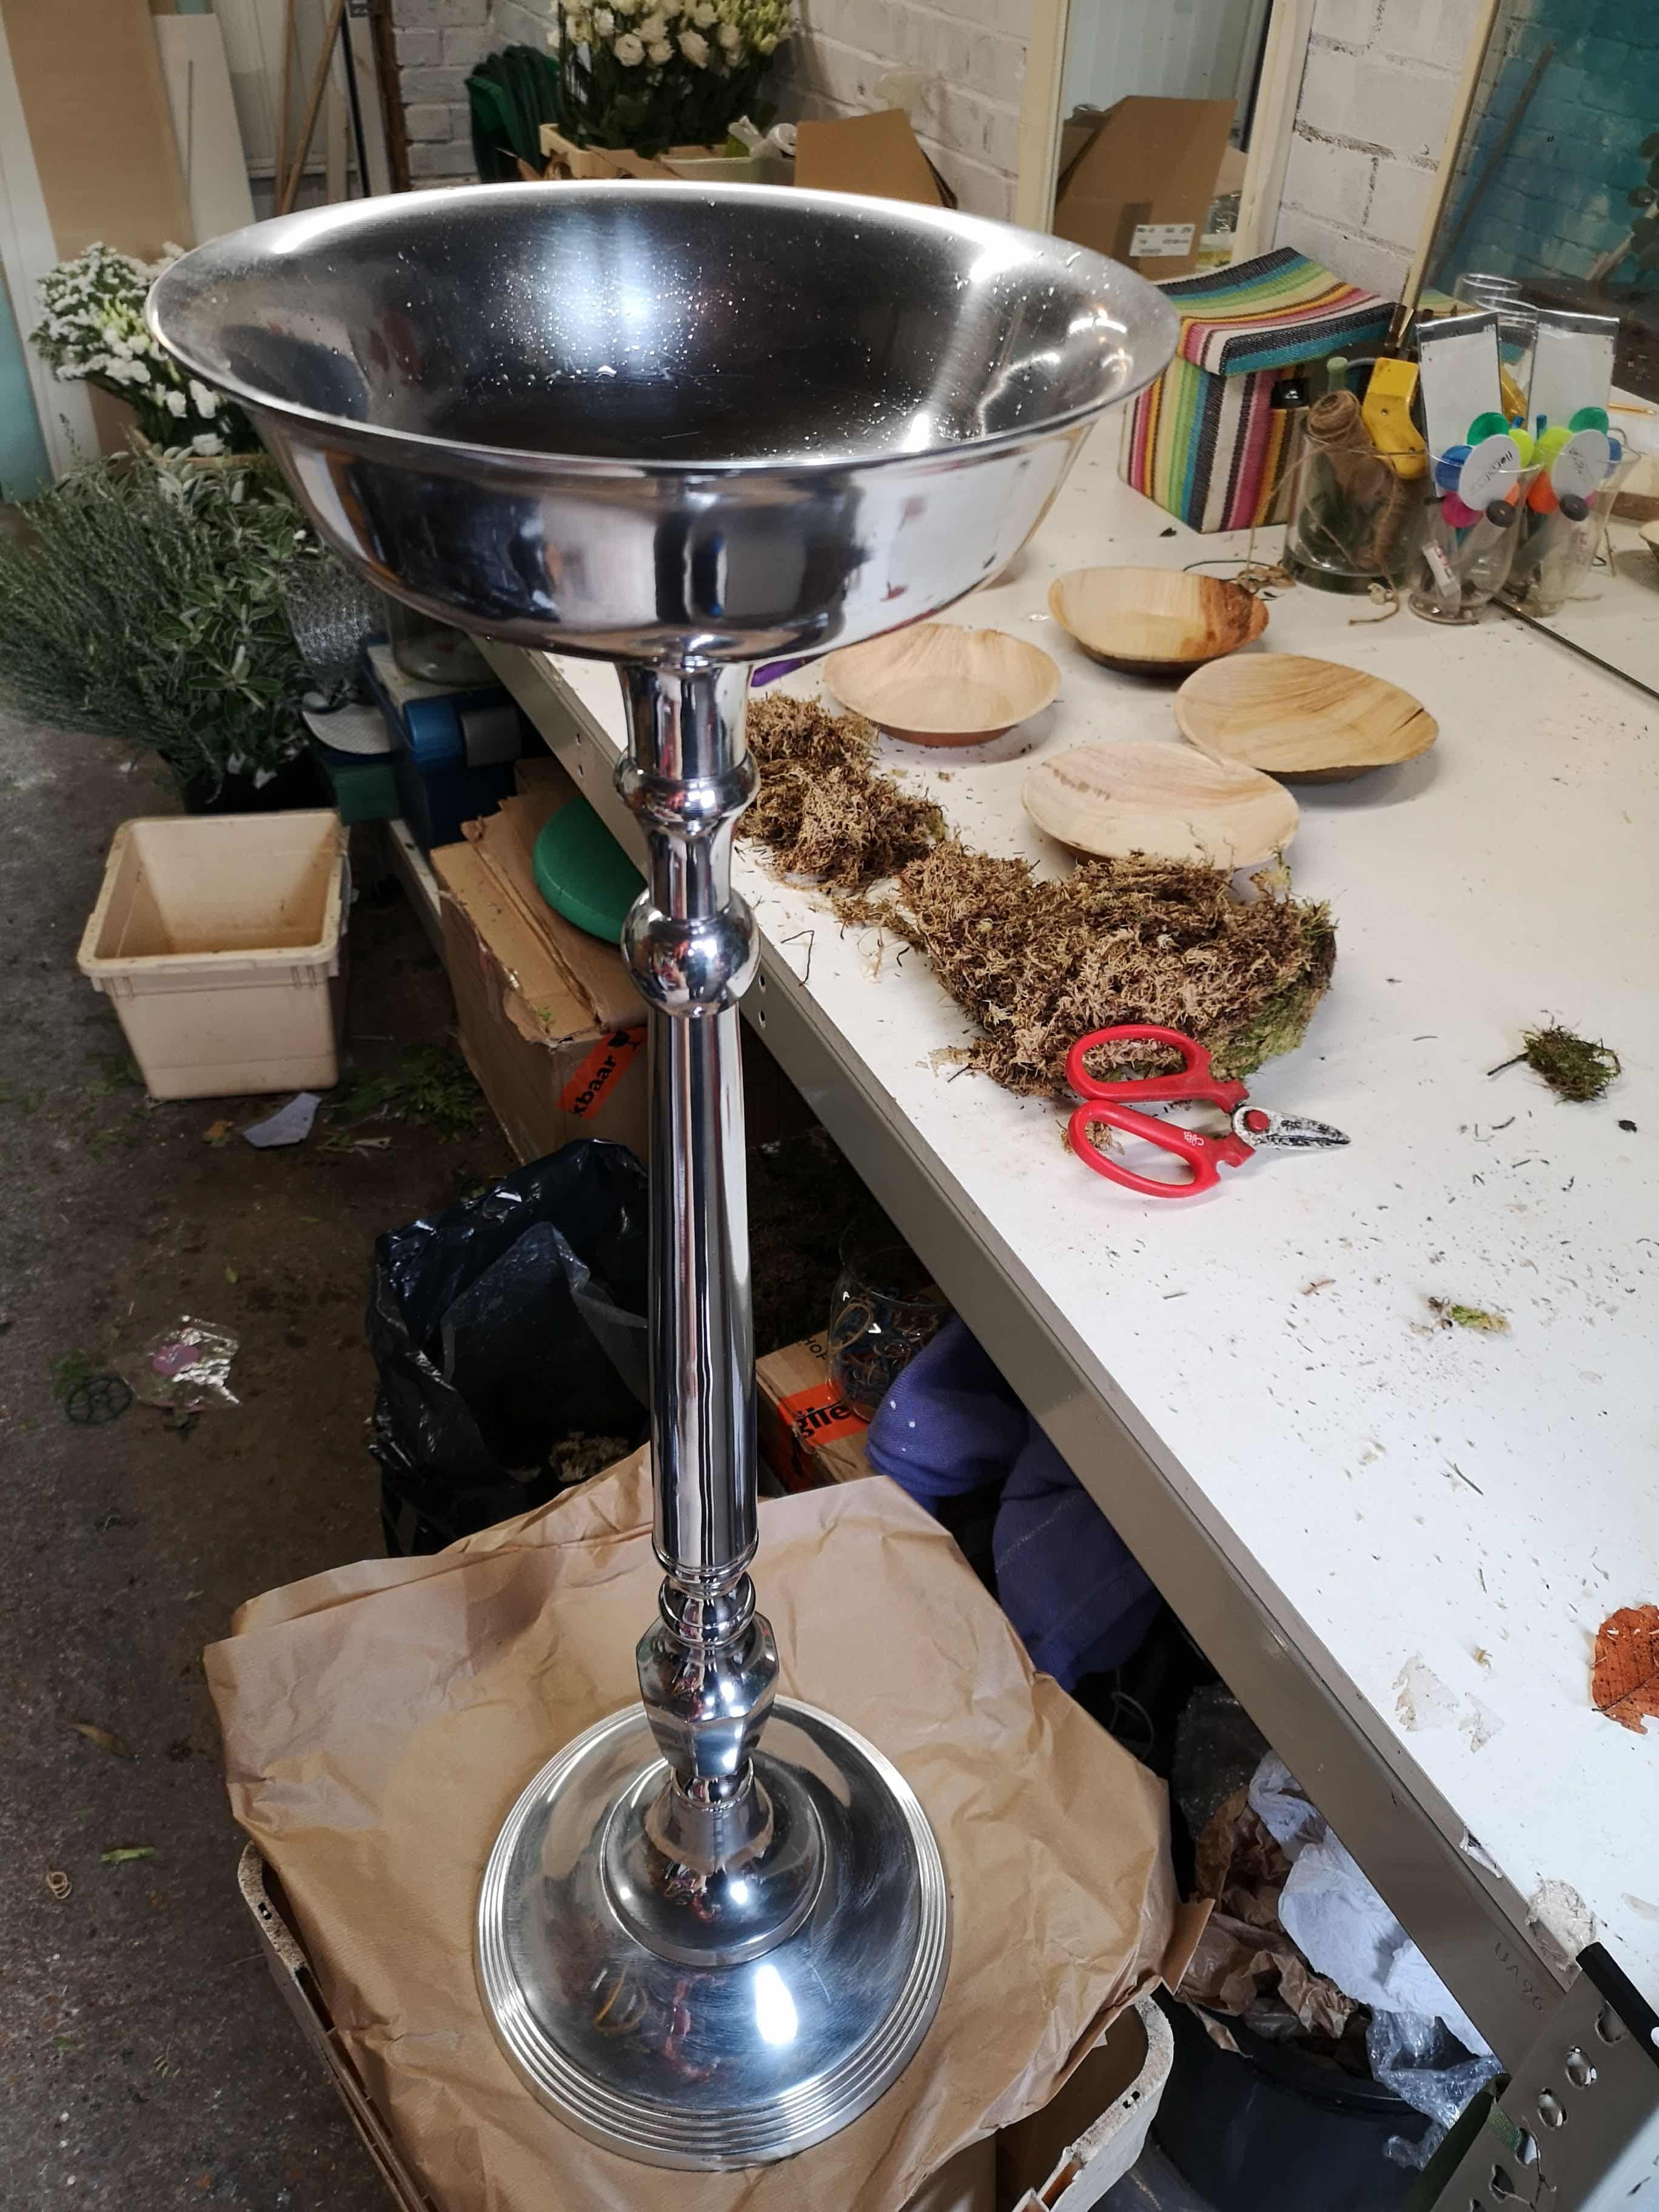
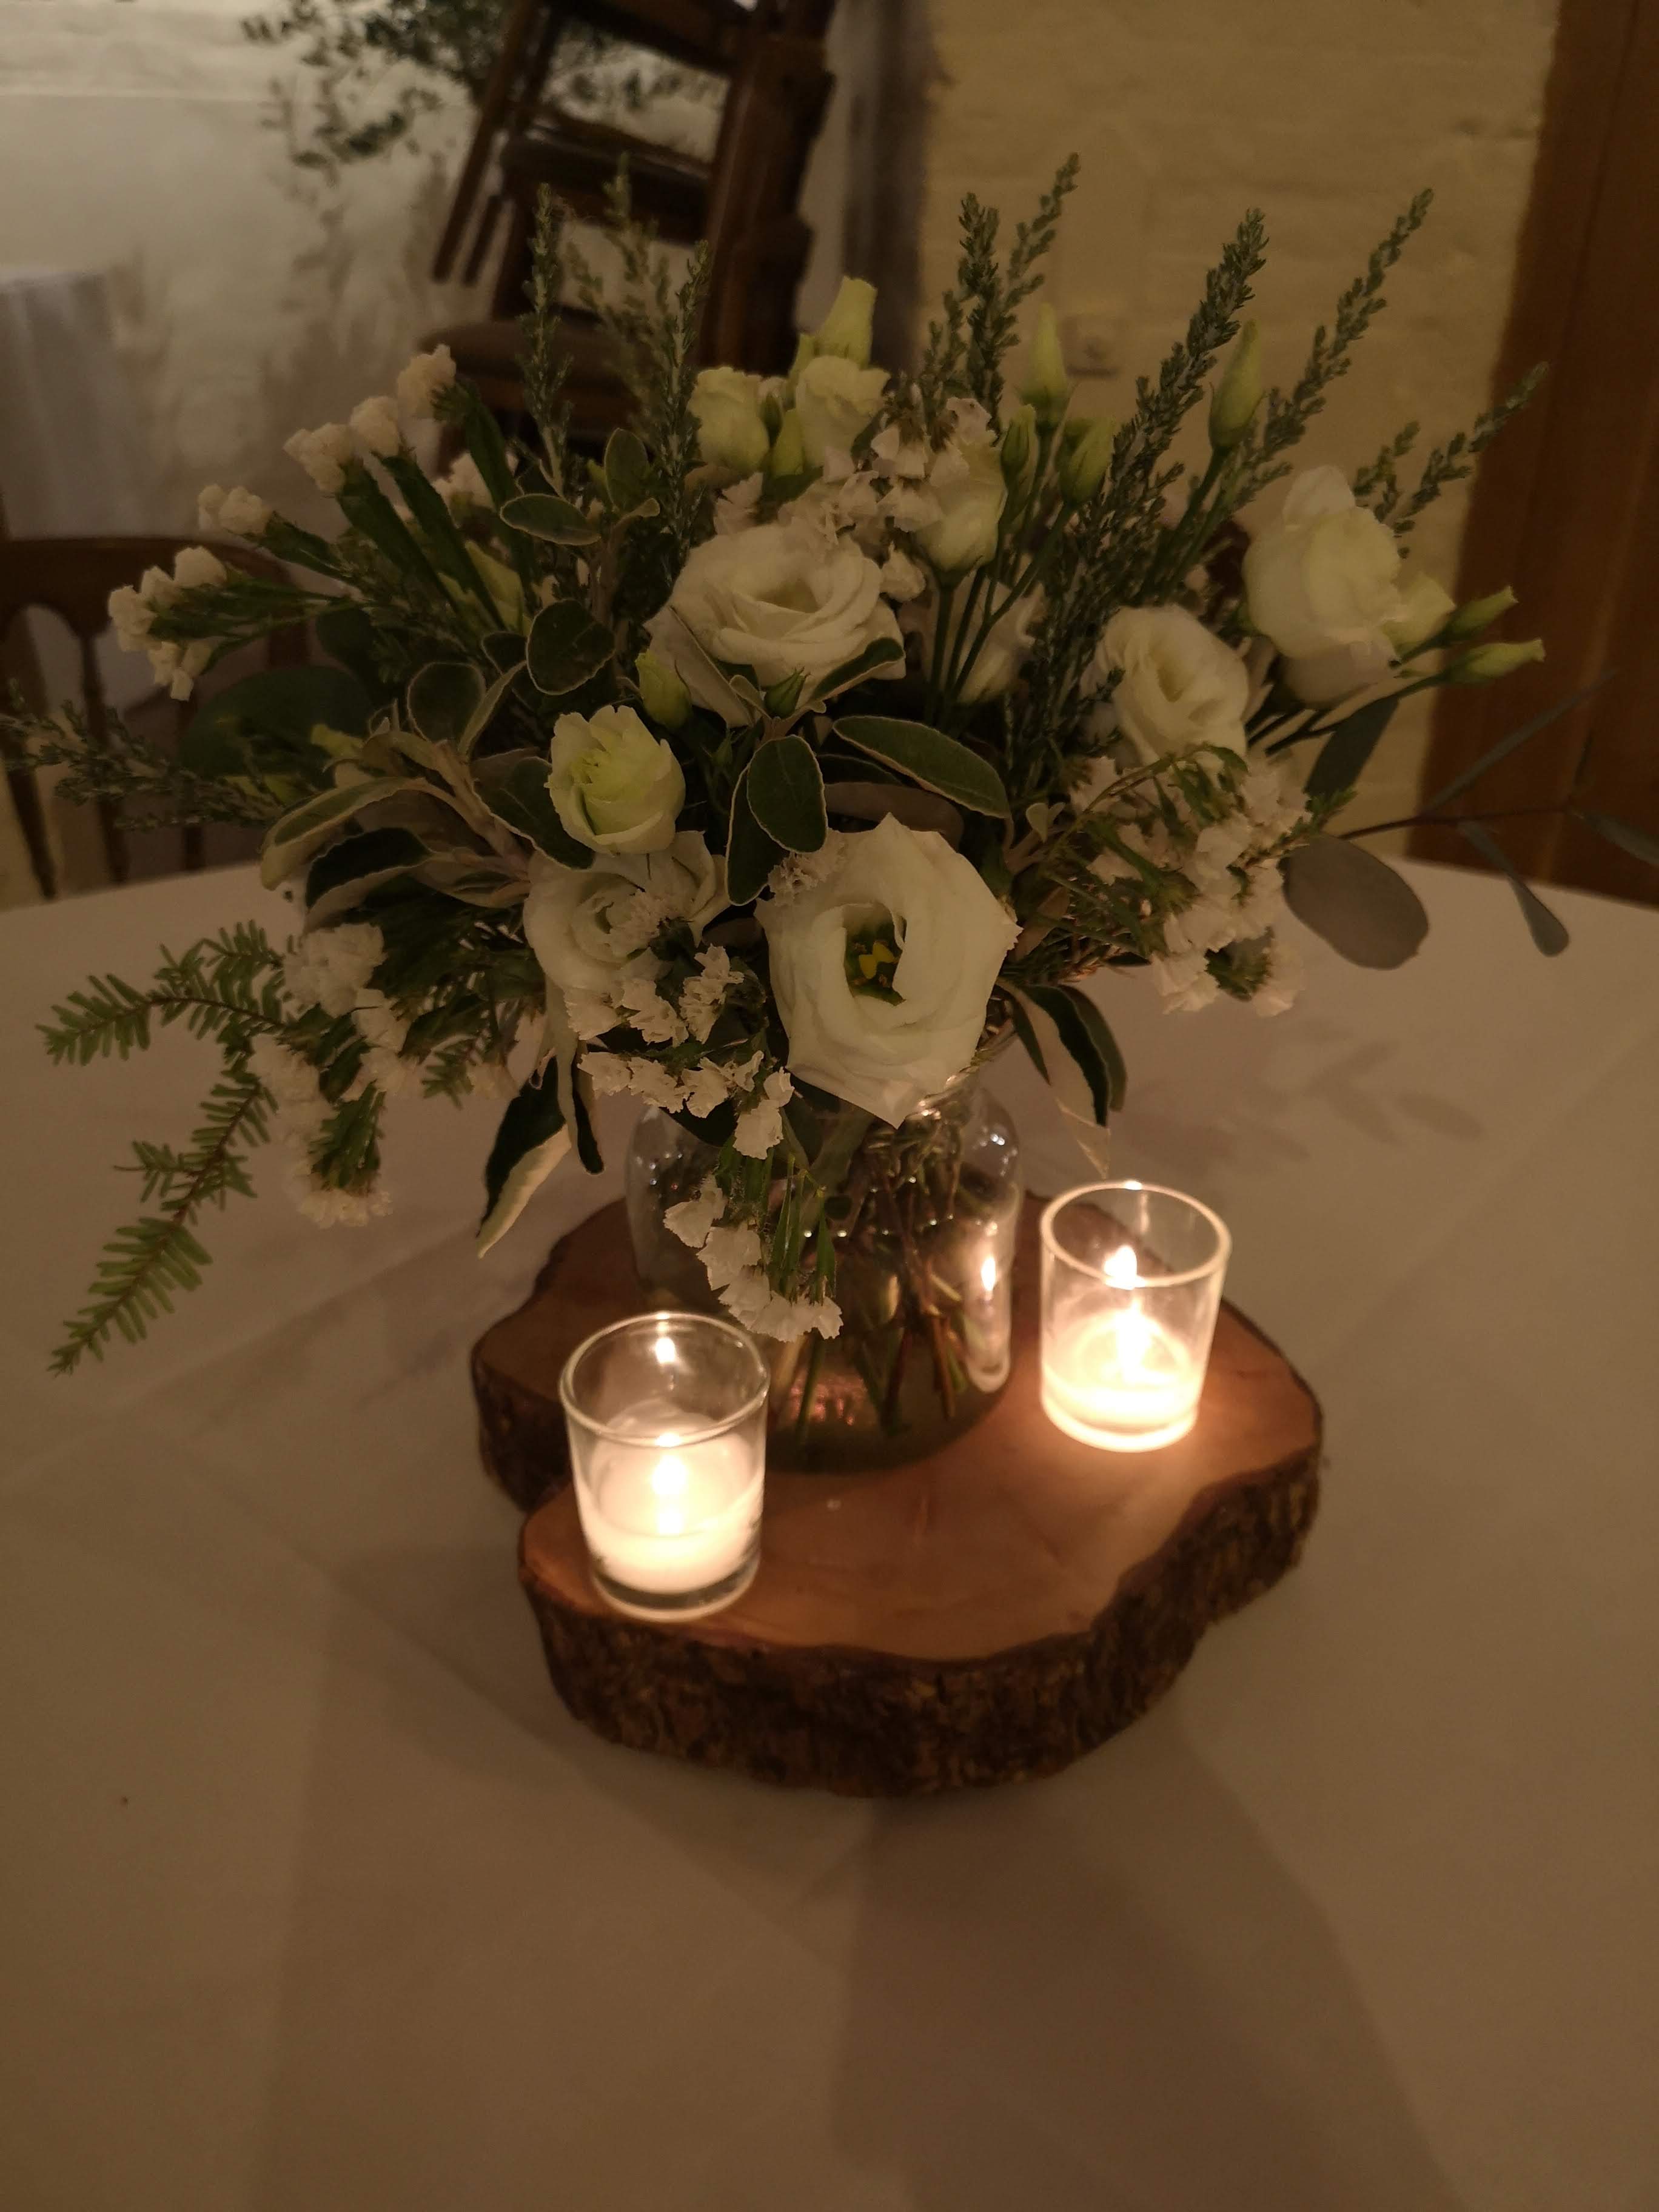
Below are the two very similar designs, the one on the left in foam and the right in moss. The main reason that the arrangement on the right was much easier to construct foam free was the choice of container, the silver candelabra style stand has a bowl at the top making it easy to place a container of moss or bowl water and chickenwire (which I will try next) The style to left is the classic third of a brick of foam in a plastic dish which is placed on the top of a glass vase. If you are wanting an eco friendly wedding and you like the design to the left make sure you talk to your florist about alternatives to foam. Don’t just assume that they will be working foam free because they’ve vaguely mentioned being environmentally conscious on their website!
Here is how the designs were made.
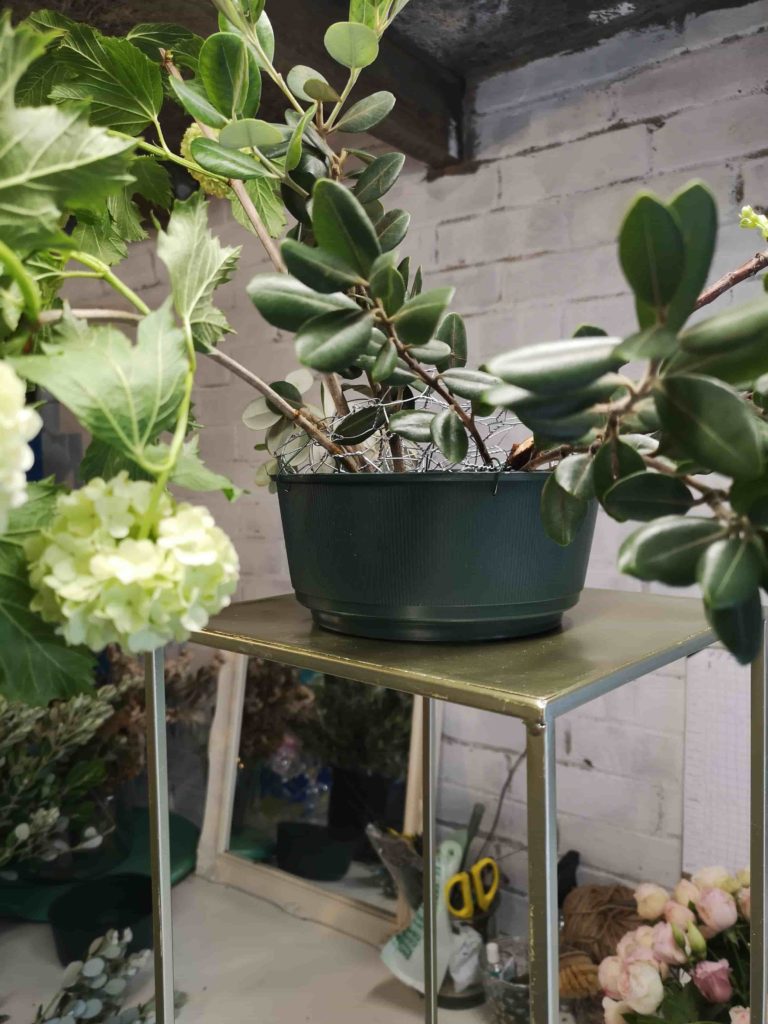
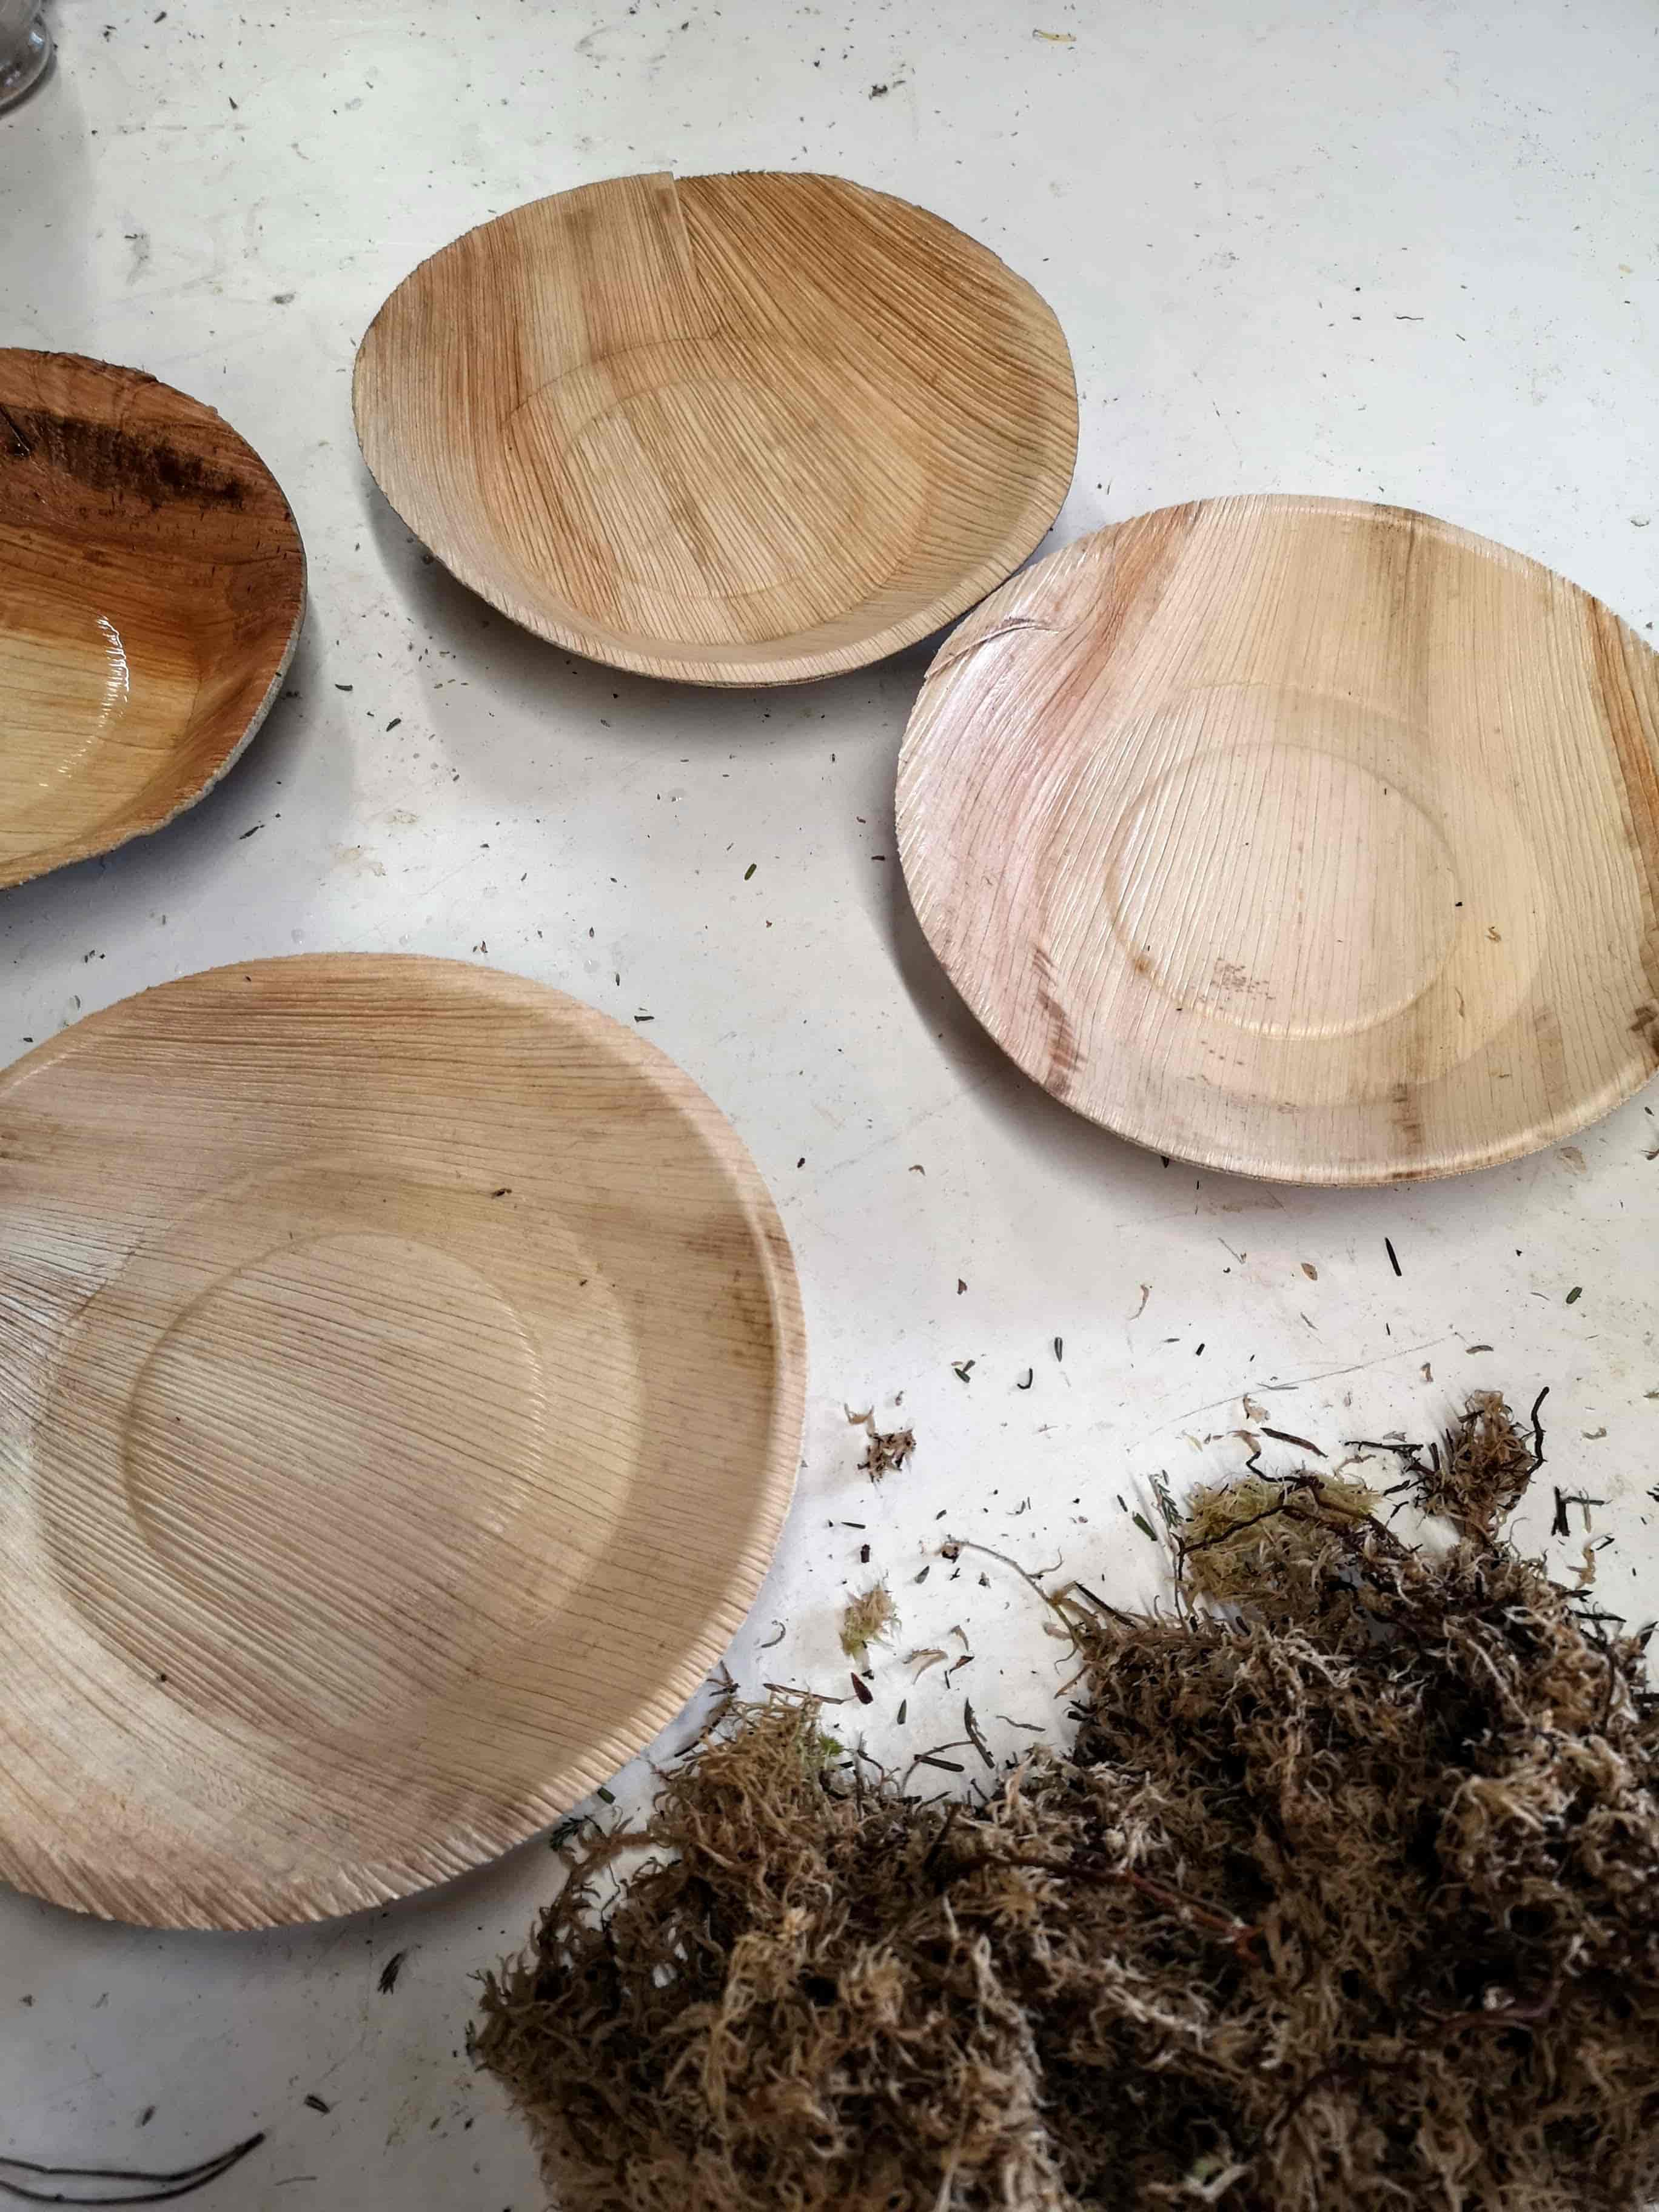
Step 1: Gather big mounds of moss and squish down into bamboo (or whatever bowl you choose) You need to make sure there’s a good few inches of moss to hold stems in place. Then bind with twine (or whatever you choose) I decided to keep these completely biodegradable but it’s up to you what you do. Below I’ve shown the steps I took to create this elevated design.
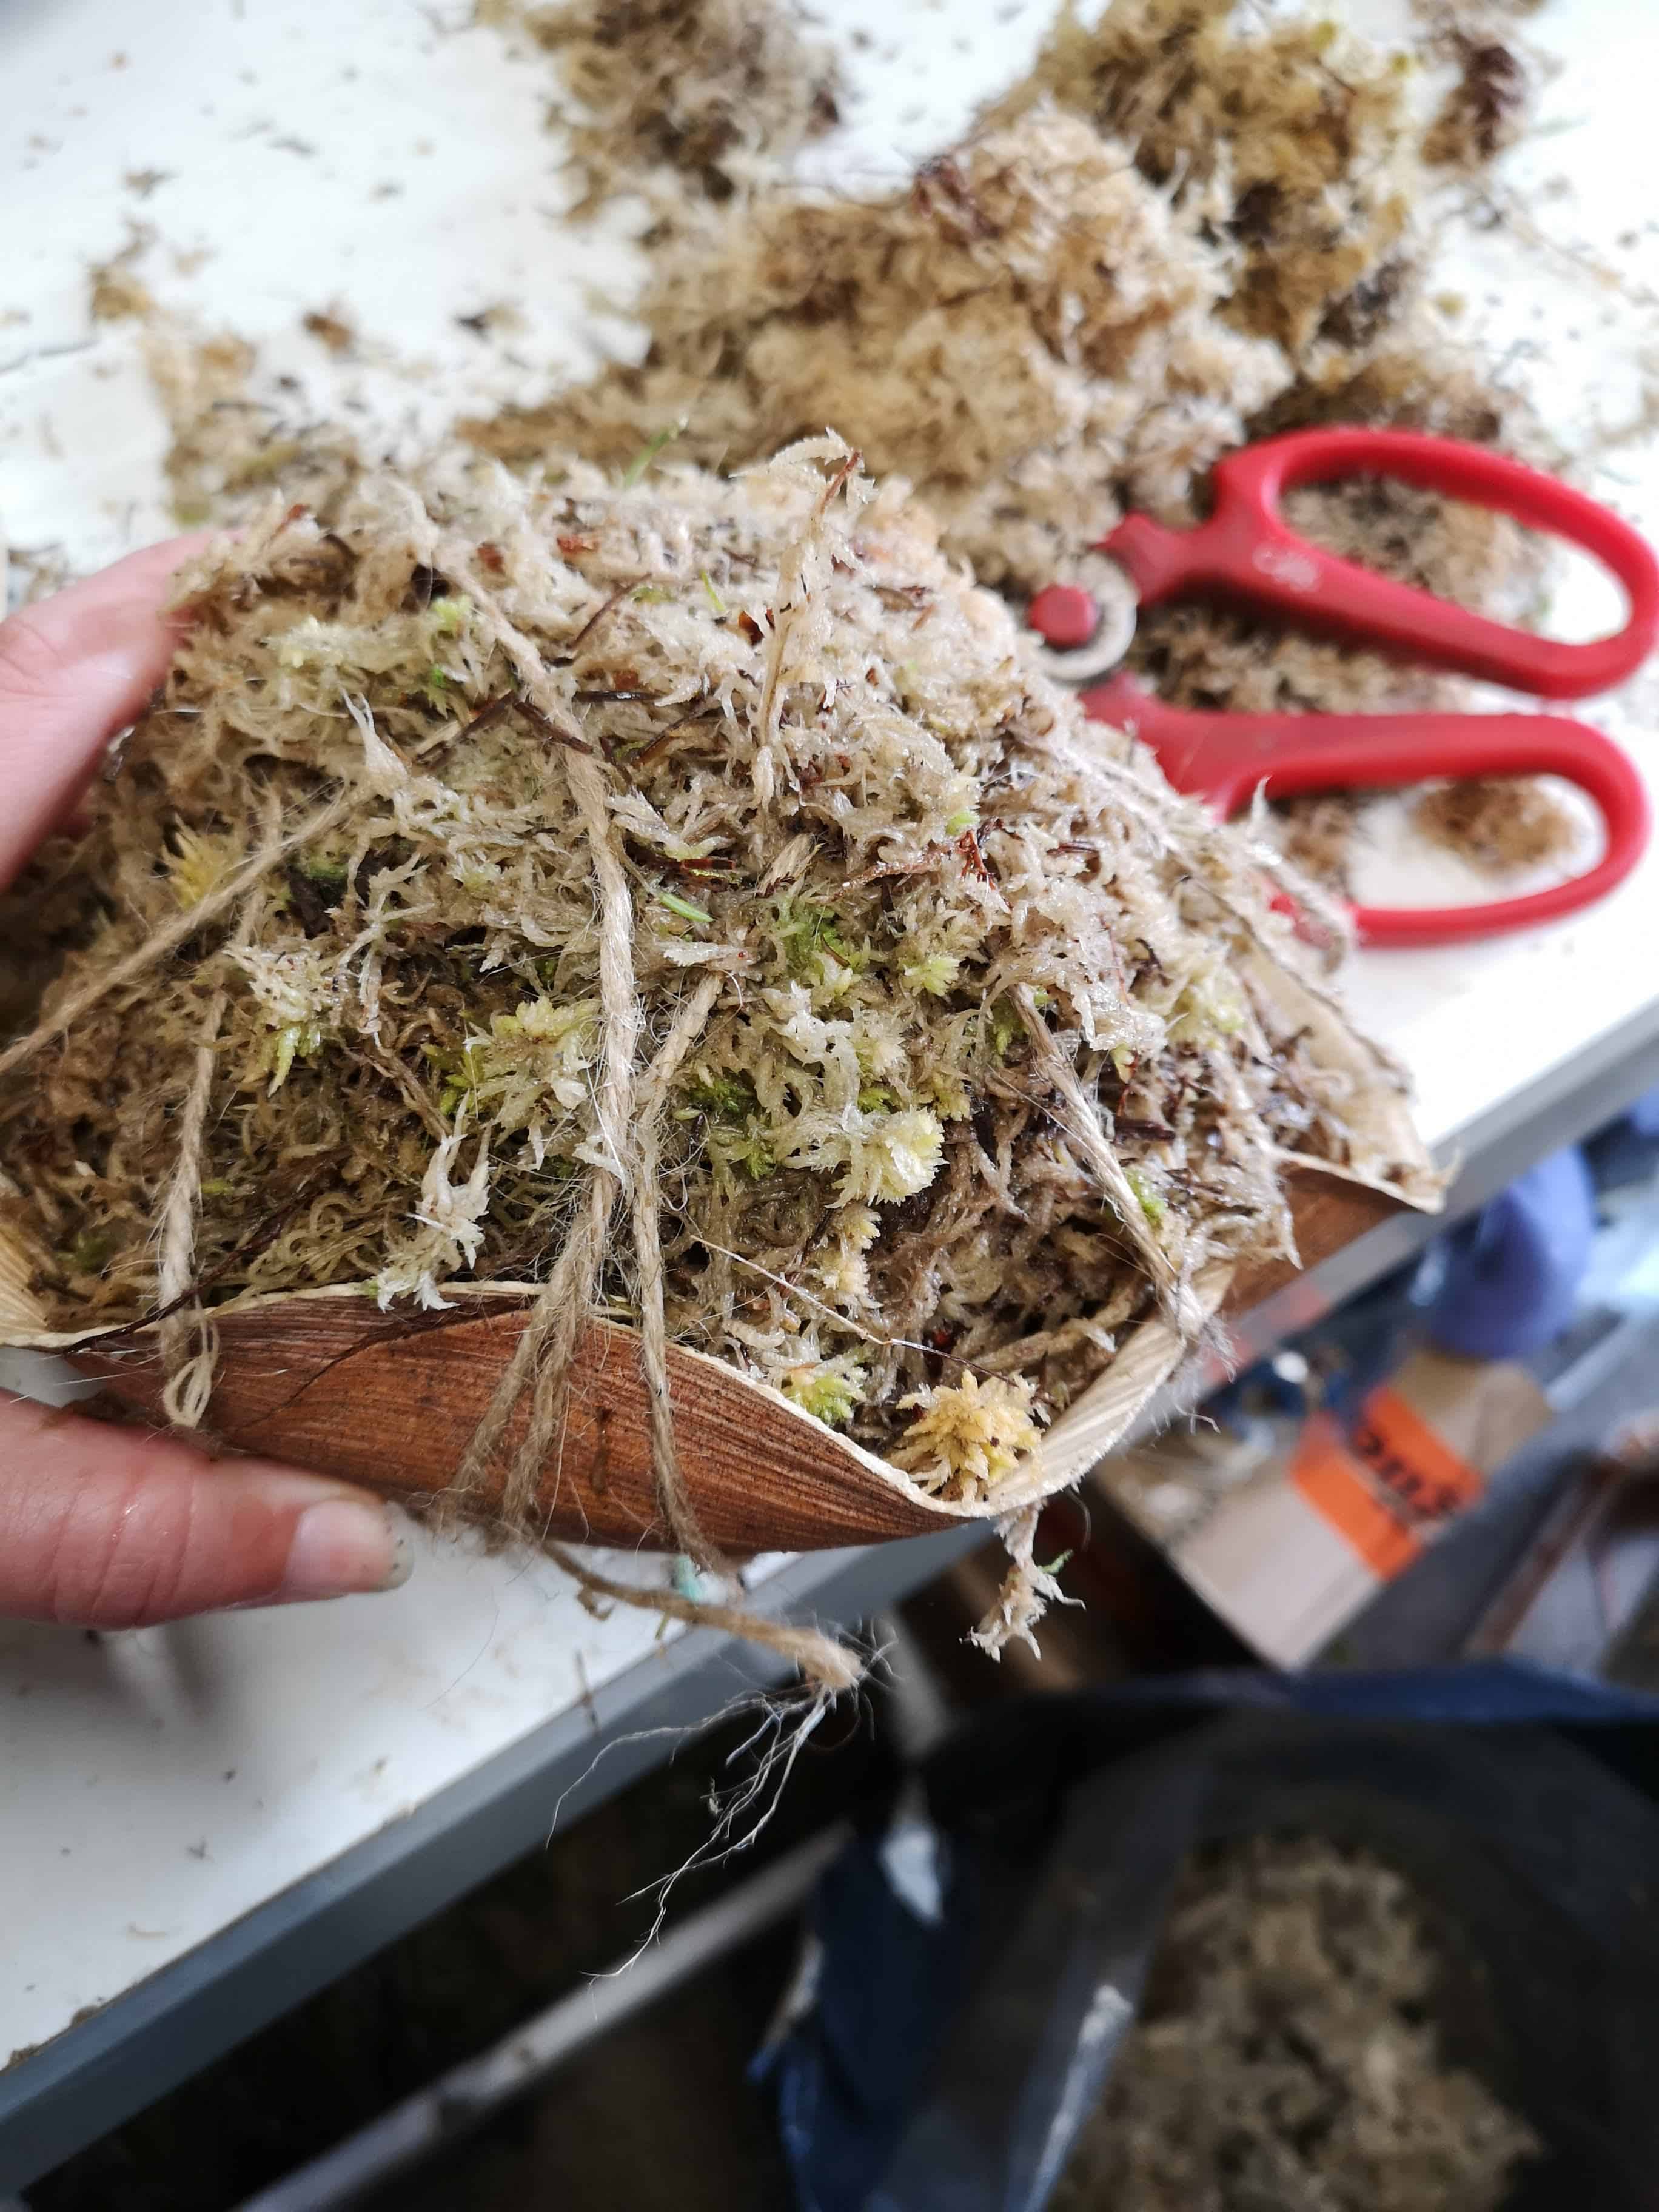
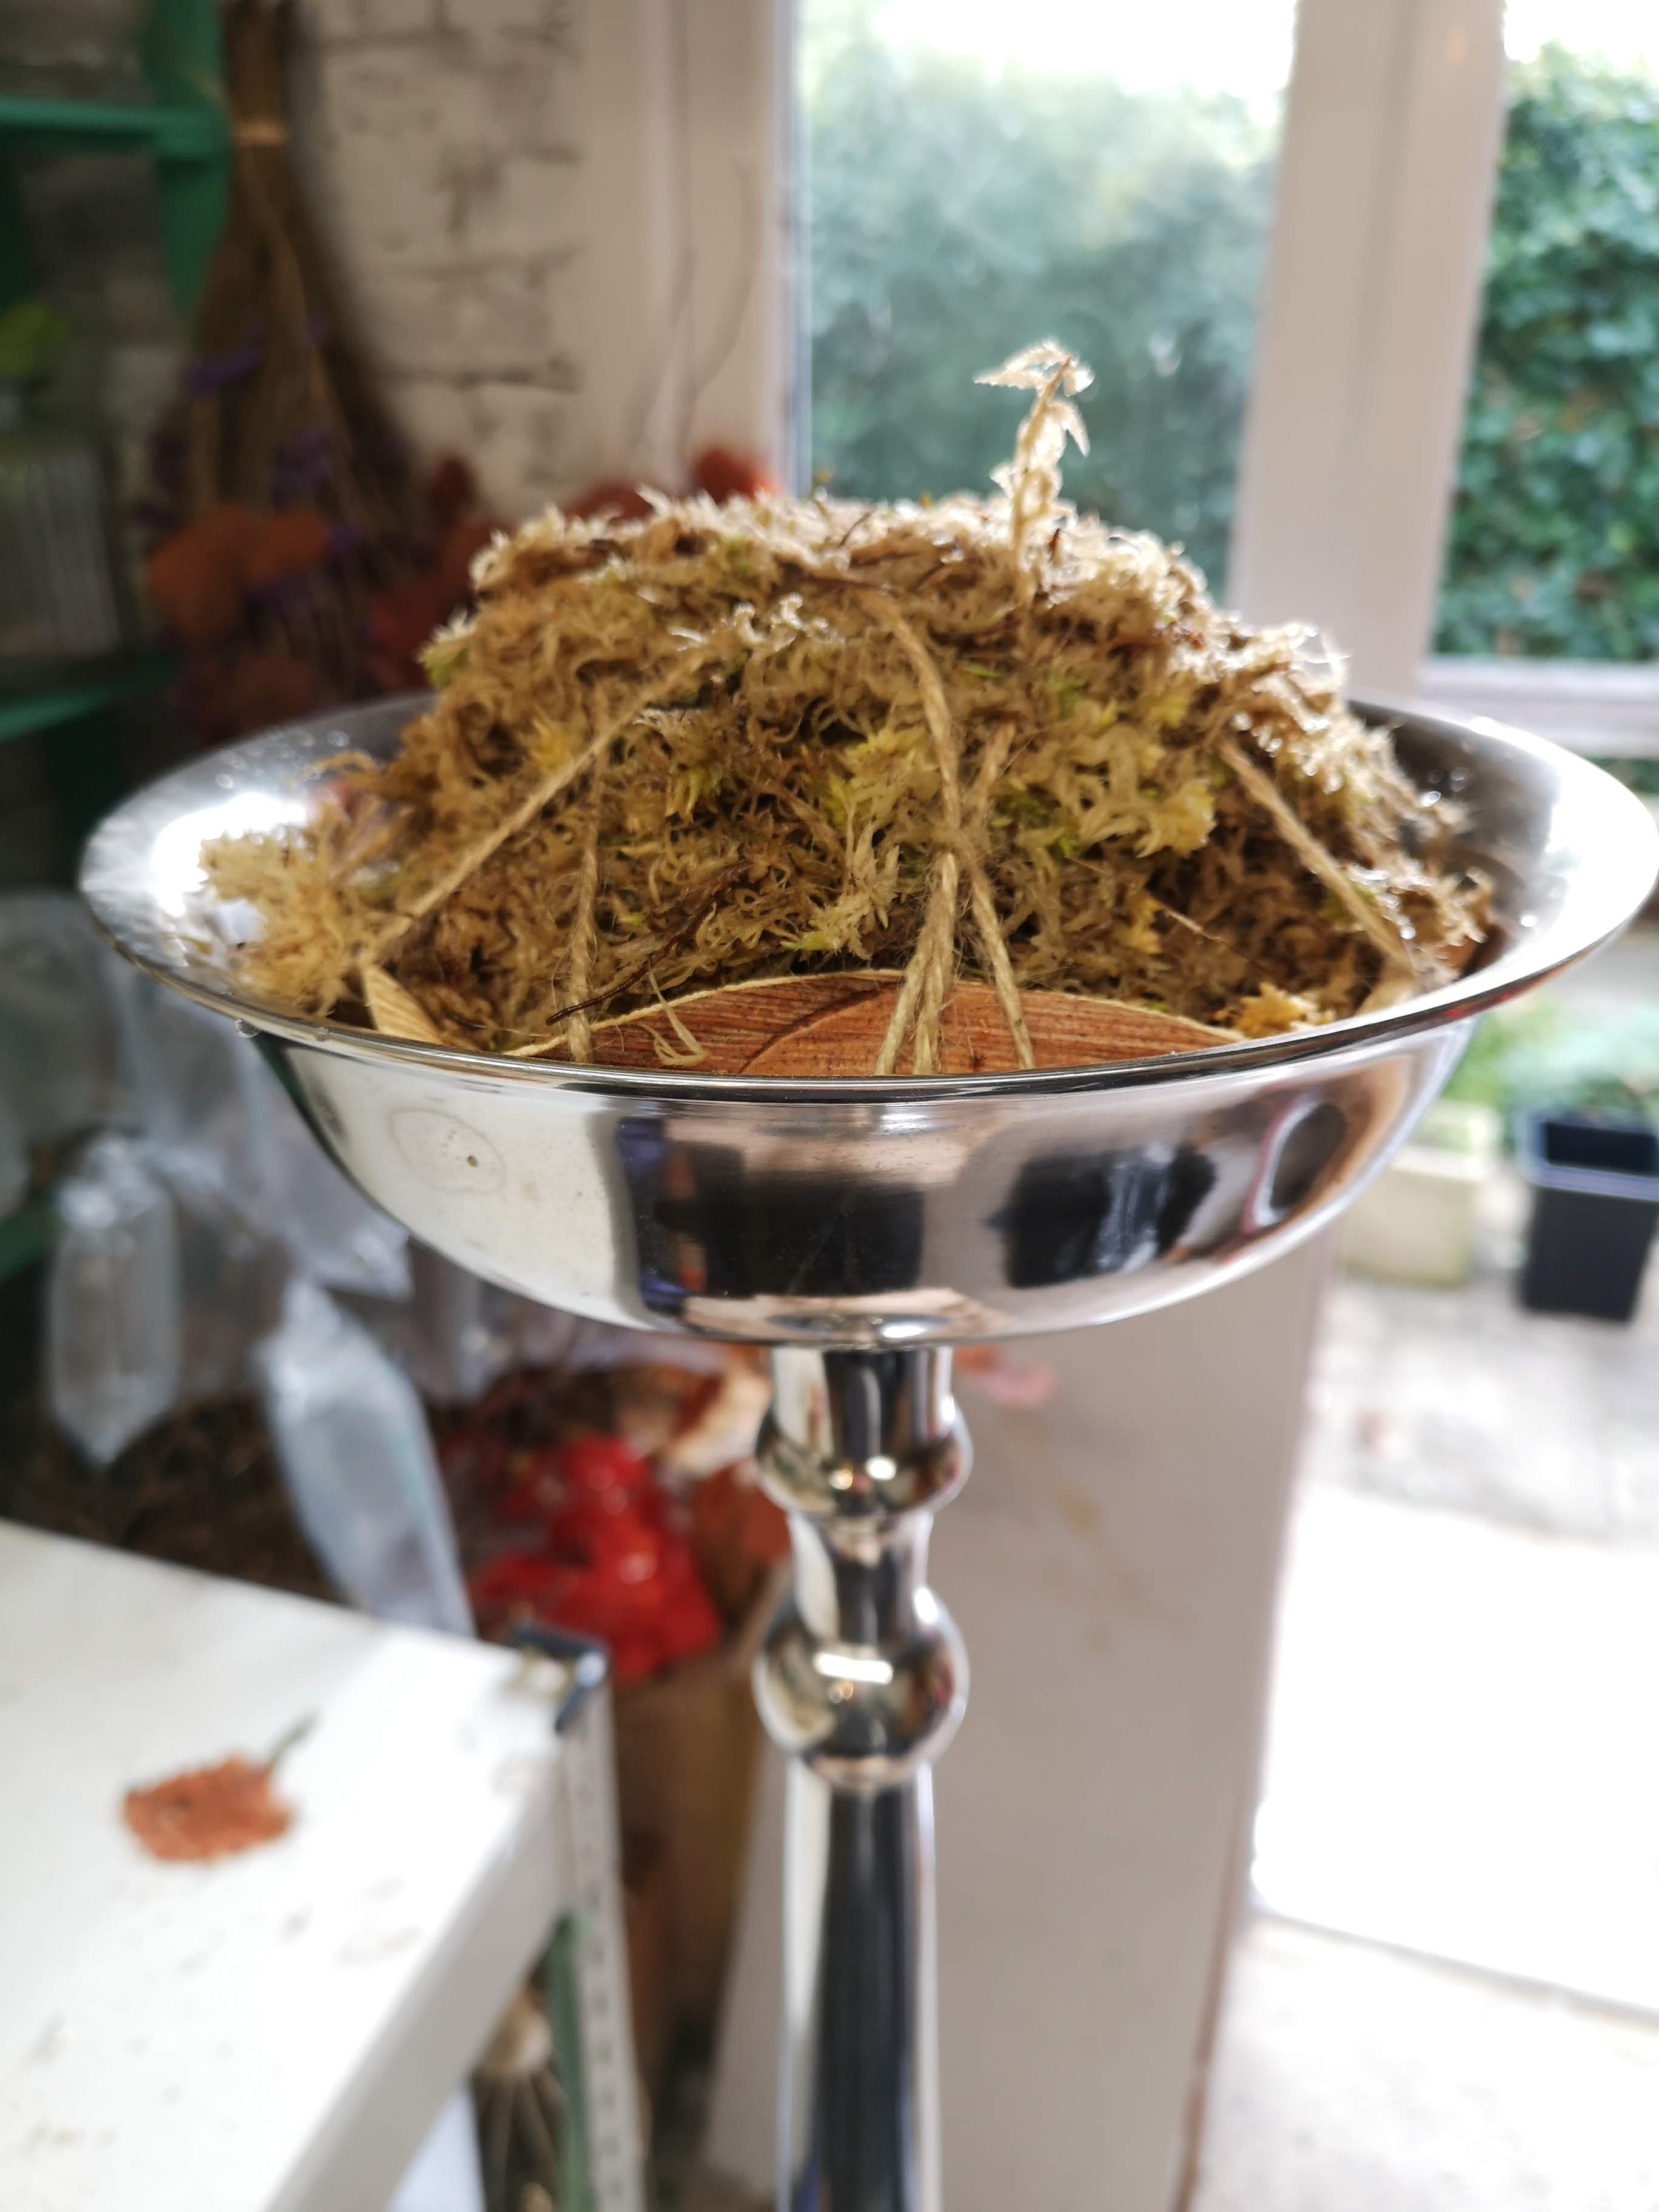


Step 2: Make sure the moss is nice and wet as this is what’s hydrating your flowers.
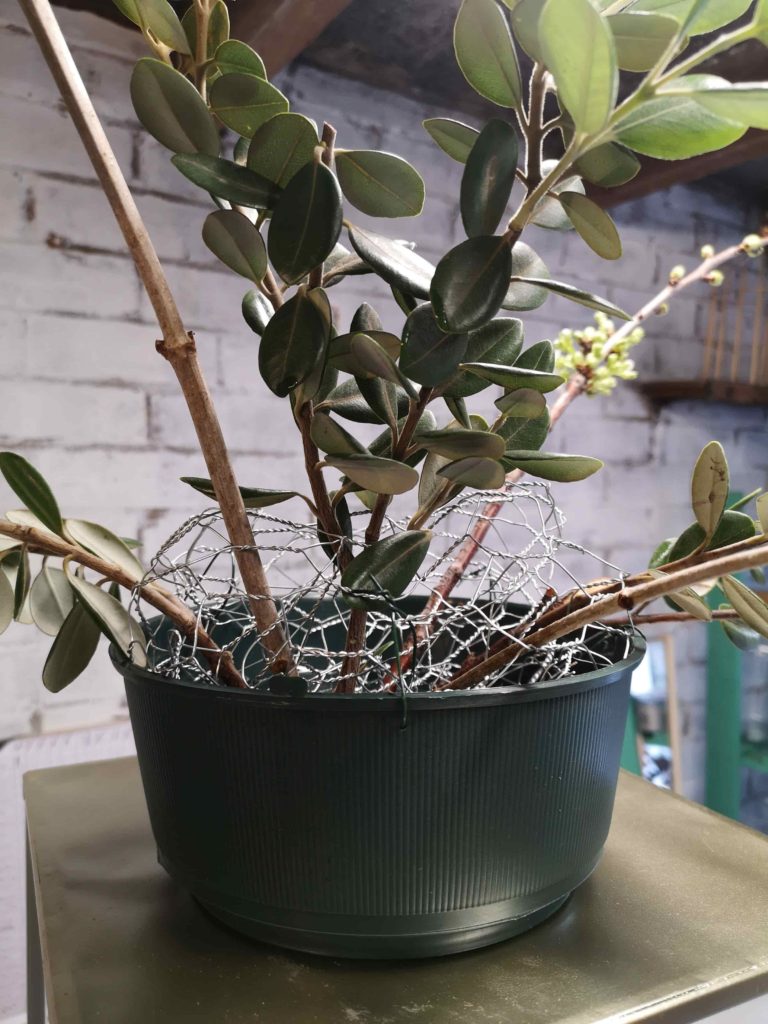
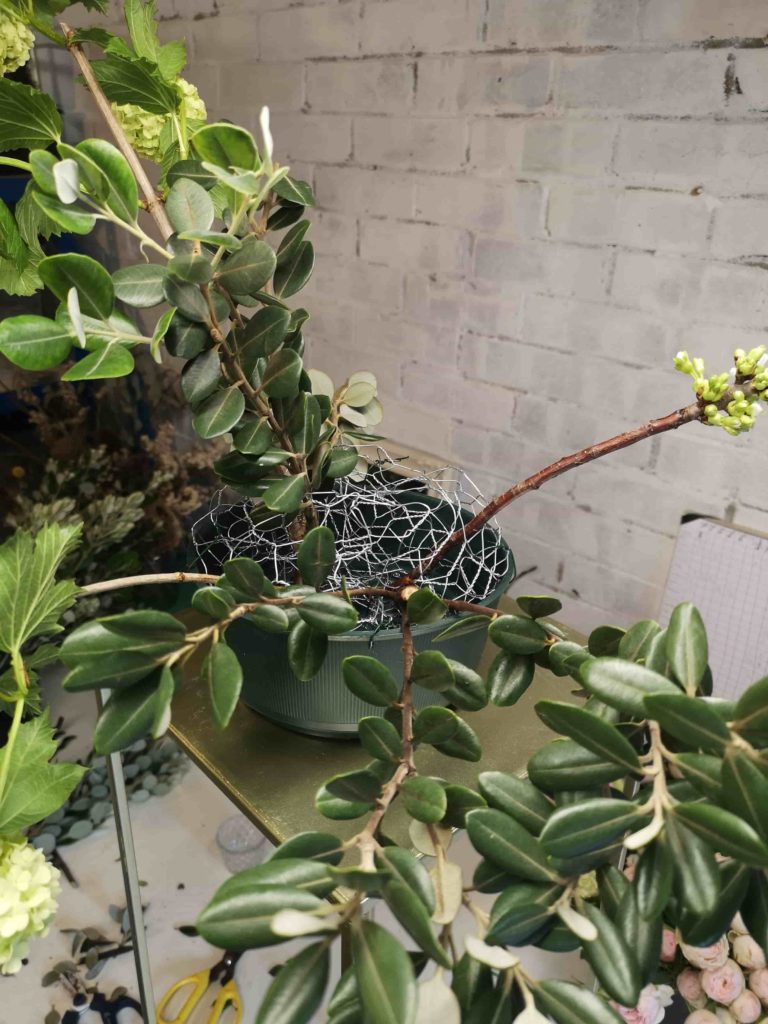
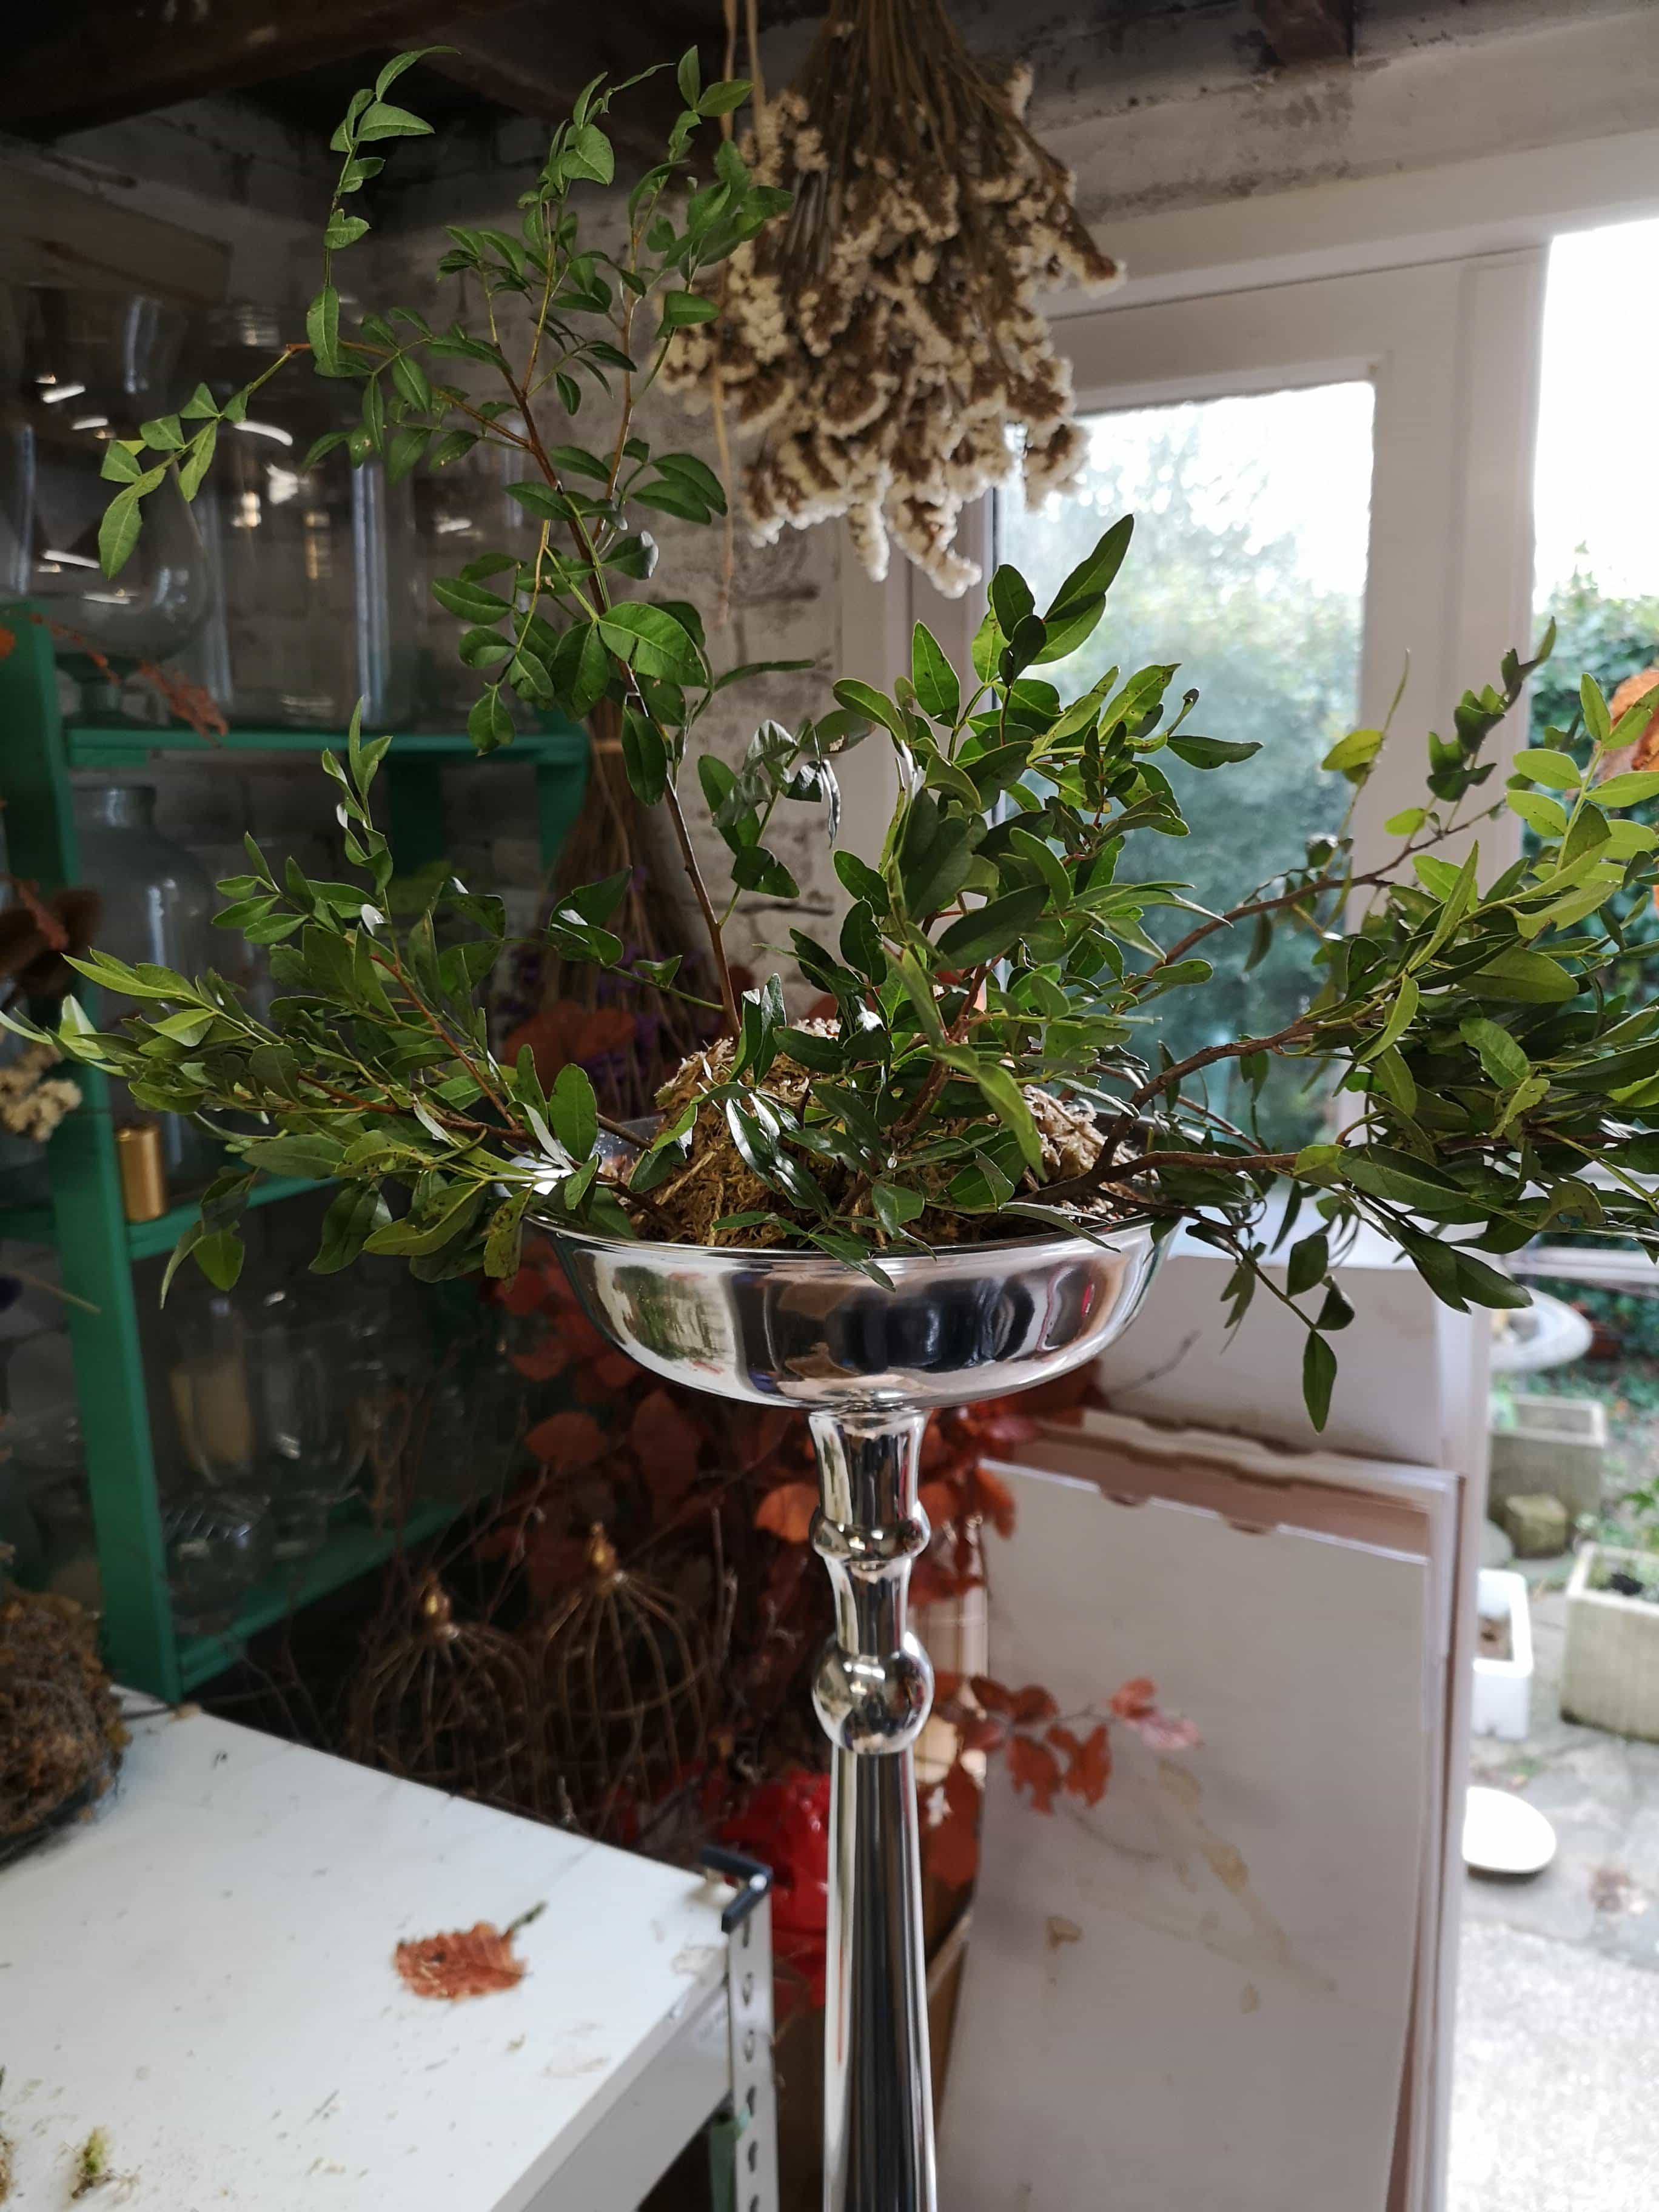
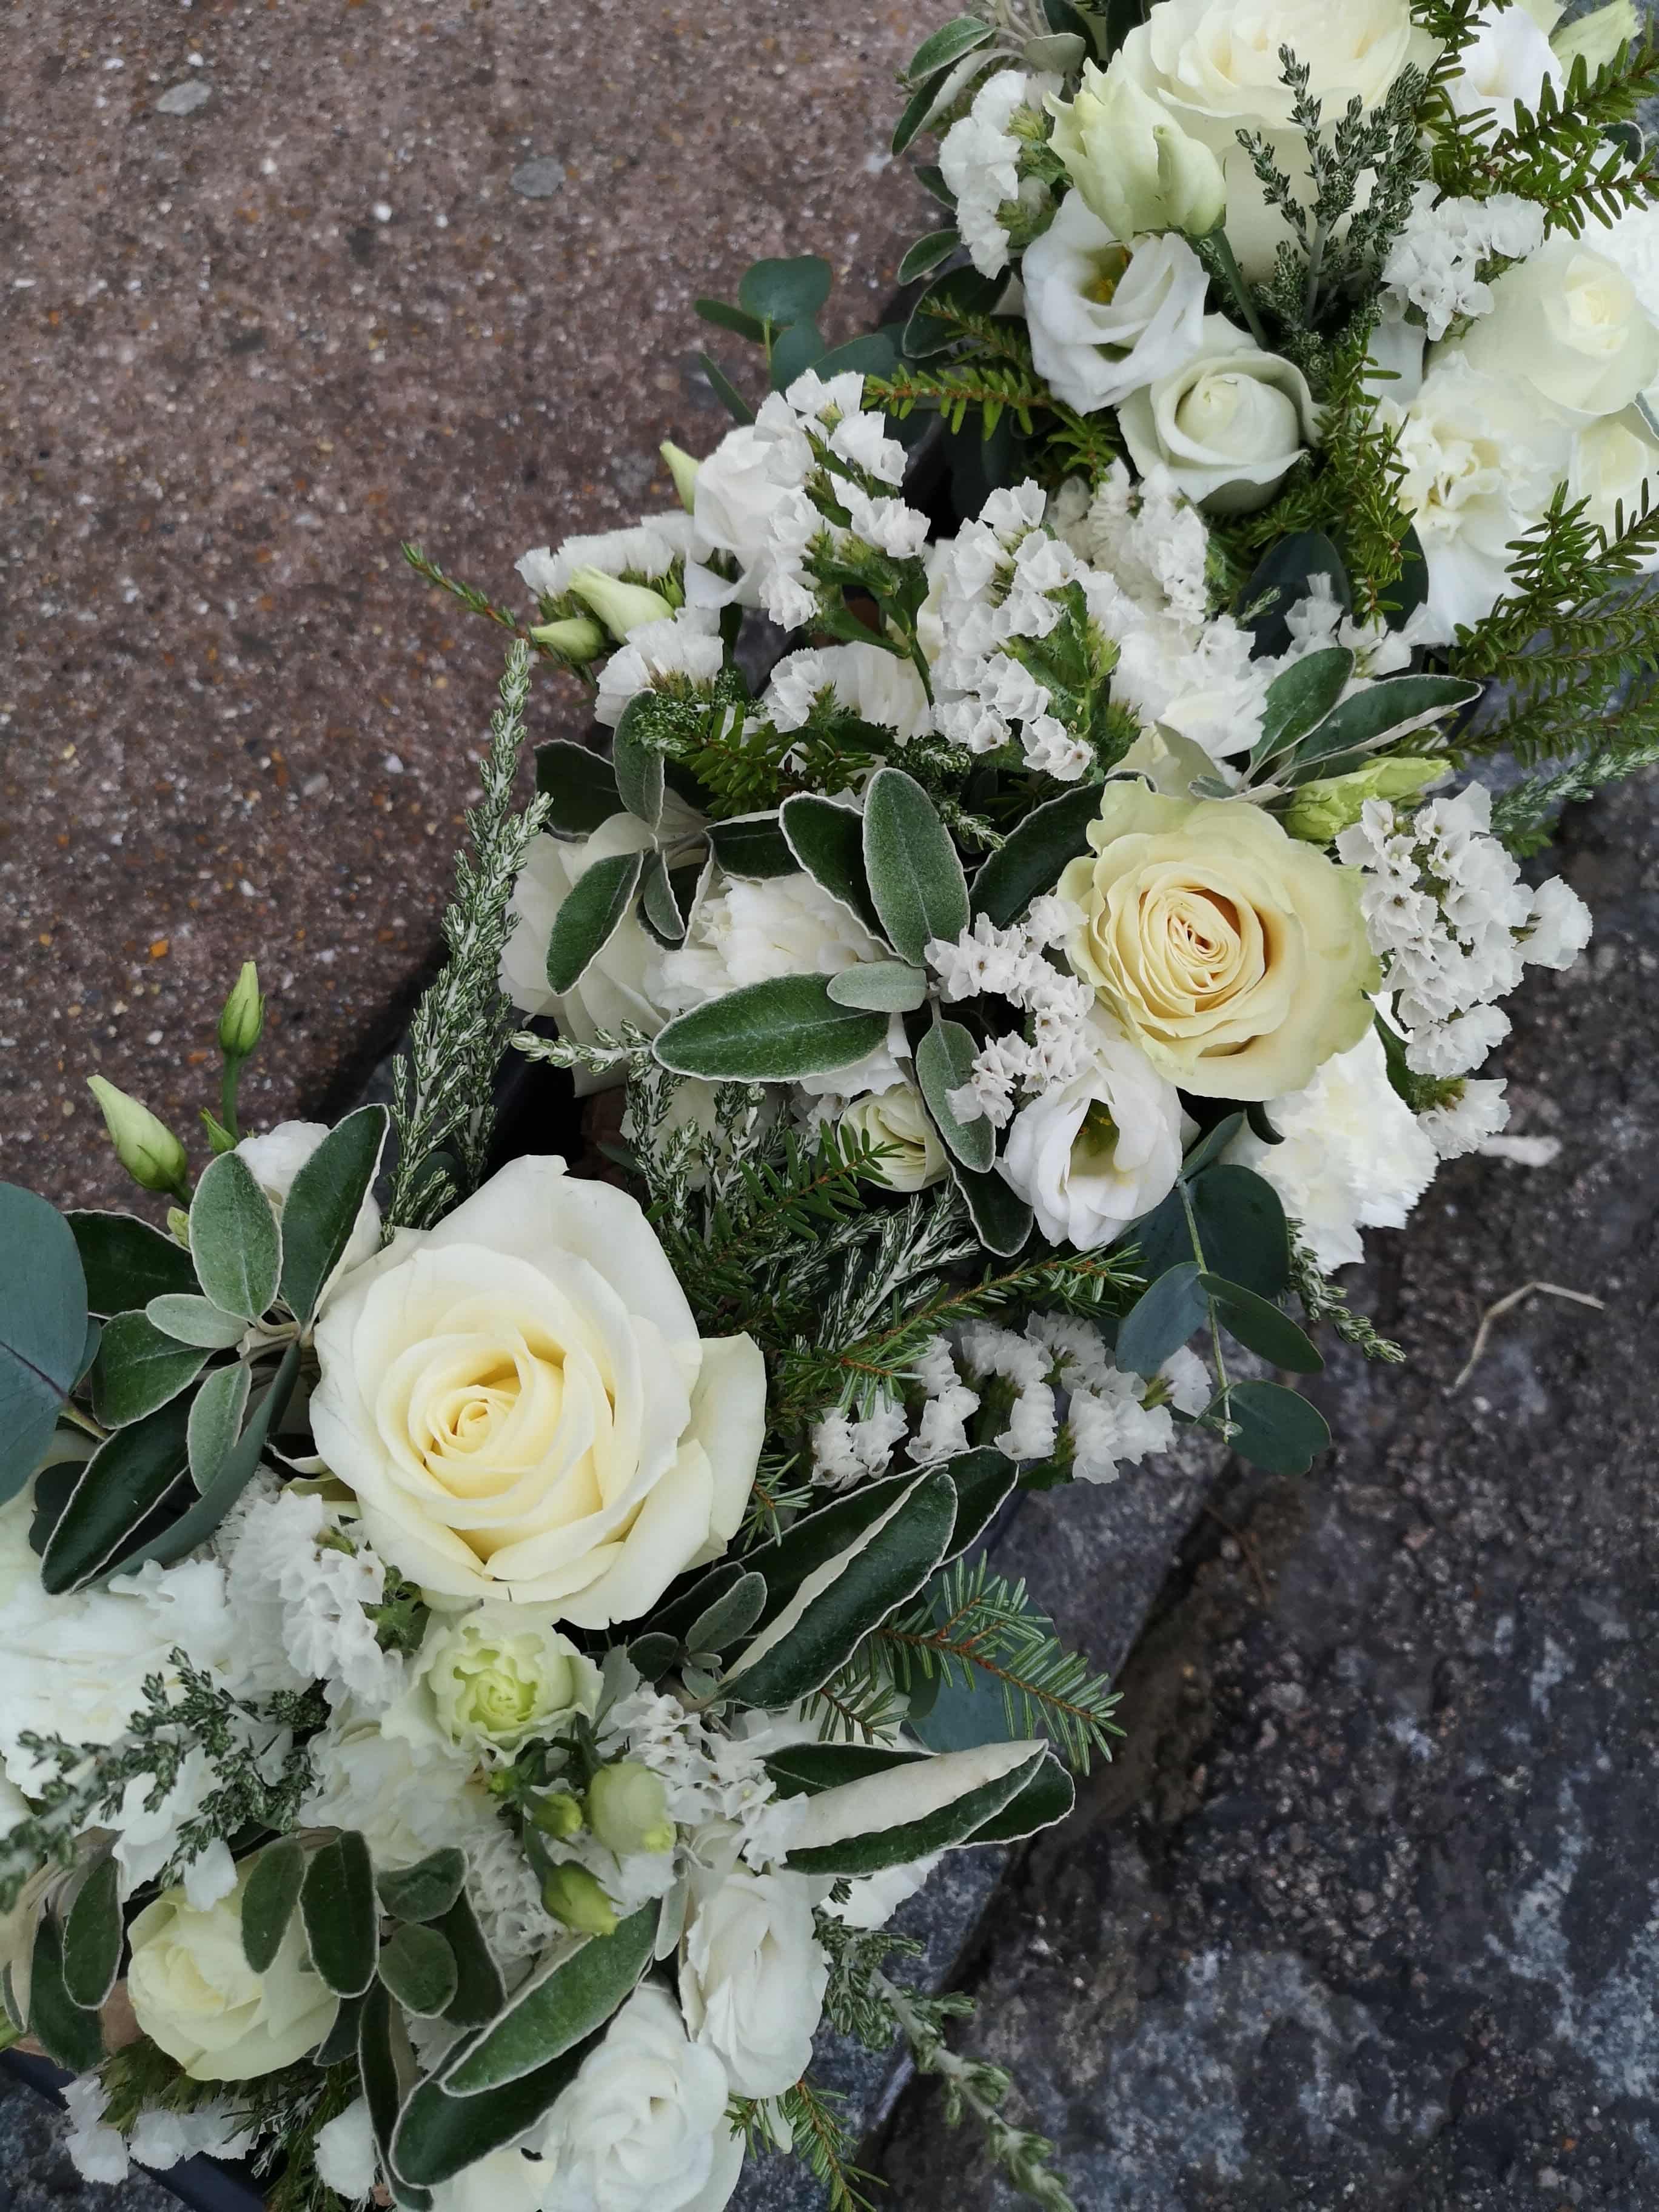
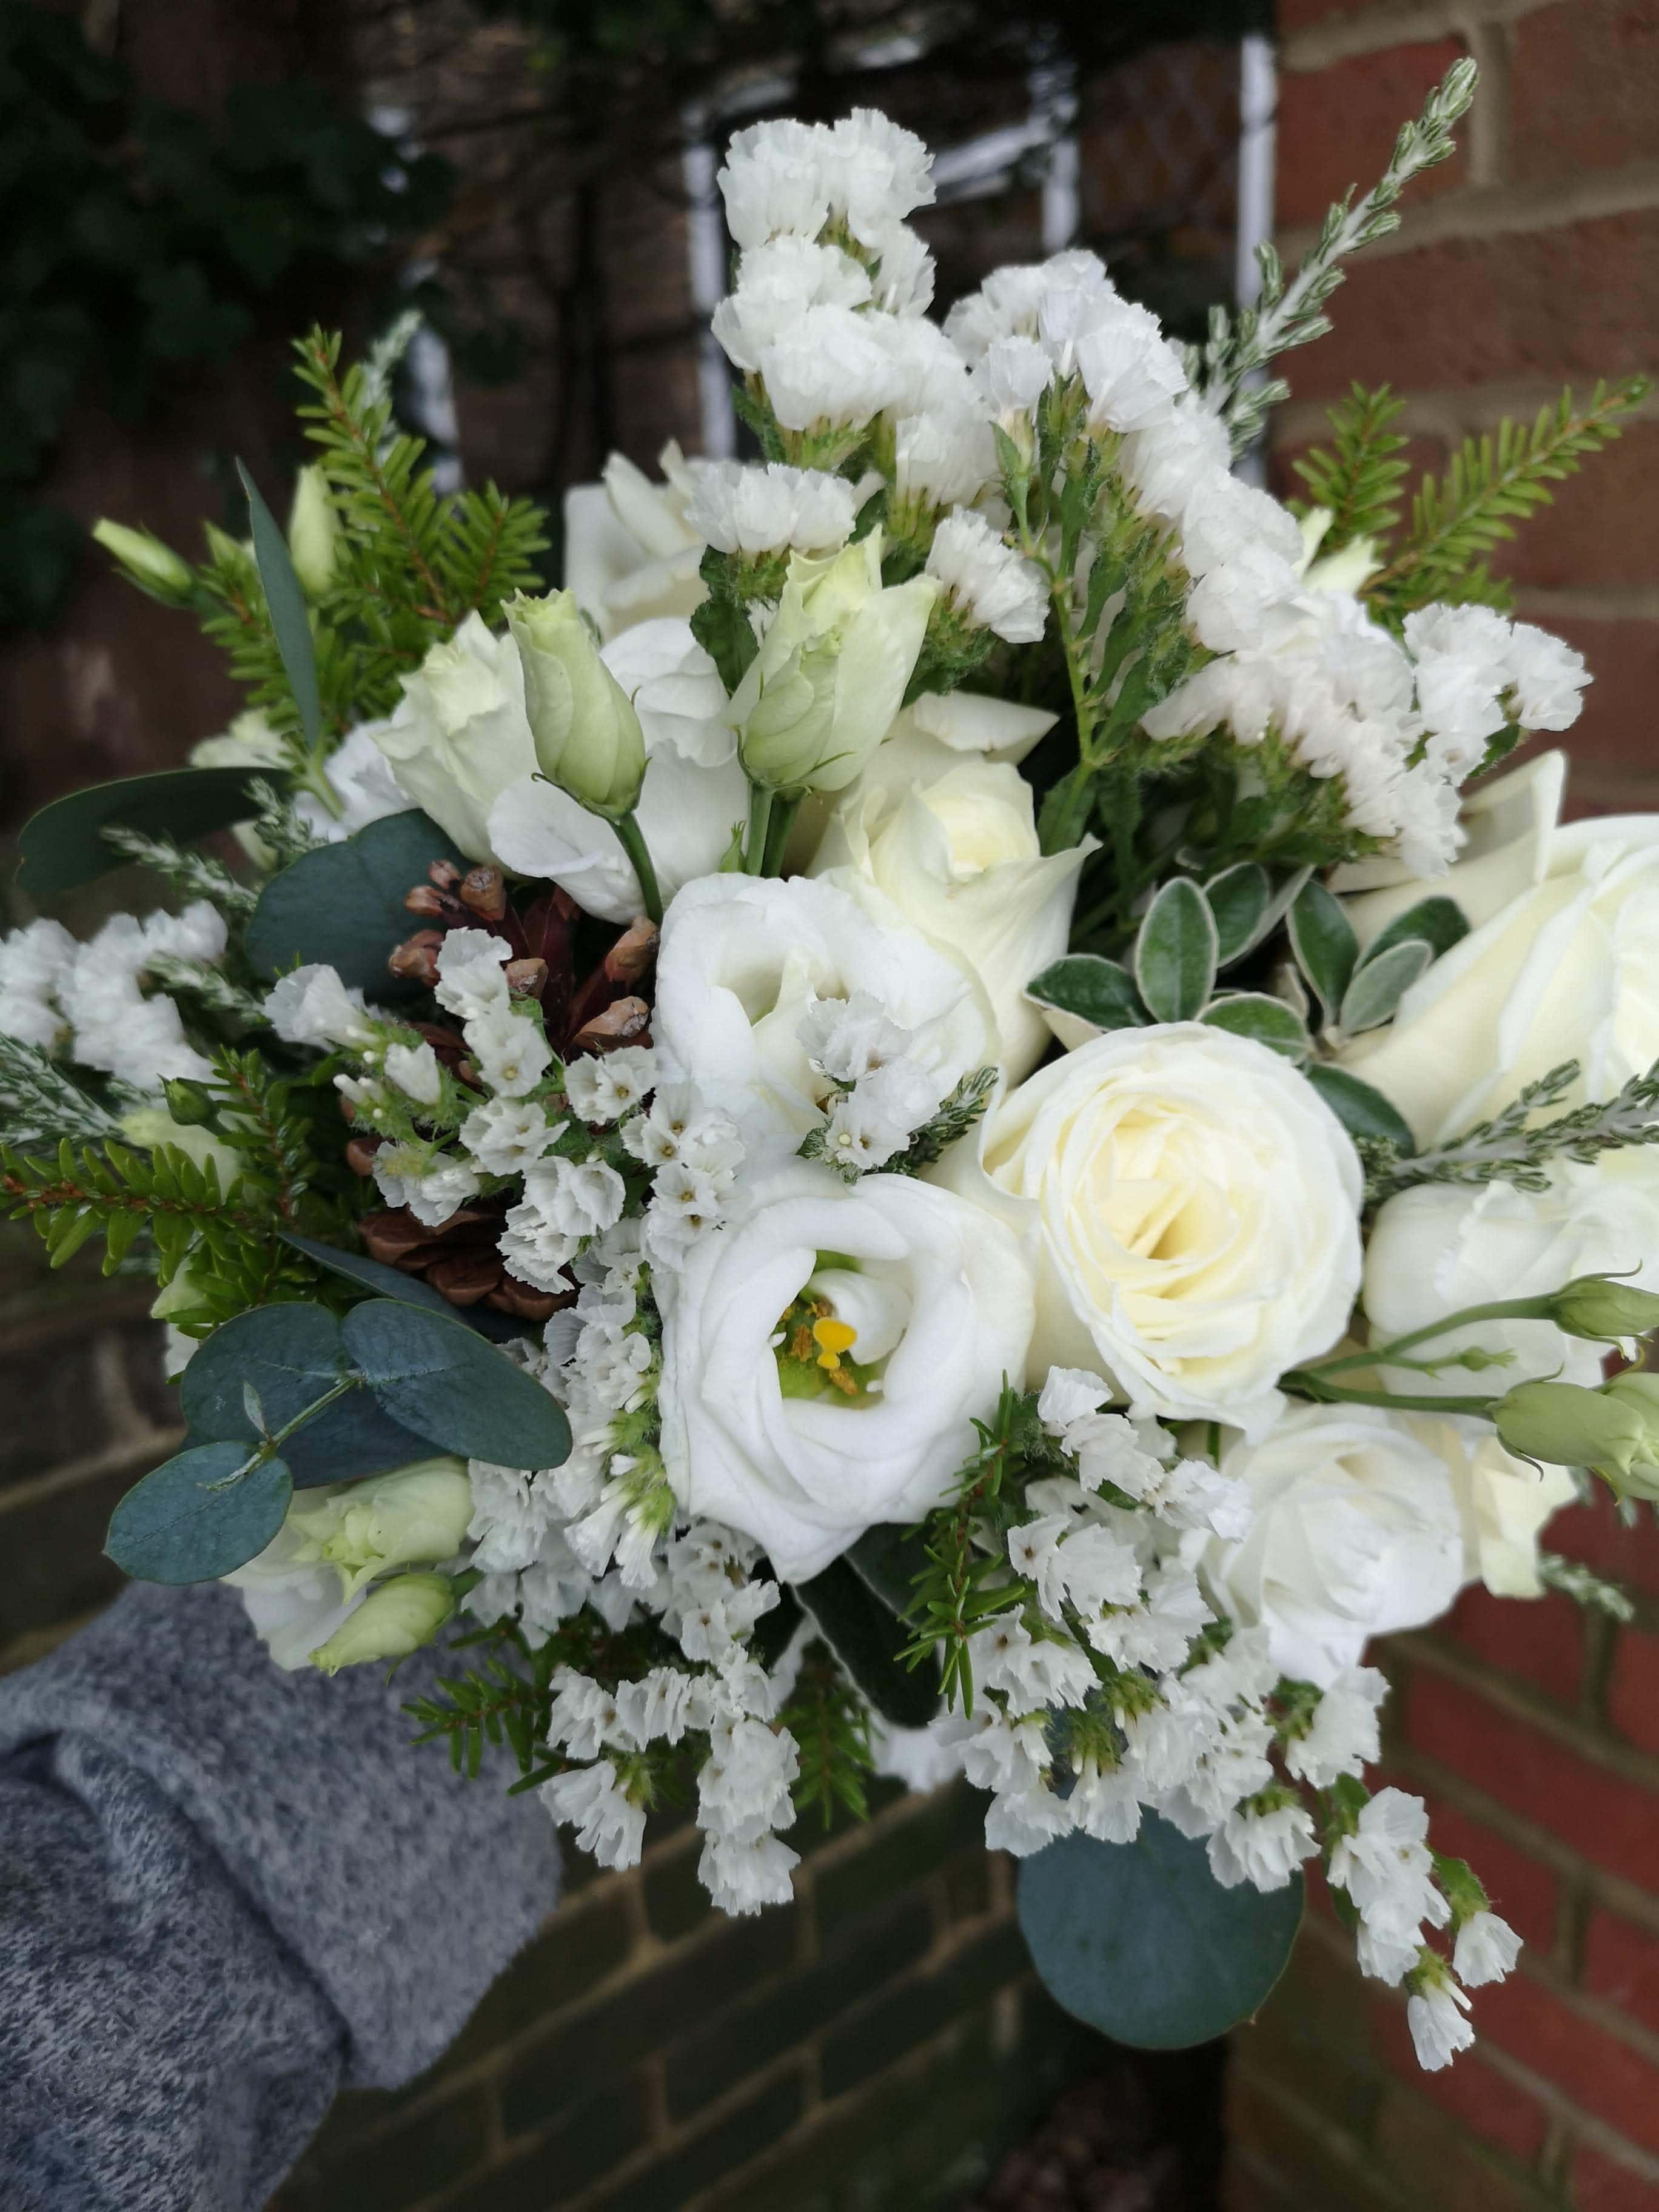
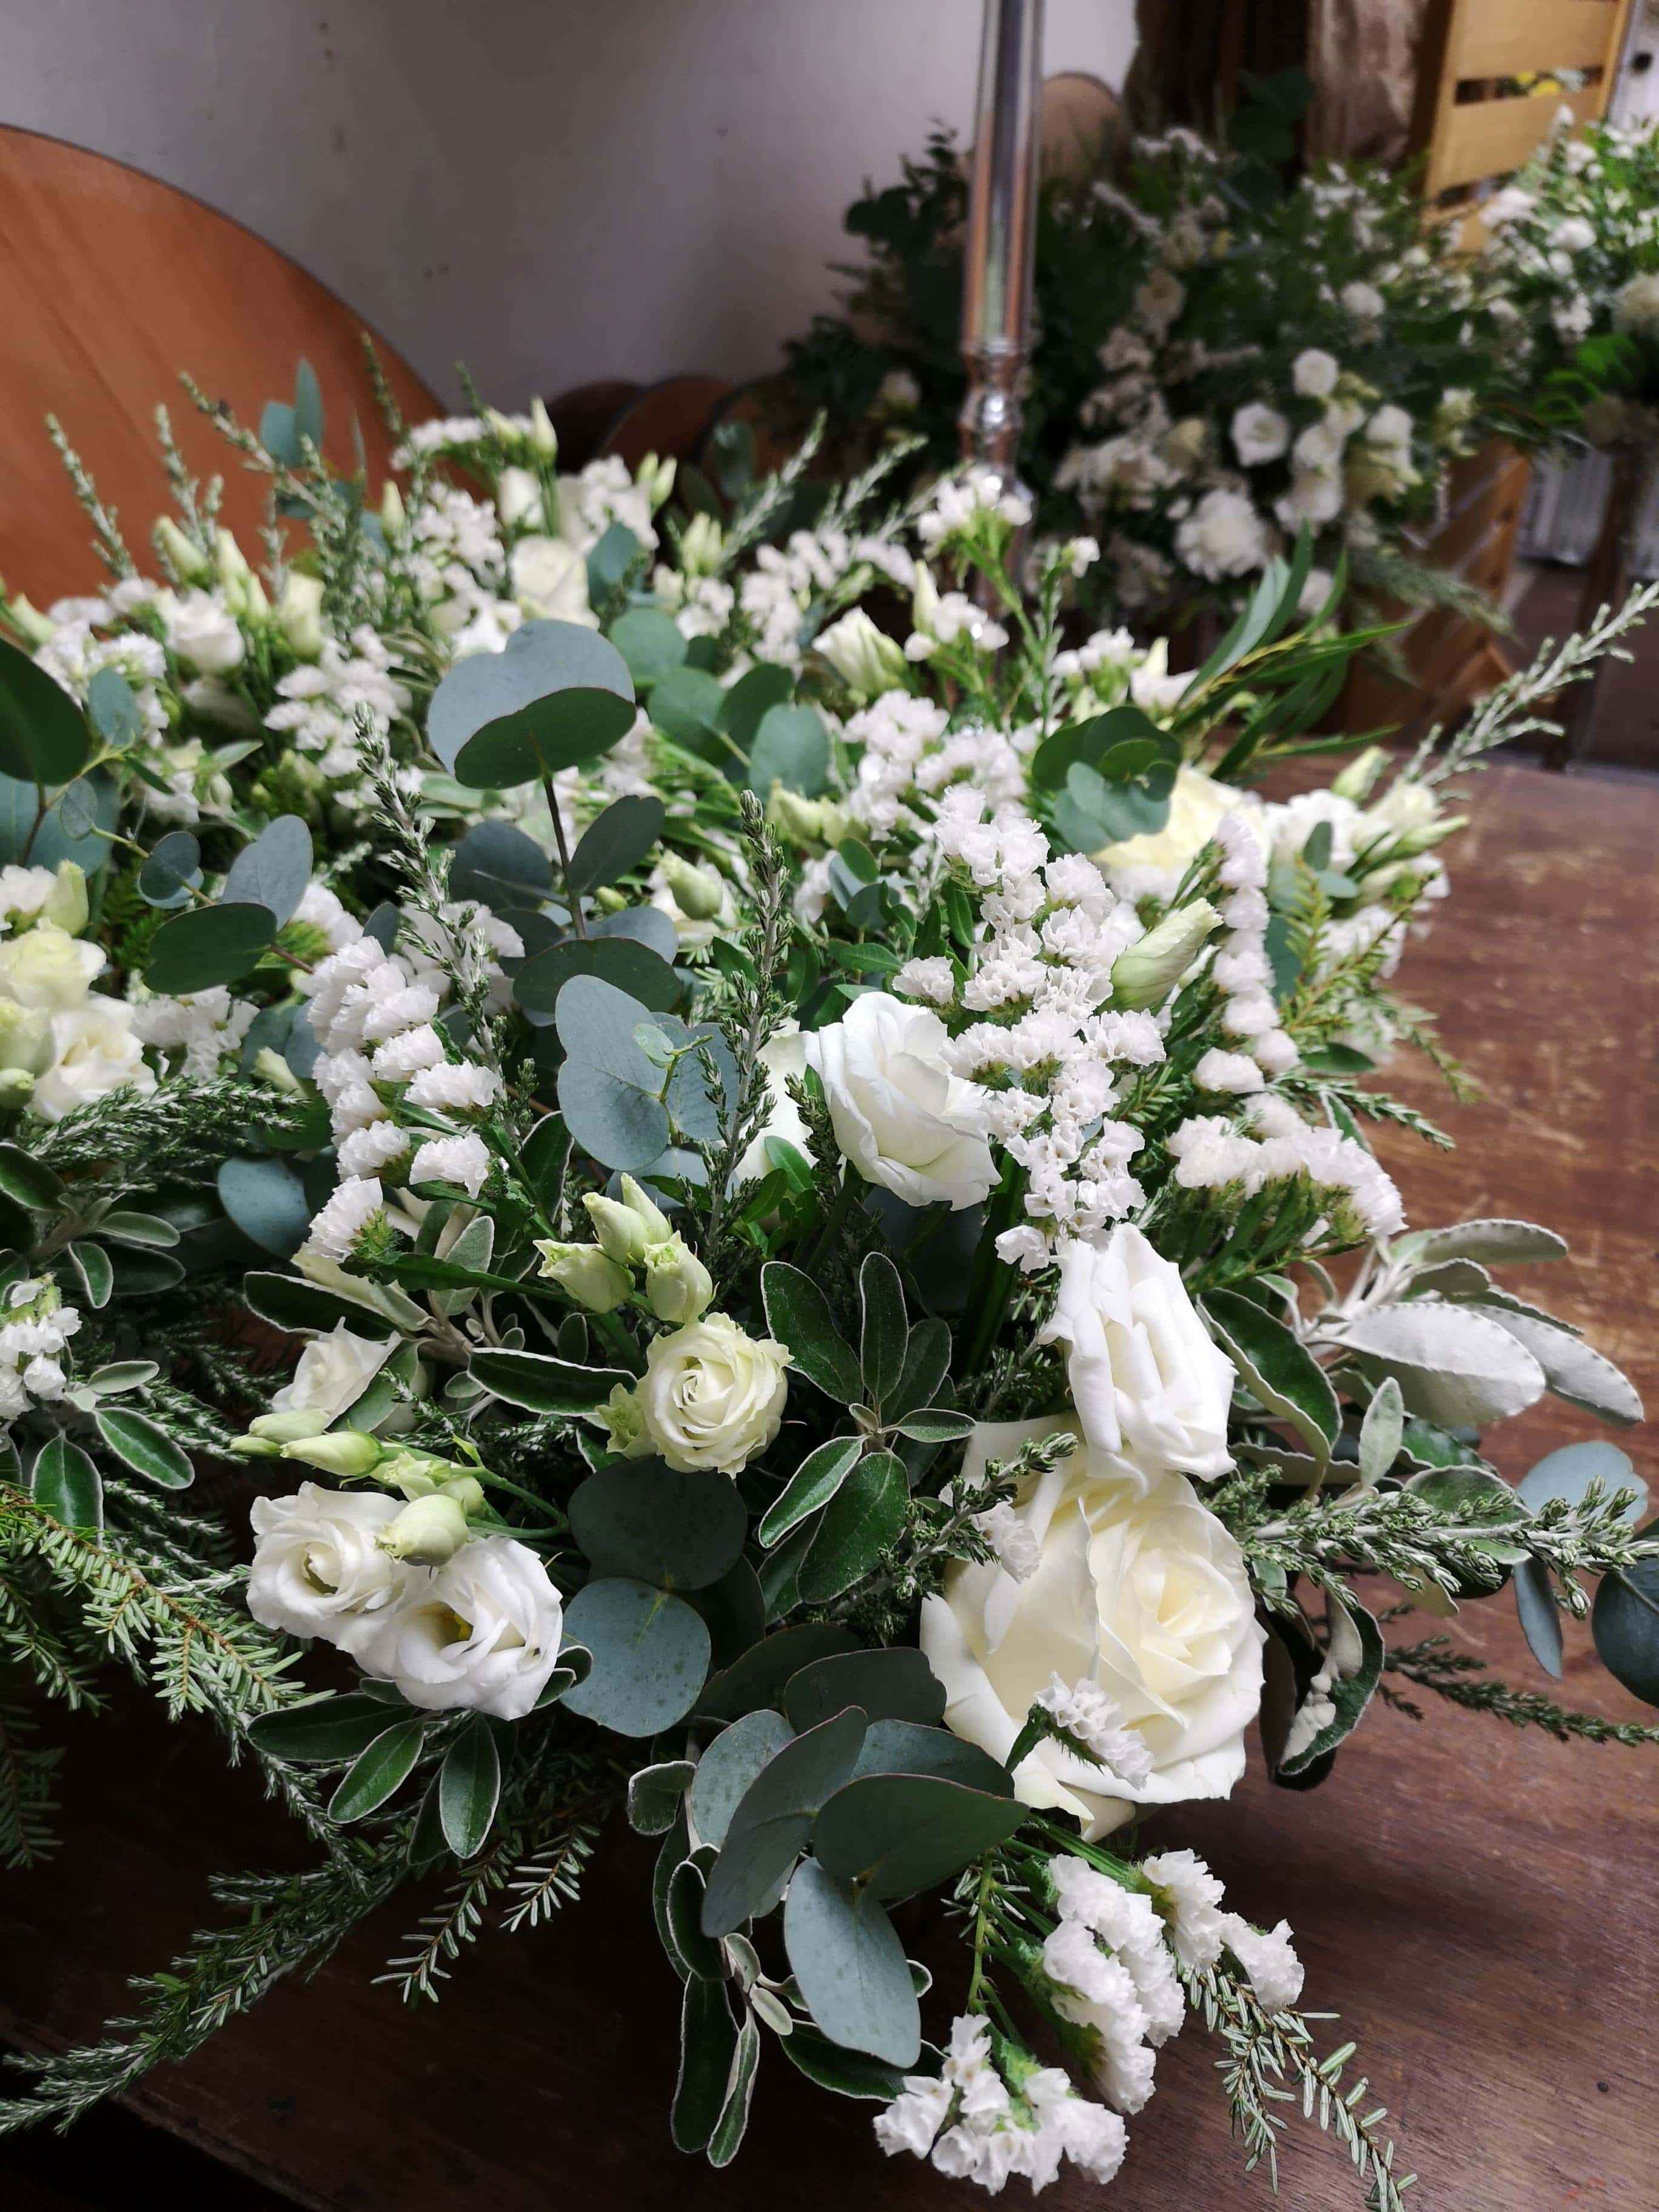
Step 3: Start inserting your base foliage, this is to cover the moss and give you your shape. I used pistache here and then added some different varieties of longer foliage such as sussex silver and eucalyptus to give more natural cascades.
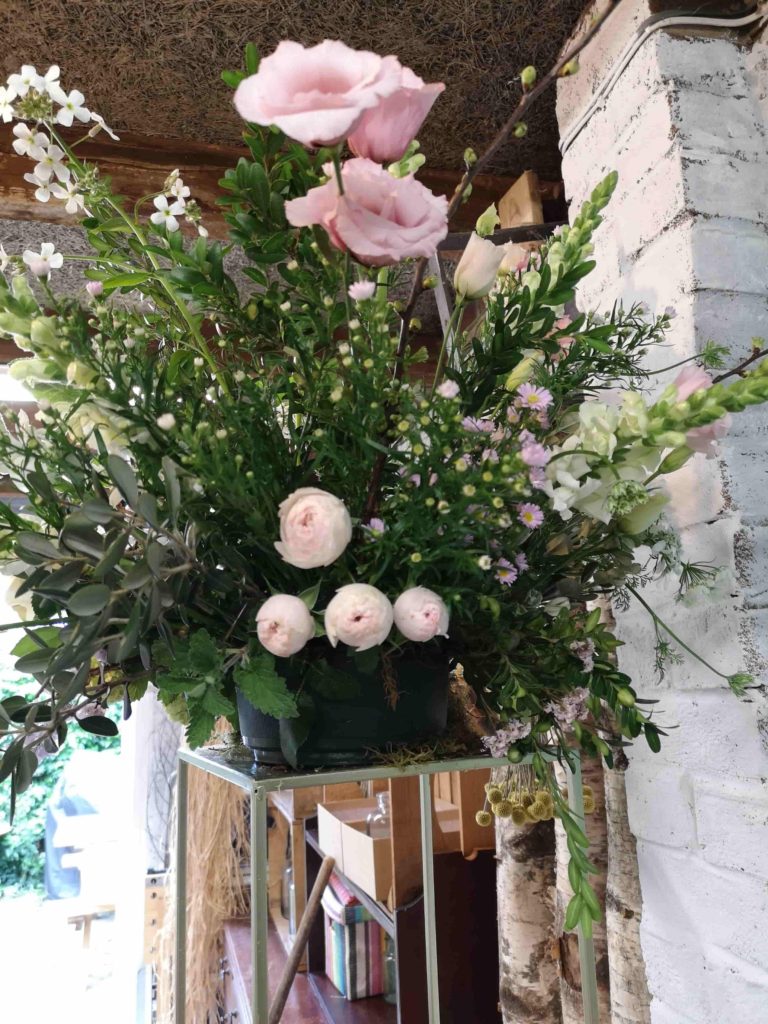
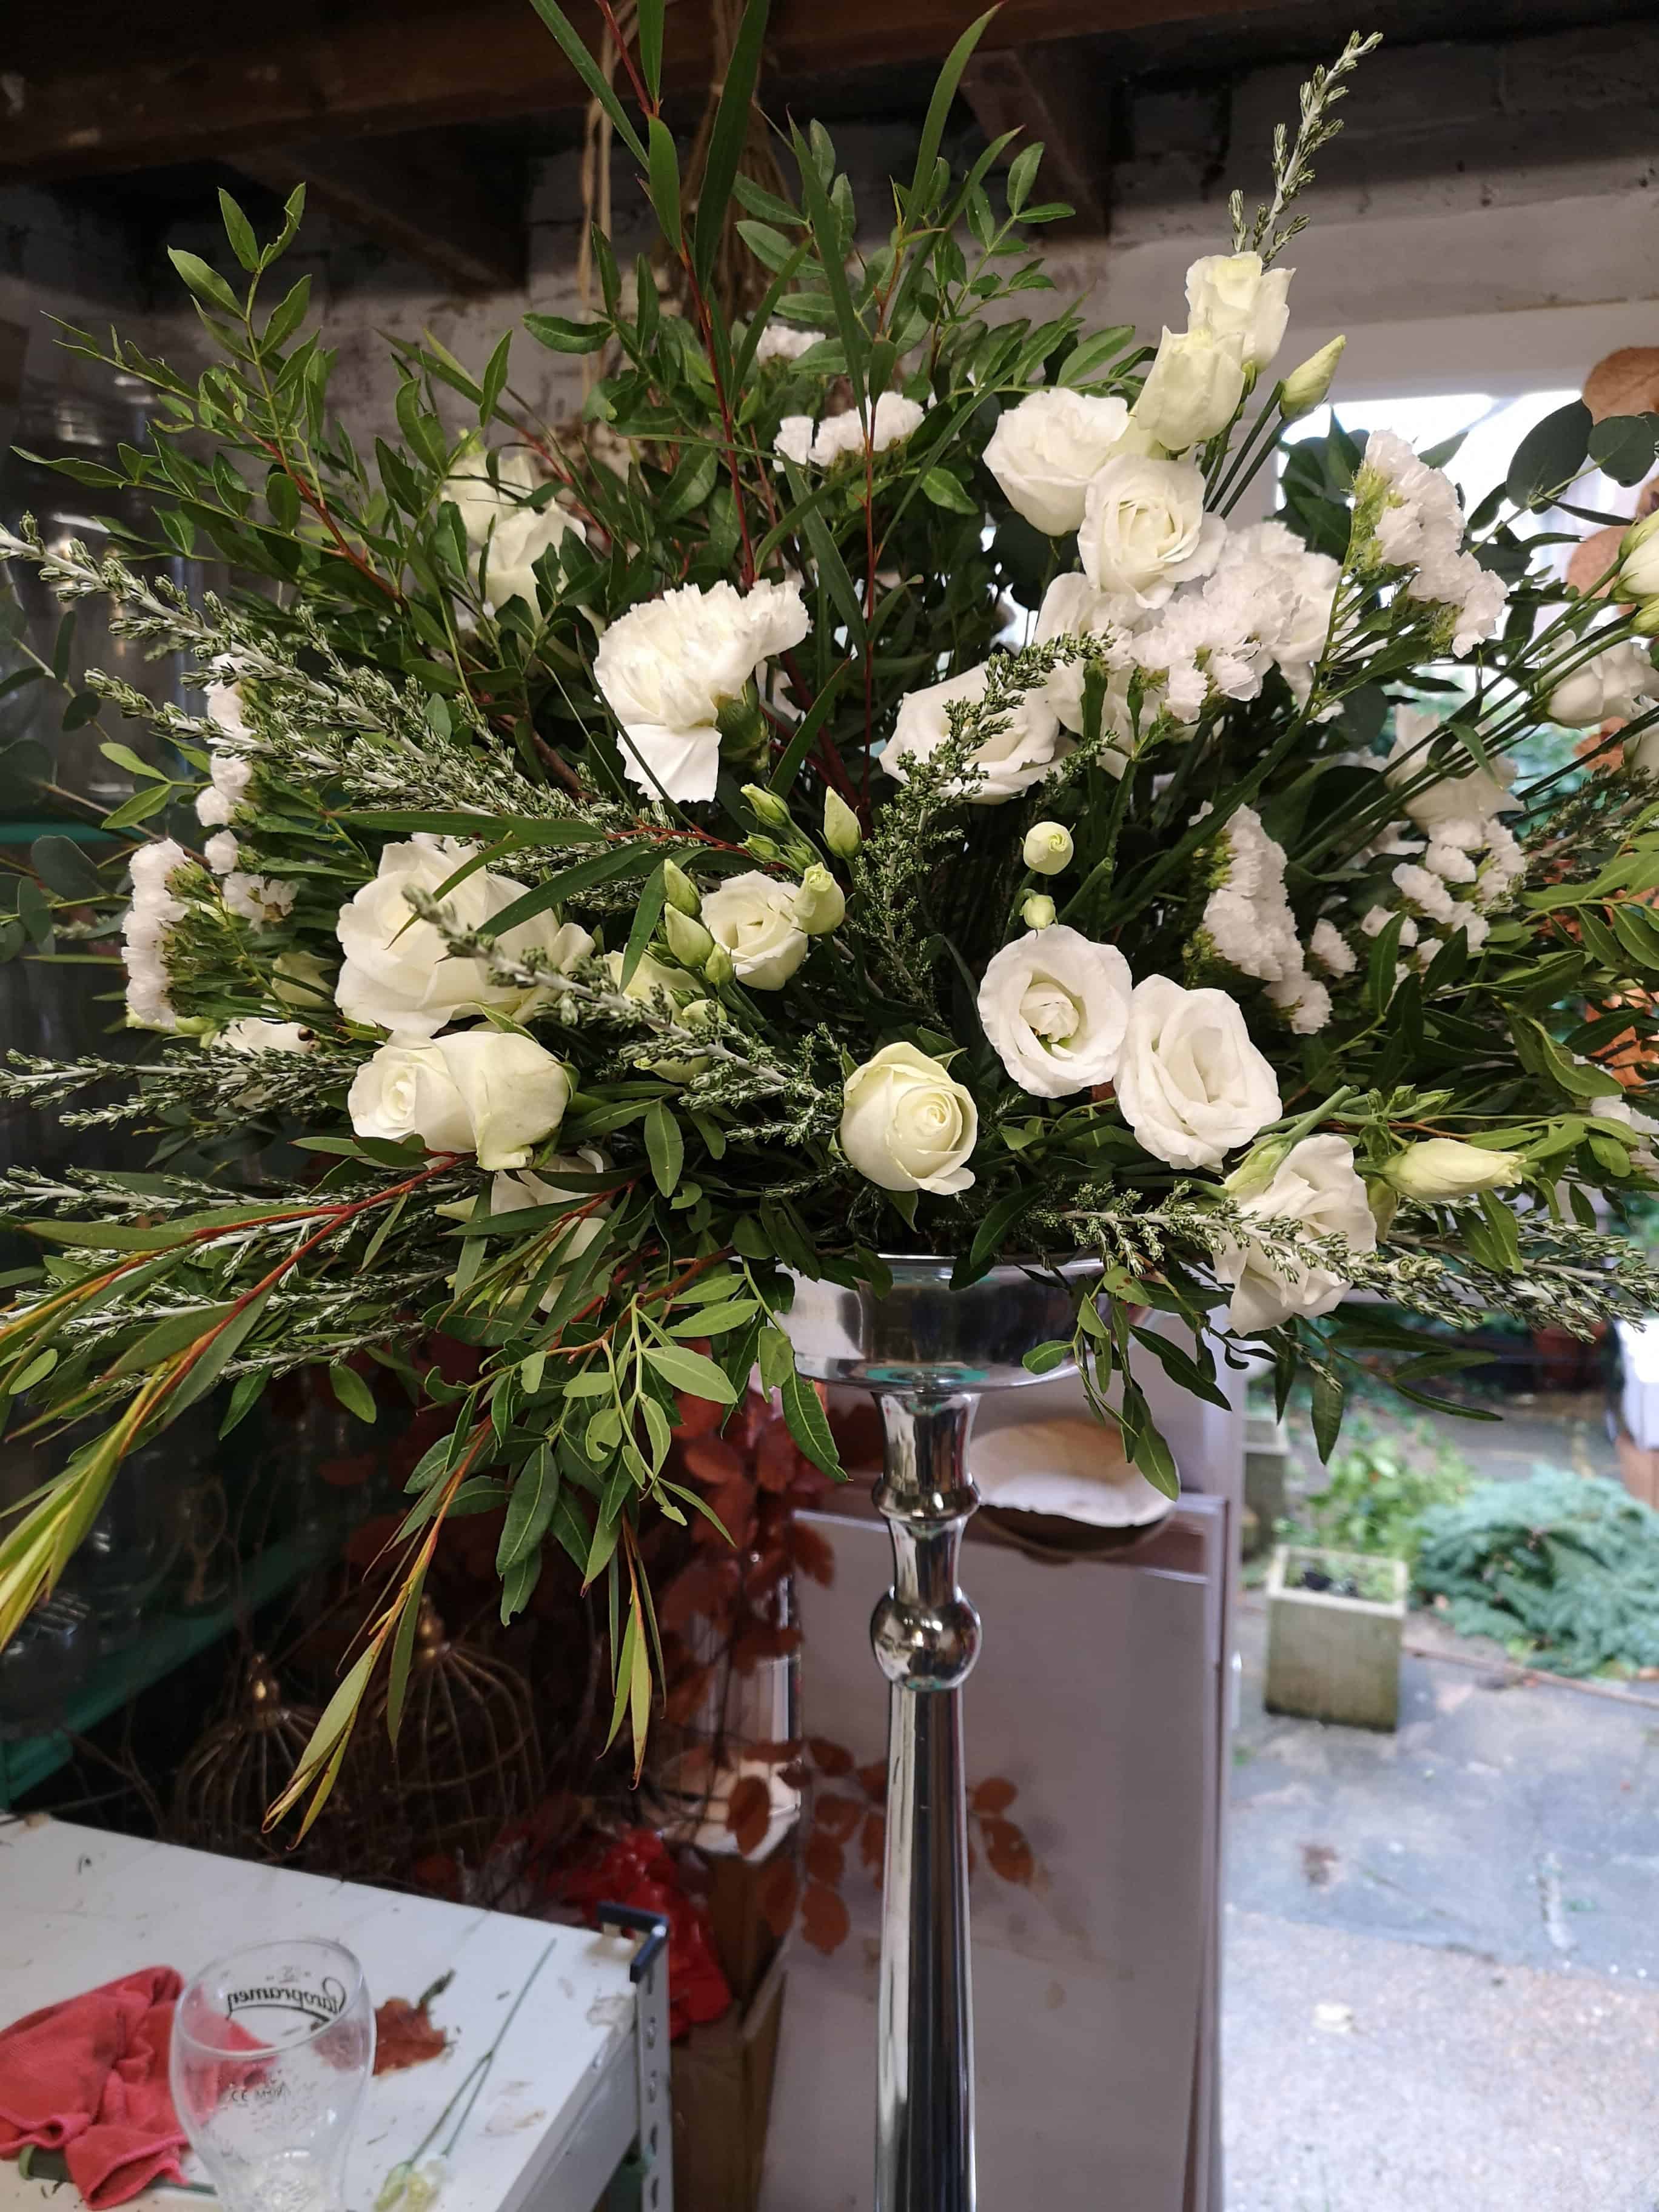
Step 4: Add your flowers. I’ll be honest with you here, the sturdier the stem the easier your life is going to be! Soft stems are a pain to get into moss, if you are dealing with soft stems you are going to need to make a hole with some kind of long implement (chopstick, knitting needle, off cut twig, end of a plastic water tube – whatever you have to hand!) before inserting the stem to ensure they don’t immediately bend/break.

There is so much support out there now on Instagram and in eco florist Facebook groups and it’s been invaluable for a lot of us. There is such a supportive community of like minded florists who are being really generous in sharing ideas for how to move forward towards more environmentally friendly businesses. I am really grateful to see how this has grown over the years since I decided to phase out floral foam from my work. As I said, two years ago it was a very different story. I am pleased to say I have only used foam once or twice since then, and this year 2019 I have been completely foam free and that’s how I plan to stay.
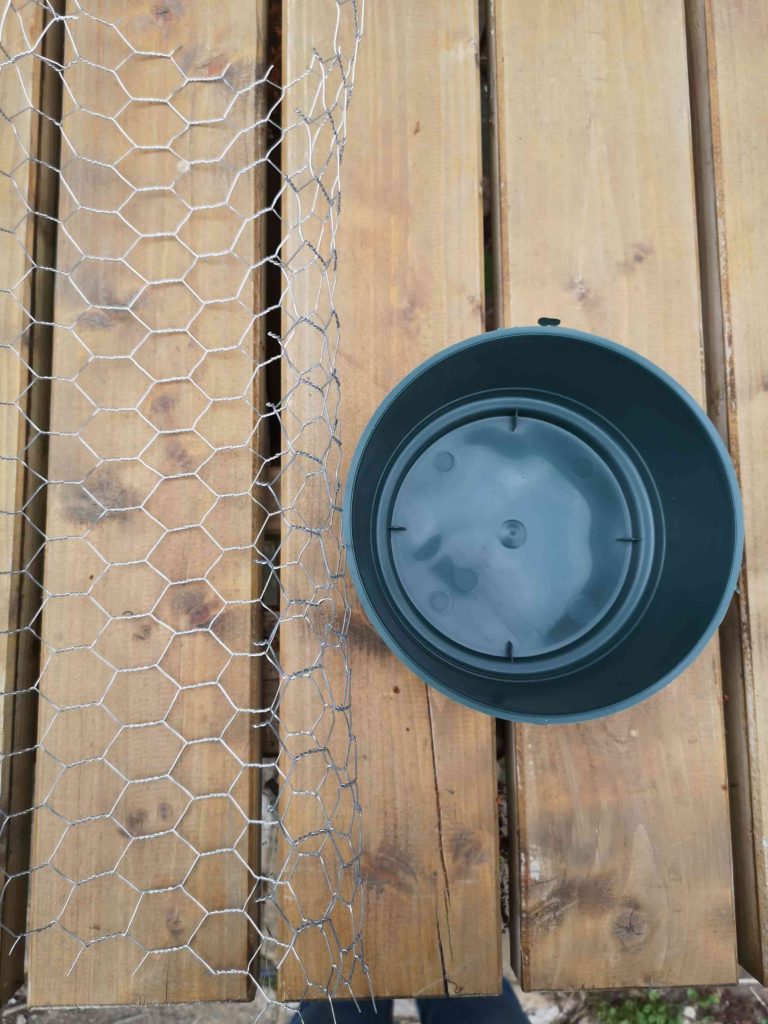
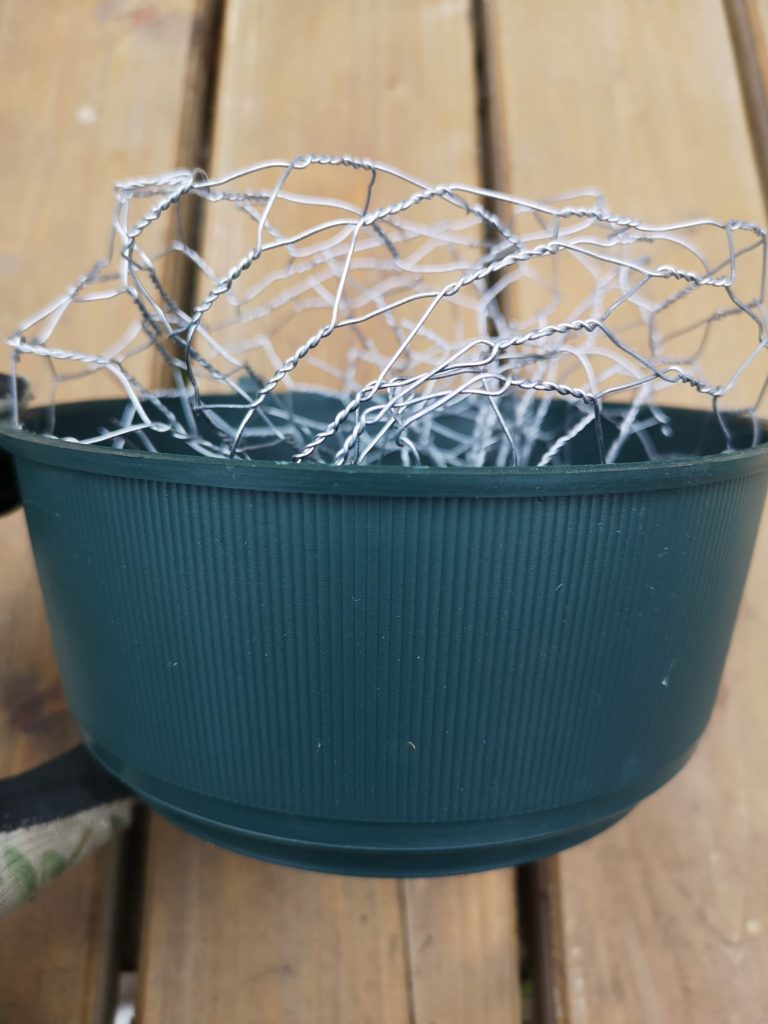
Chickenwire & Water Method
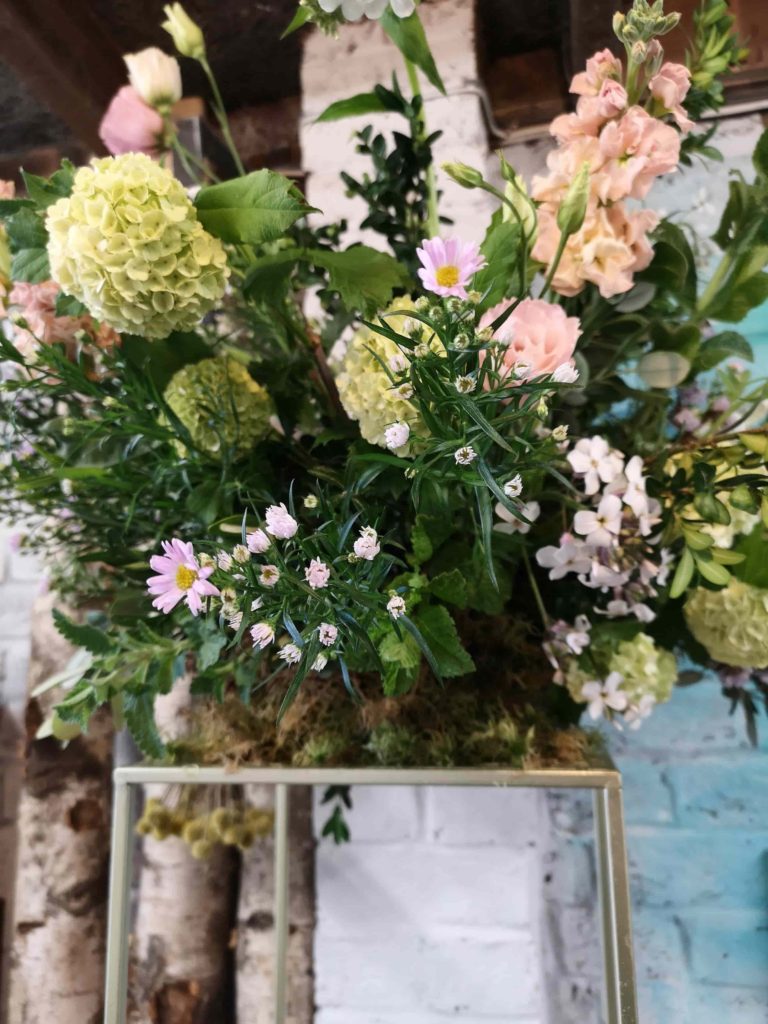
For this arrangement I used an 18inch plastic bulb bowl with some chickenwire inserted. Make sure to secure your chickenwire so nothing tips out. Personally I prefer to make these arrangements up on the tall stand that they are going on as it allows me to look upwards and see if anything needs covering. I prefer not to have any of the container showing, especially if it’s a crappy plastic pot! I am going to invest in some nicer bowls which mean I don’t have to work so hard at covering mechanics if they are already pleasing to the eye.
If you can find foliage and flowers which have natural curves and an element of drapeyness (is that a word?!) to them then this will help you immensely to cover the sides. The viburnum helped me achieve this, other great options are asparagus fern, eucalyptus nicholi and populus.
Below are my step by step photos.