Wild flowers in a wooden crate
Welcome to my first ‘Foam Free Friday’ blog post! I have decided to launch a series of blog posts based around working foam free as it is something that is very much on a lot of florists minds at the moment. When it comes to floristry, we are of course faced with the same issues as everyone else when it comes to environment and we need to consider the ways in which our industry impacts the world we live in.
As many of you might be aware, floral foam is a plastic. Unfortunately it is kind of disguised as a natural ingredient, it’s green and crumbly and very easily washes away down the drain. We have been merrily using this wonder product for many years as it is so easy to use and saves time when running a fast paced business. However, it is a single use petroleum based plastic which has to go into land fill after it is used. Even worse is that it breaks down into micro plastics and gets into our water supplies, it is almost impossible to use floral foam without tipping the residue down the drain. Since finding this out I have stopped using it.
So after stopping using floral foam I quickly had to find some new techniques in order to produce the same quality work which has longevity and also looks beautiful. I am going to share my journey with you and each Friday will post a new article with a different ‘how to’ guide.

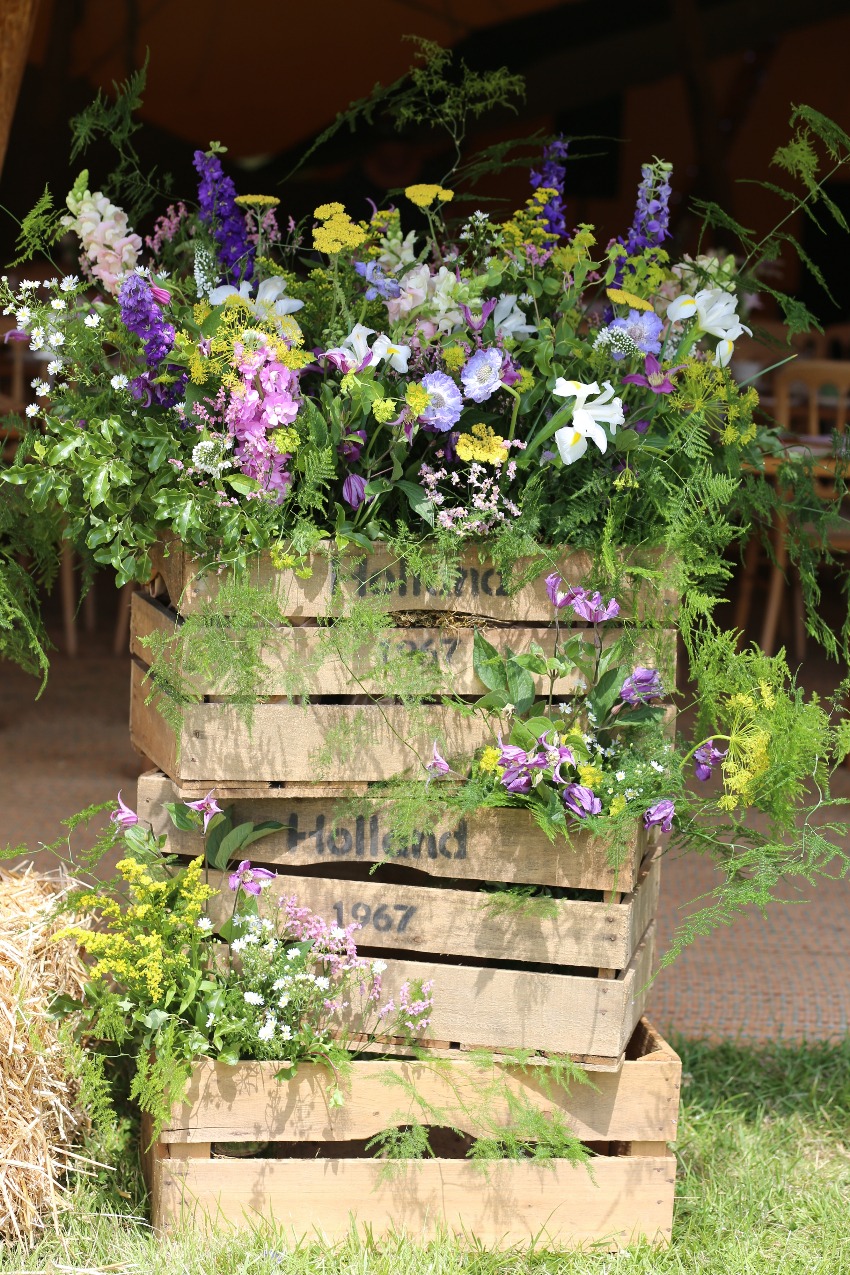
This wooden crate arrangement above has been made using buckets of water with chicken wire in. This is actually way better for the flowers than foam anyway, delicate summer flowers are really not too happy in foam as it dries out quickly in the heat – and this wedding took place on a HOT and sunny mid July day. The flowers were very grateful for a good drink.
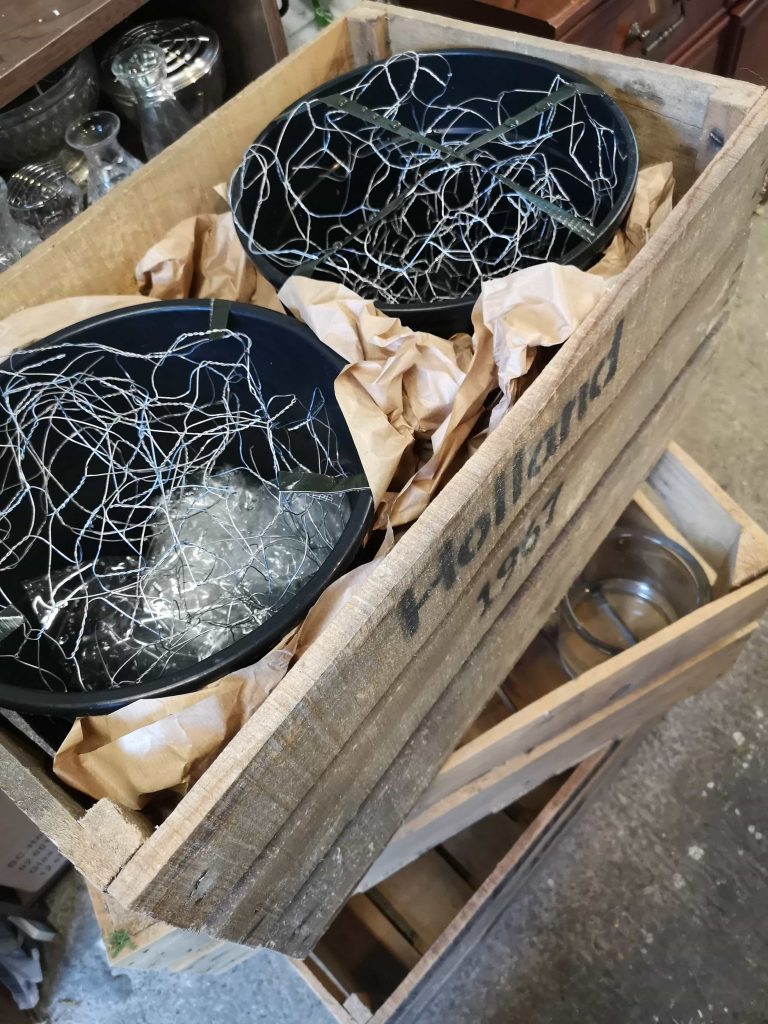
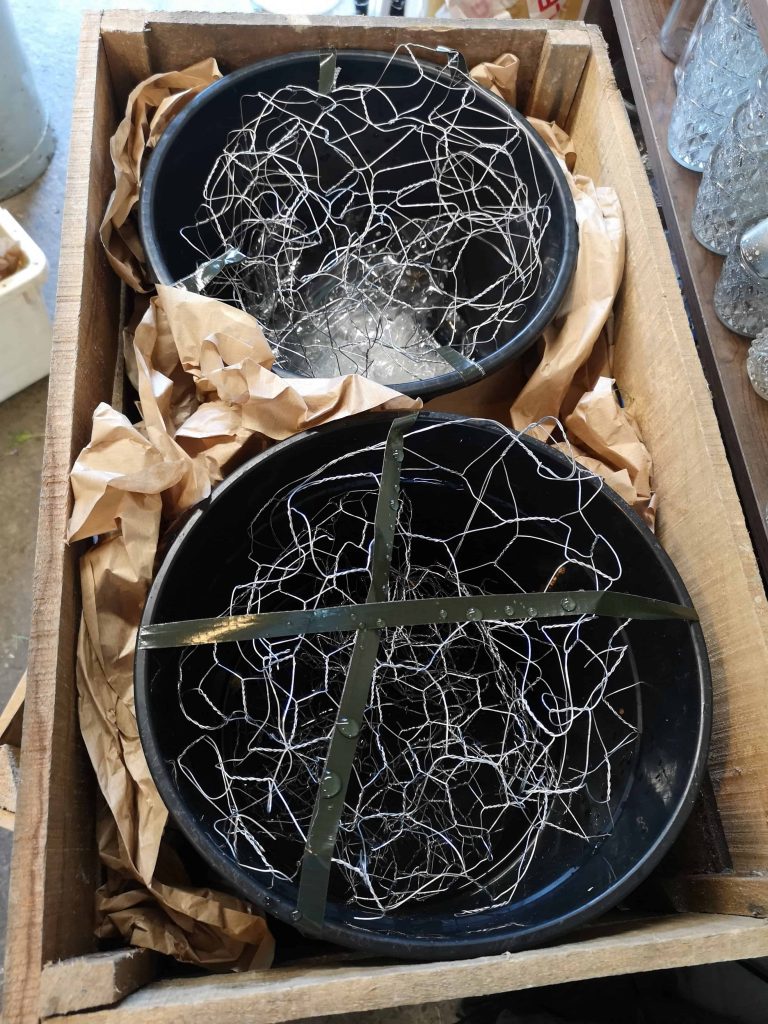
I used two florist black buckets (you know the ones that appear with your order sometimes? If not you can buy them easily) then scrunched up a ball of chickenwire and fixed to the sides of the bucket to ensure nothing fell out. I have to say that here I did use pot tape to secure, which is technically a plastic, you could probably use some kind of eco string instead though. These posts are very much me taking you on my journey of figuring out mechanics – not a polished course of foam free mechanics so forgive me if my methods aren’t “perfect” yet.
With the chickenwire, you need to scrunch into a kind of double layered ball – if there is only one layer then the stems will just flop over to the edges. Having two layers gives additional security and allows stems to be held at two points. This may not quite make sense in words but I’ll link back to a better photo when I have one!
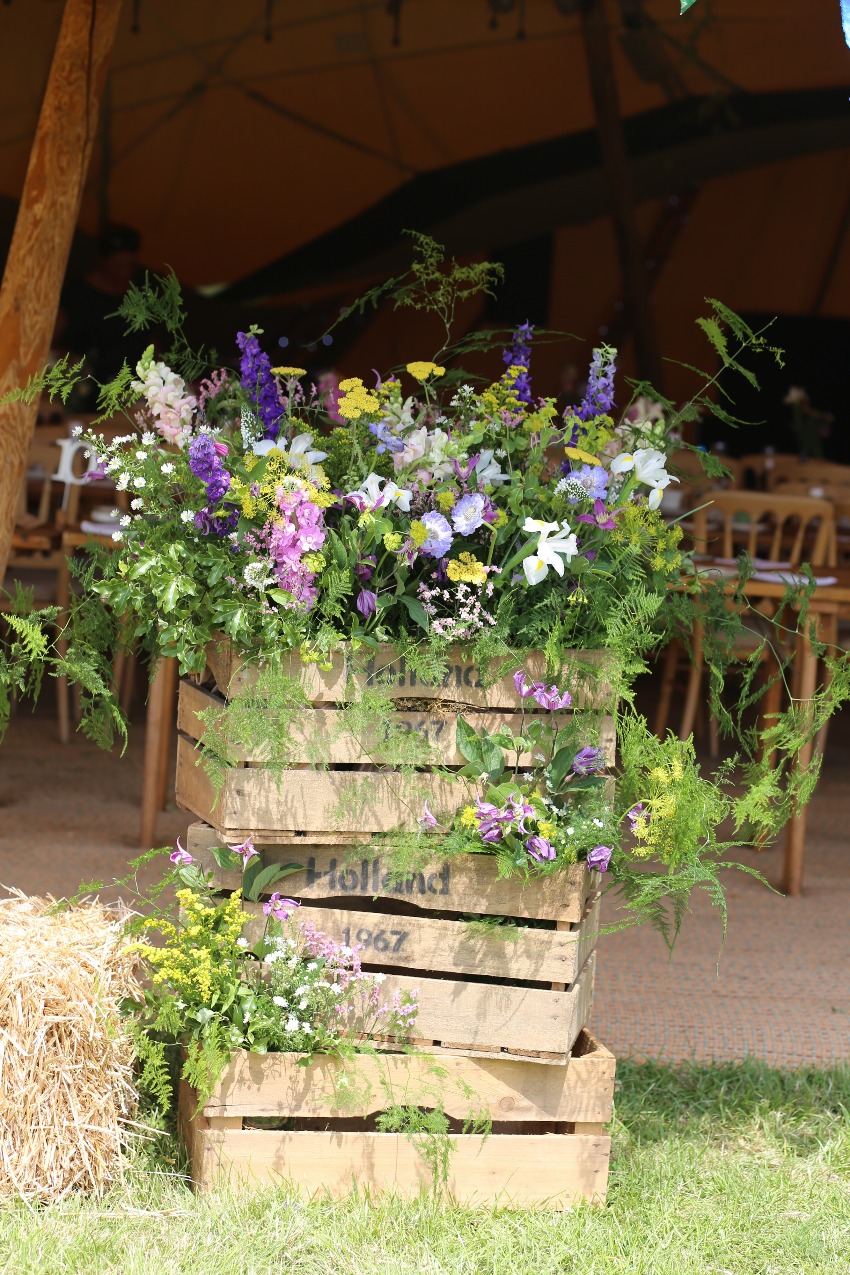
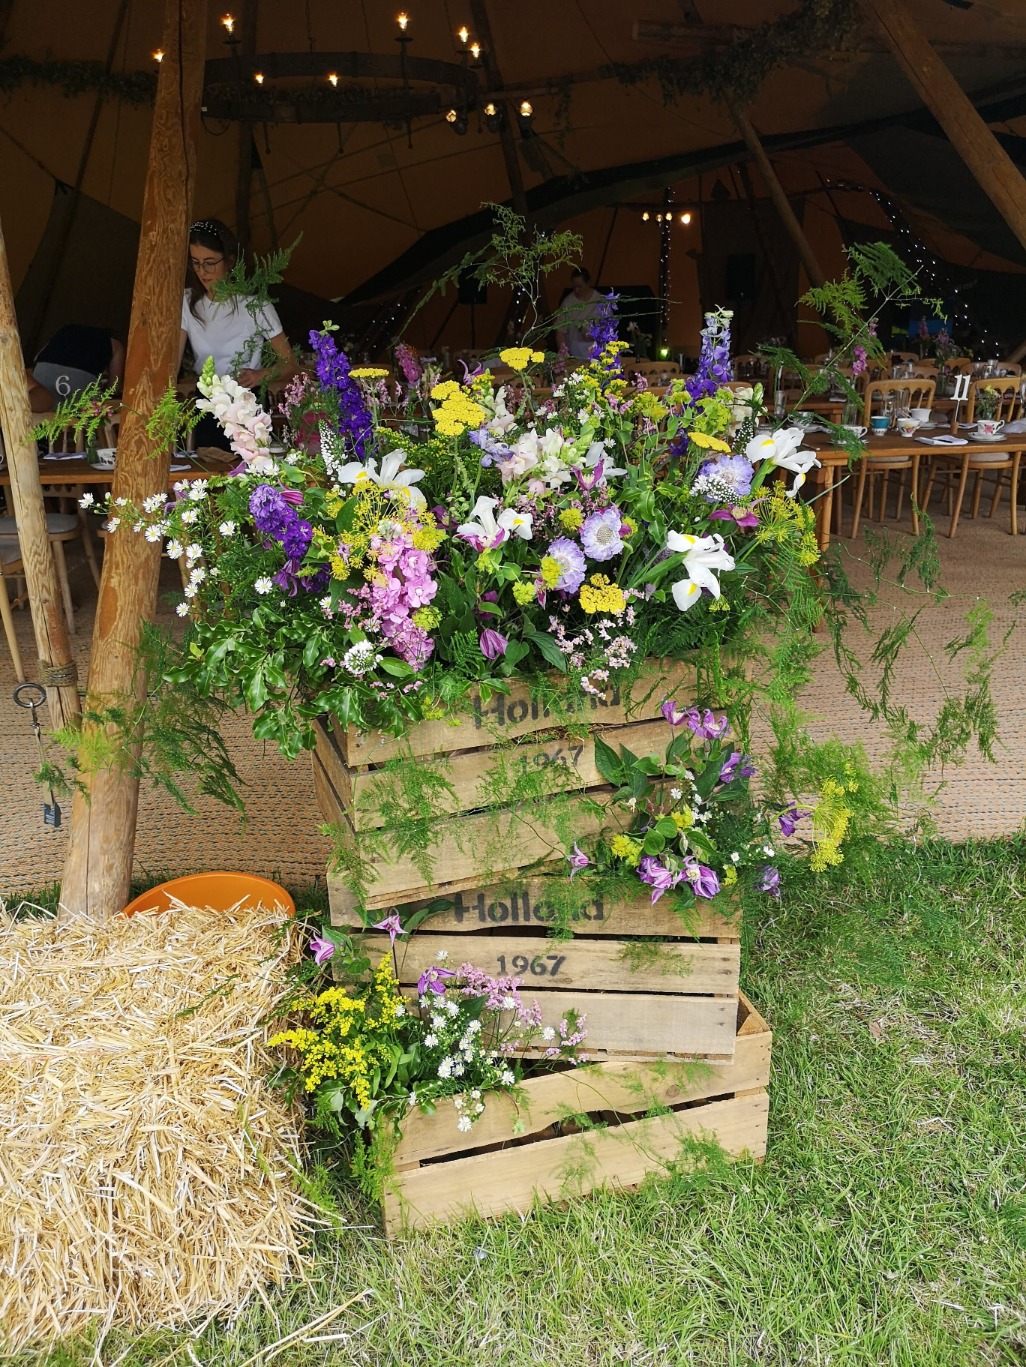
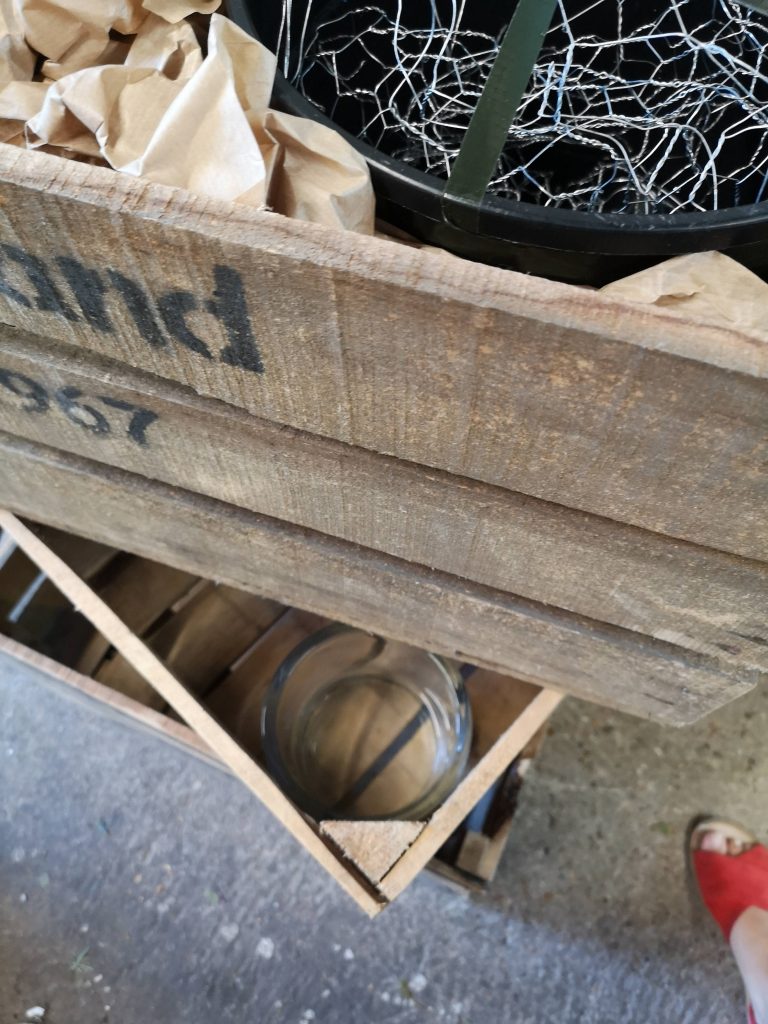
The lower two flower clusters are in little vases which I placed in the corner of the base and central crate before I put the next one on top at an angle. You don’t need chicken wire in these ones as the flowers are held up by the sides of the crate.
So there you have it! Pretty simple don’t you think? I’m hoping this will demystify the process to the florists who are so used to using foam that it seems challenging to move away and also to florists who are just starting out with their training. Colleges are still teaching with foam as the ‘best way’ so you might find yourself newly qualified and not really knowing what to do next if you aren’t keen on using foam.
Here is another post I wrote on working foam free where I include tips and pictures on making a candelabra.
Tune back in next Friday and I will (hopefully!) have another post for you with some more mechanics. Thanks for reading and have a great weekend everyone!