Tag Archives: eco flowers

Foam Free Friday

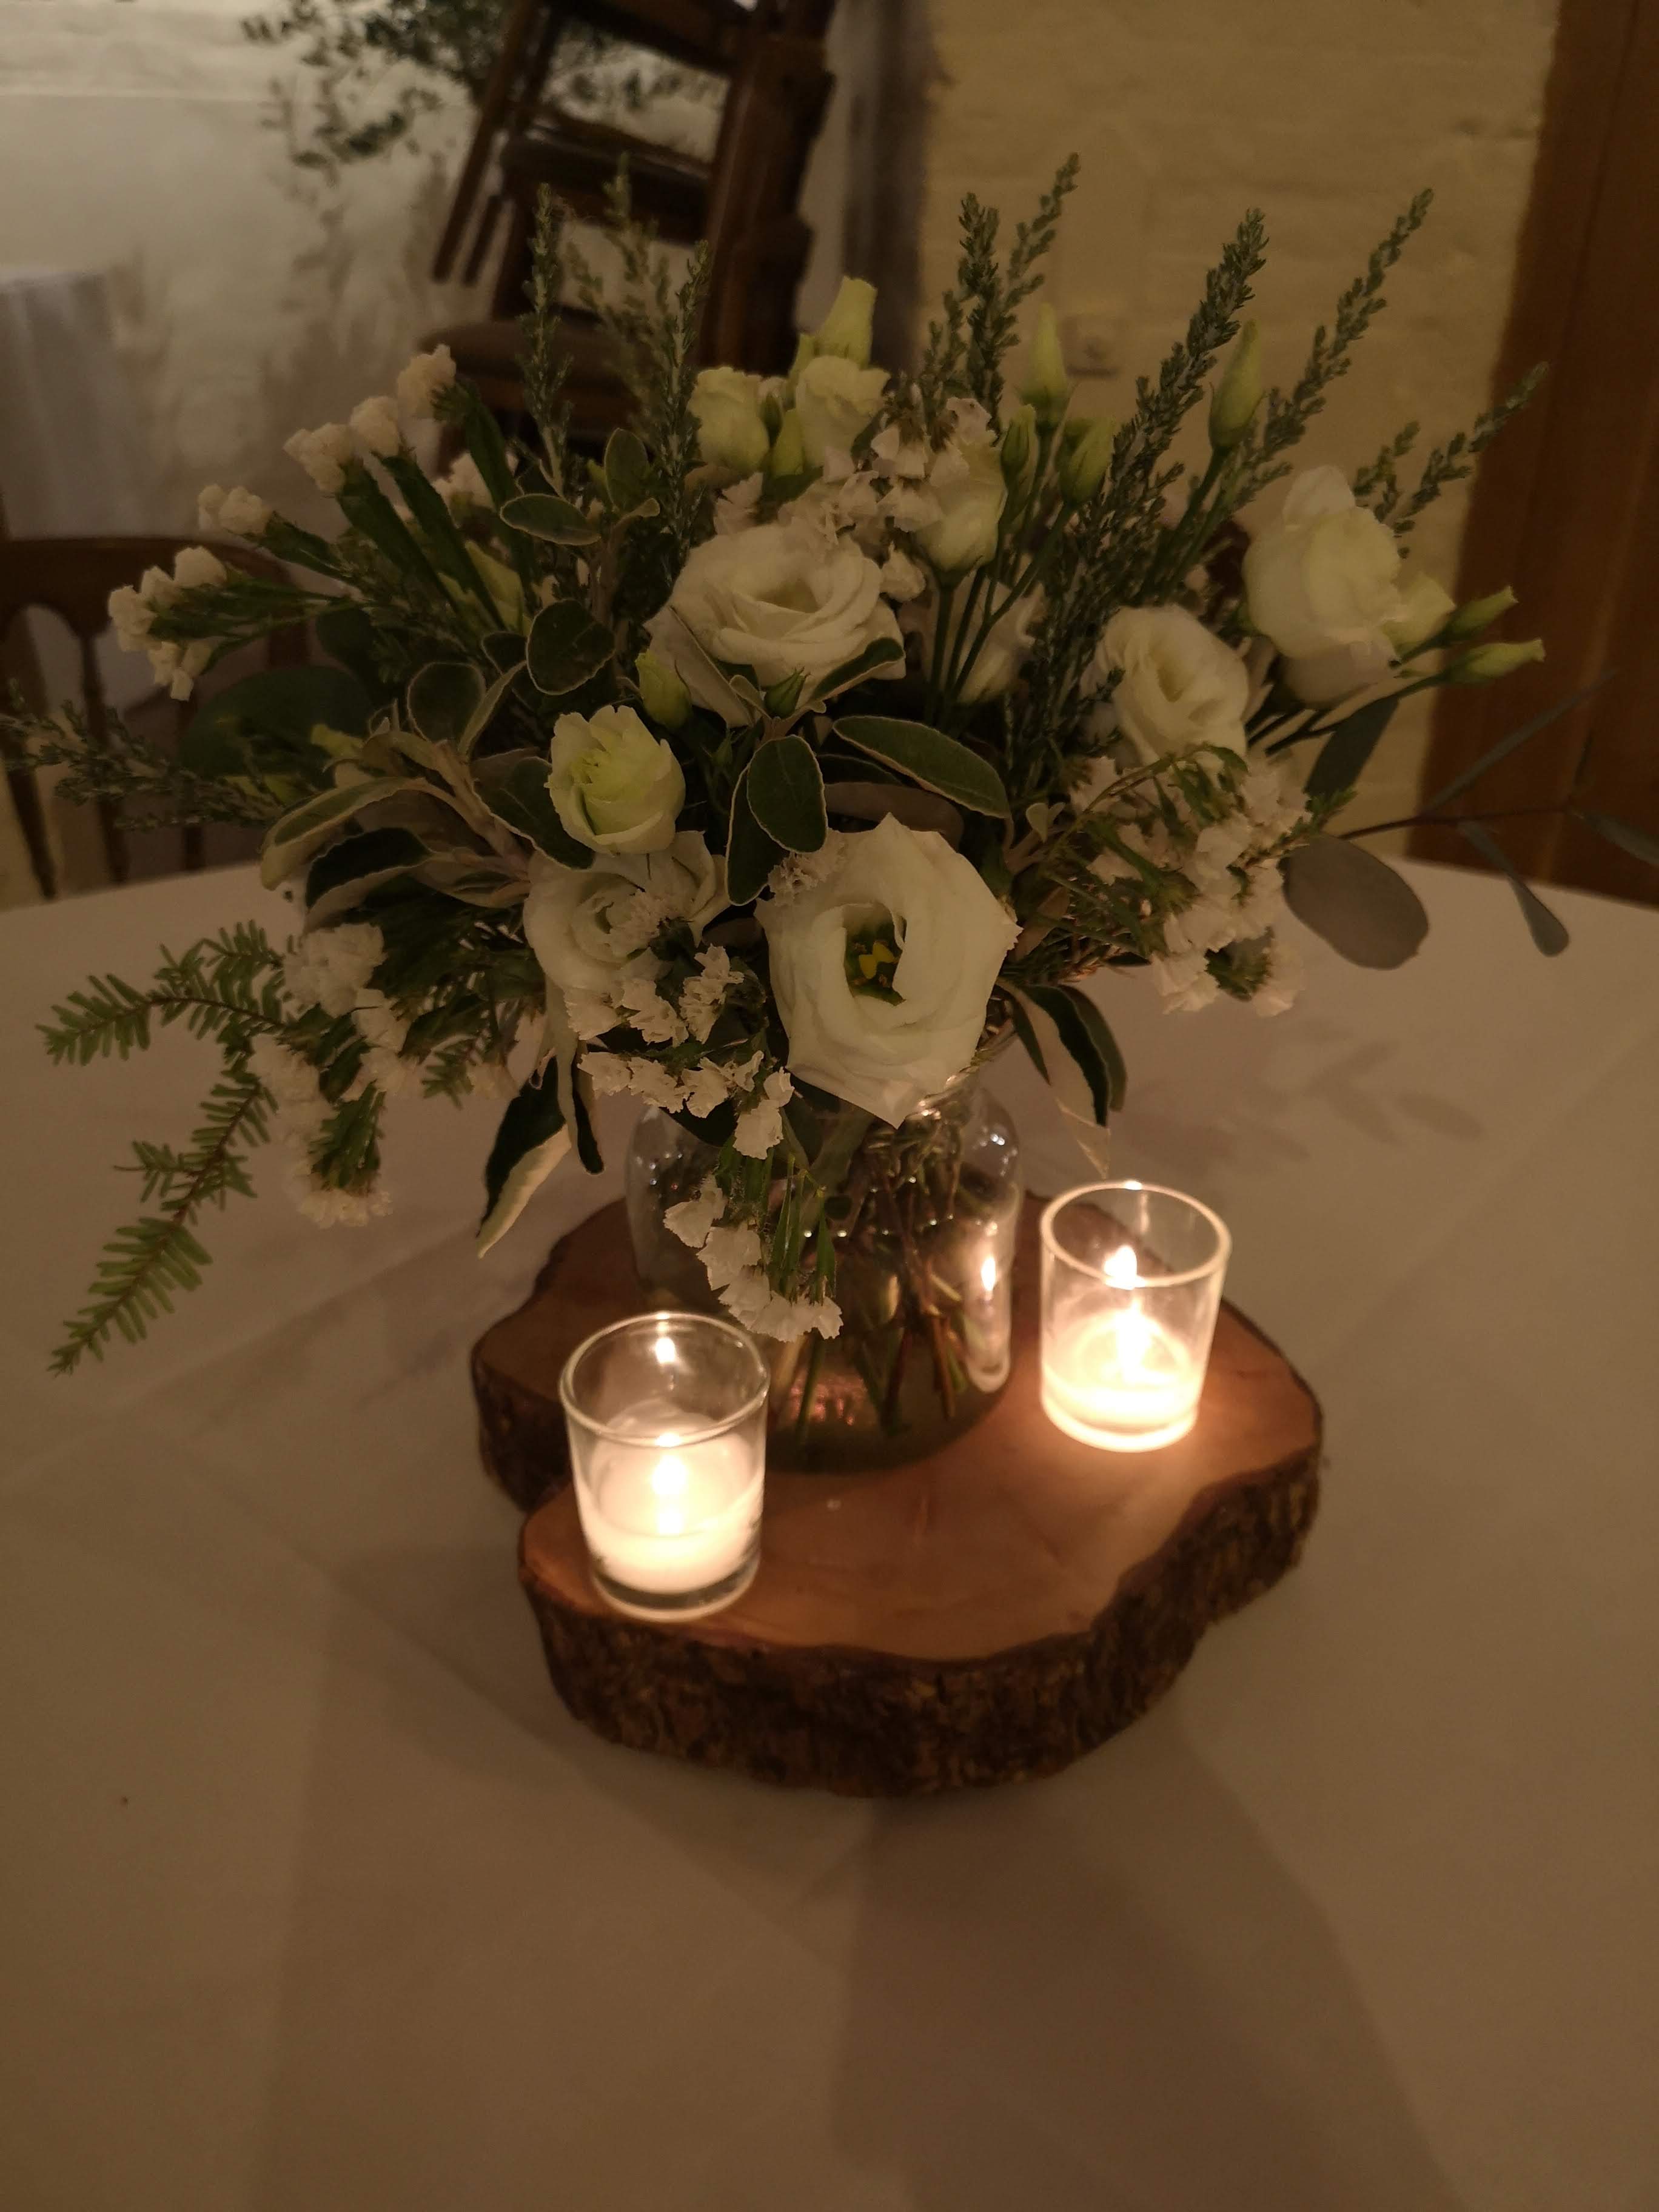
Foam free elevated table centre

Since I wrote this original post in 2019 I have continued to learn and develop new techniques and I’ve updated with another method I used for this arrangement at the end of 2021.

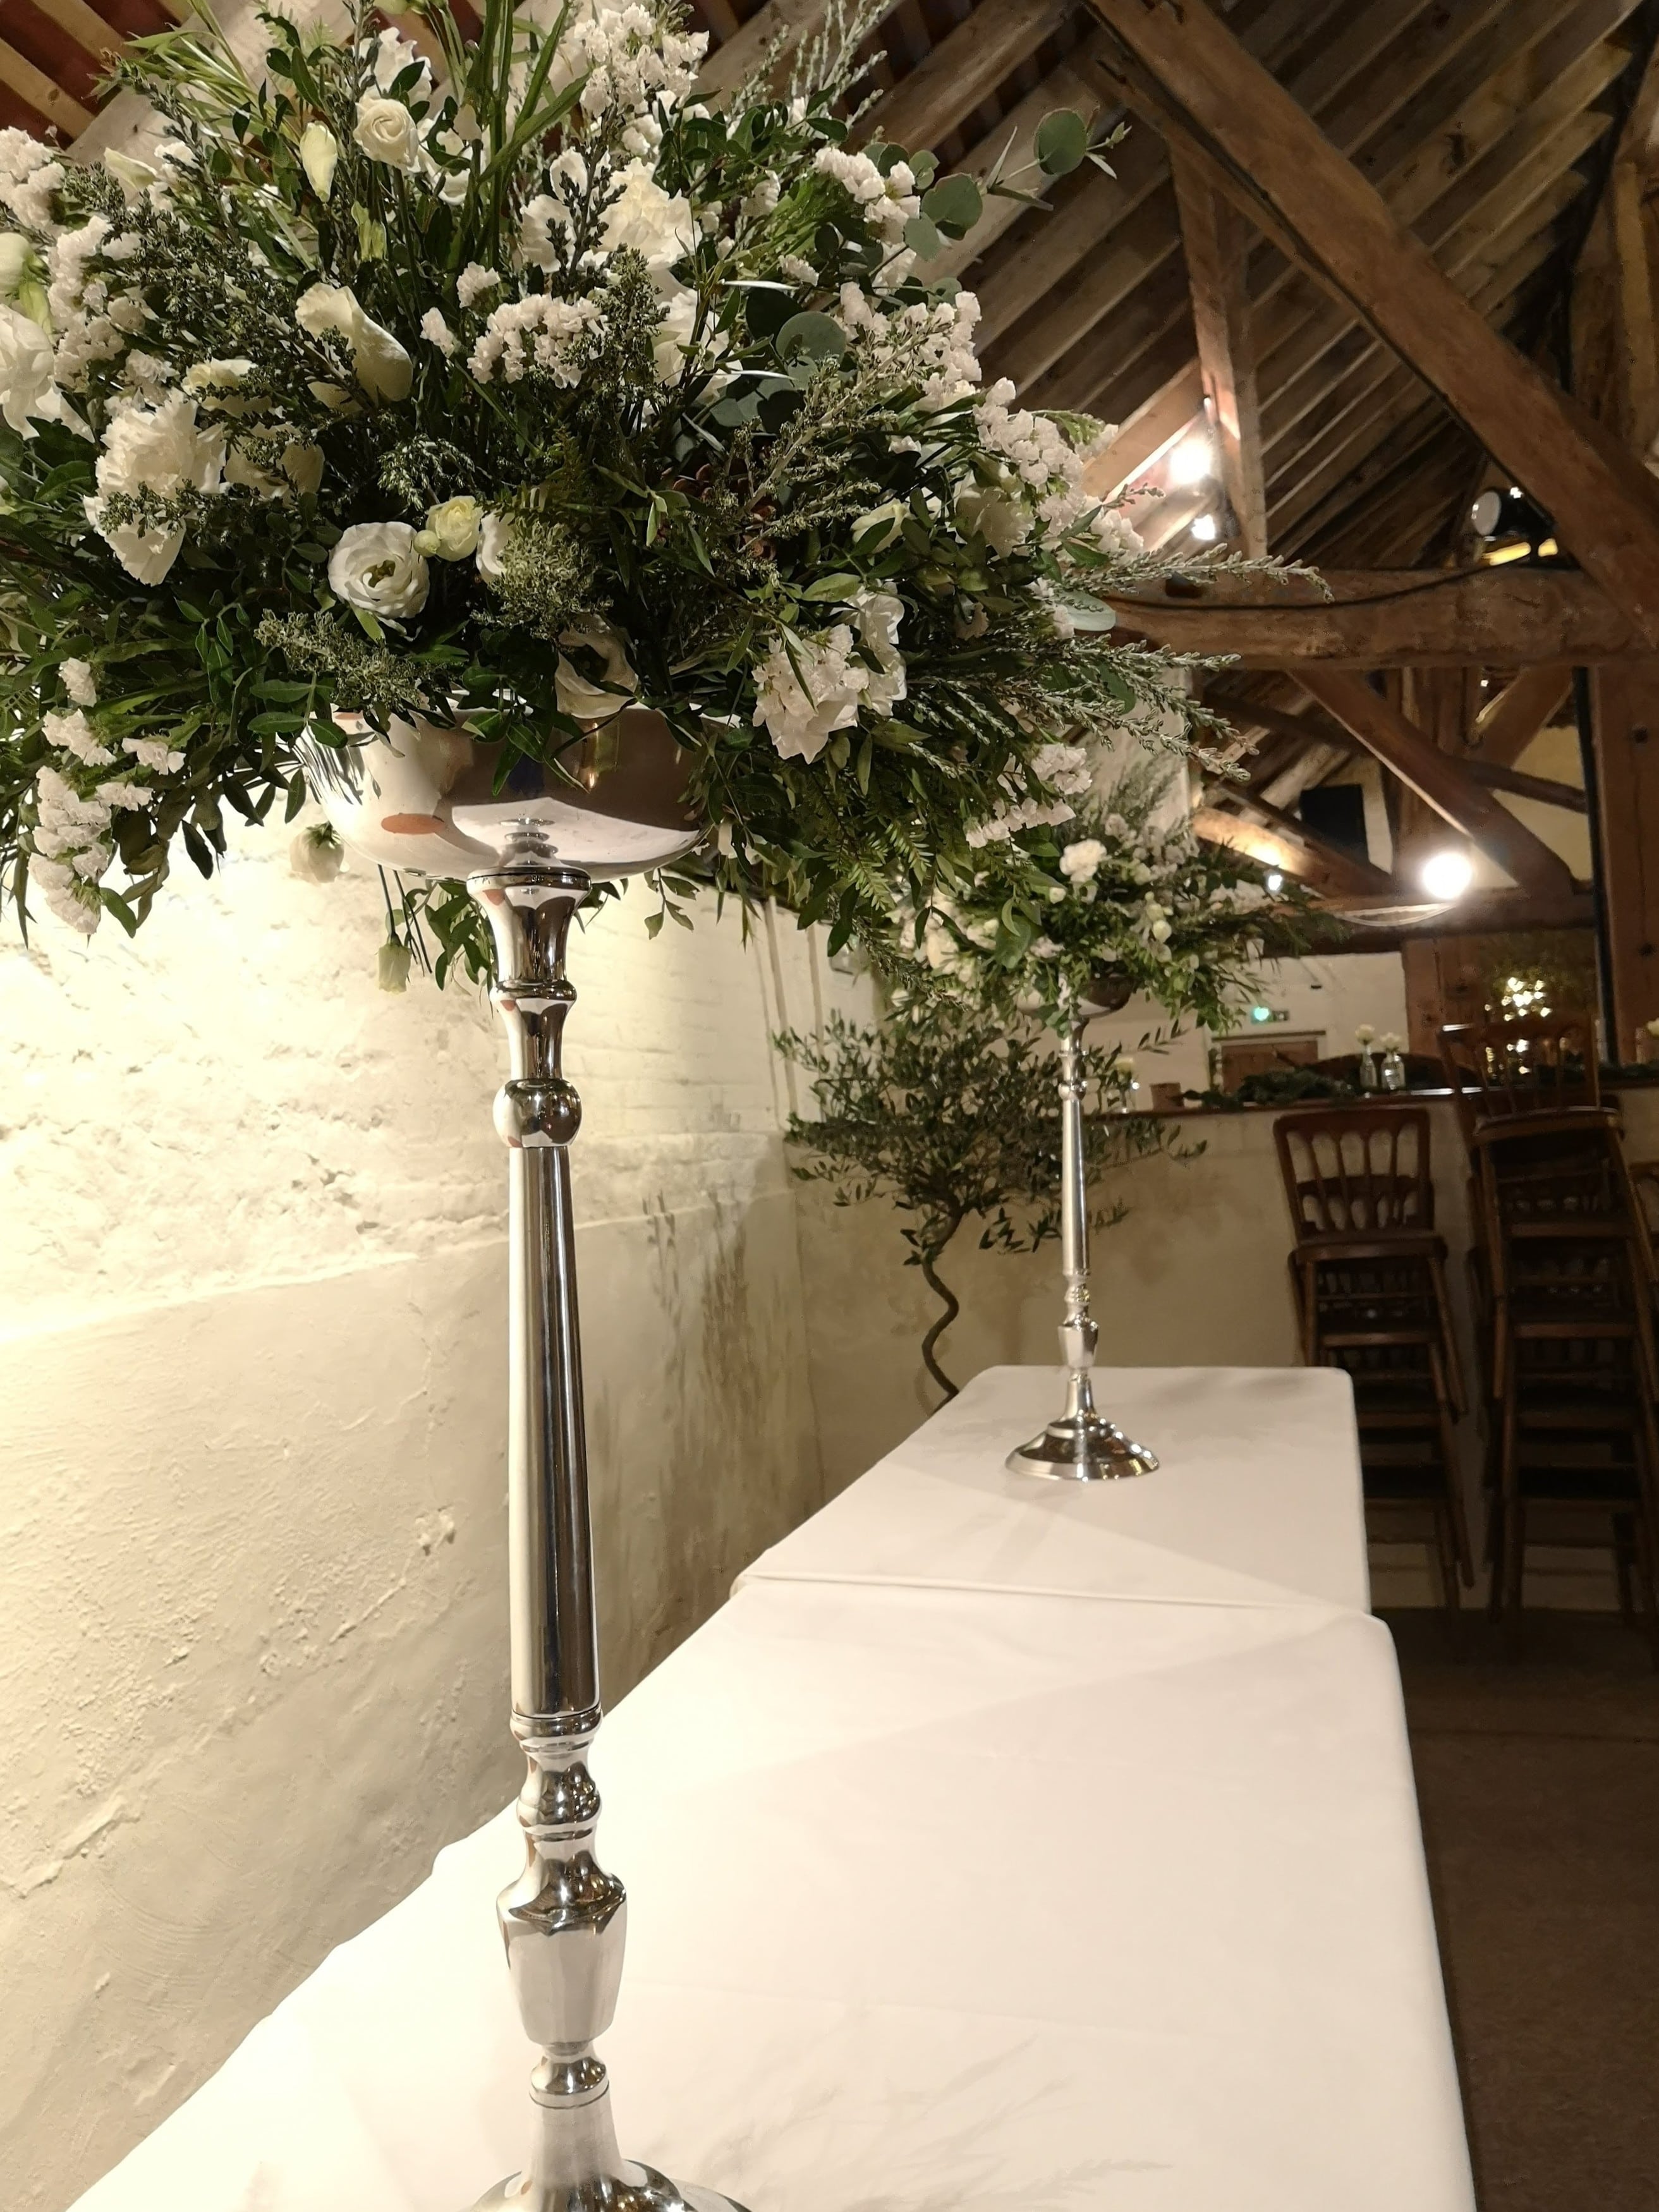
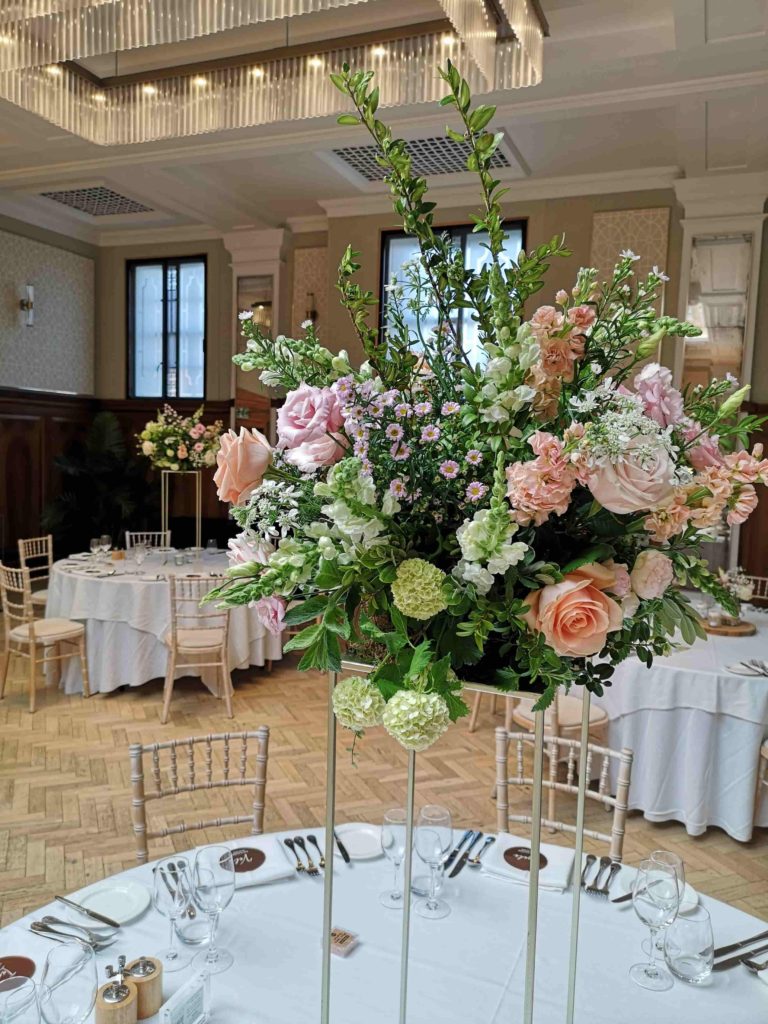
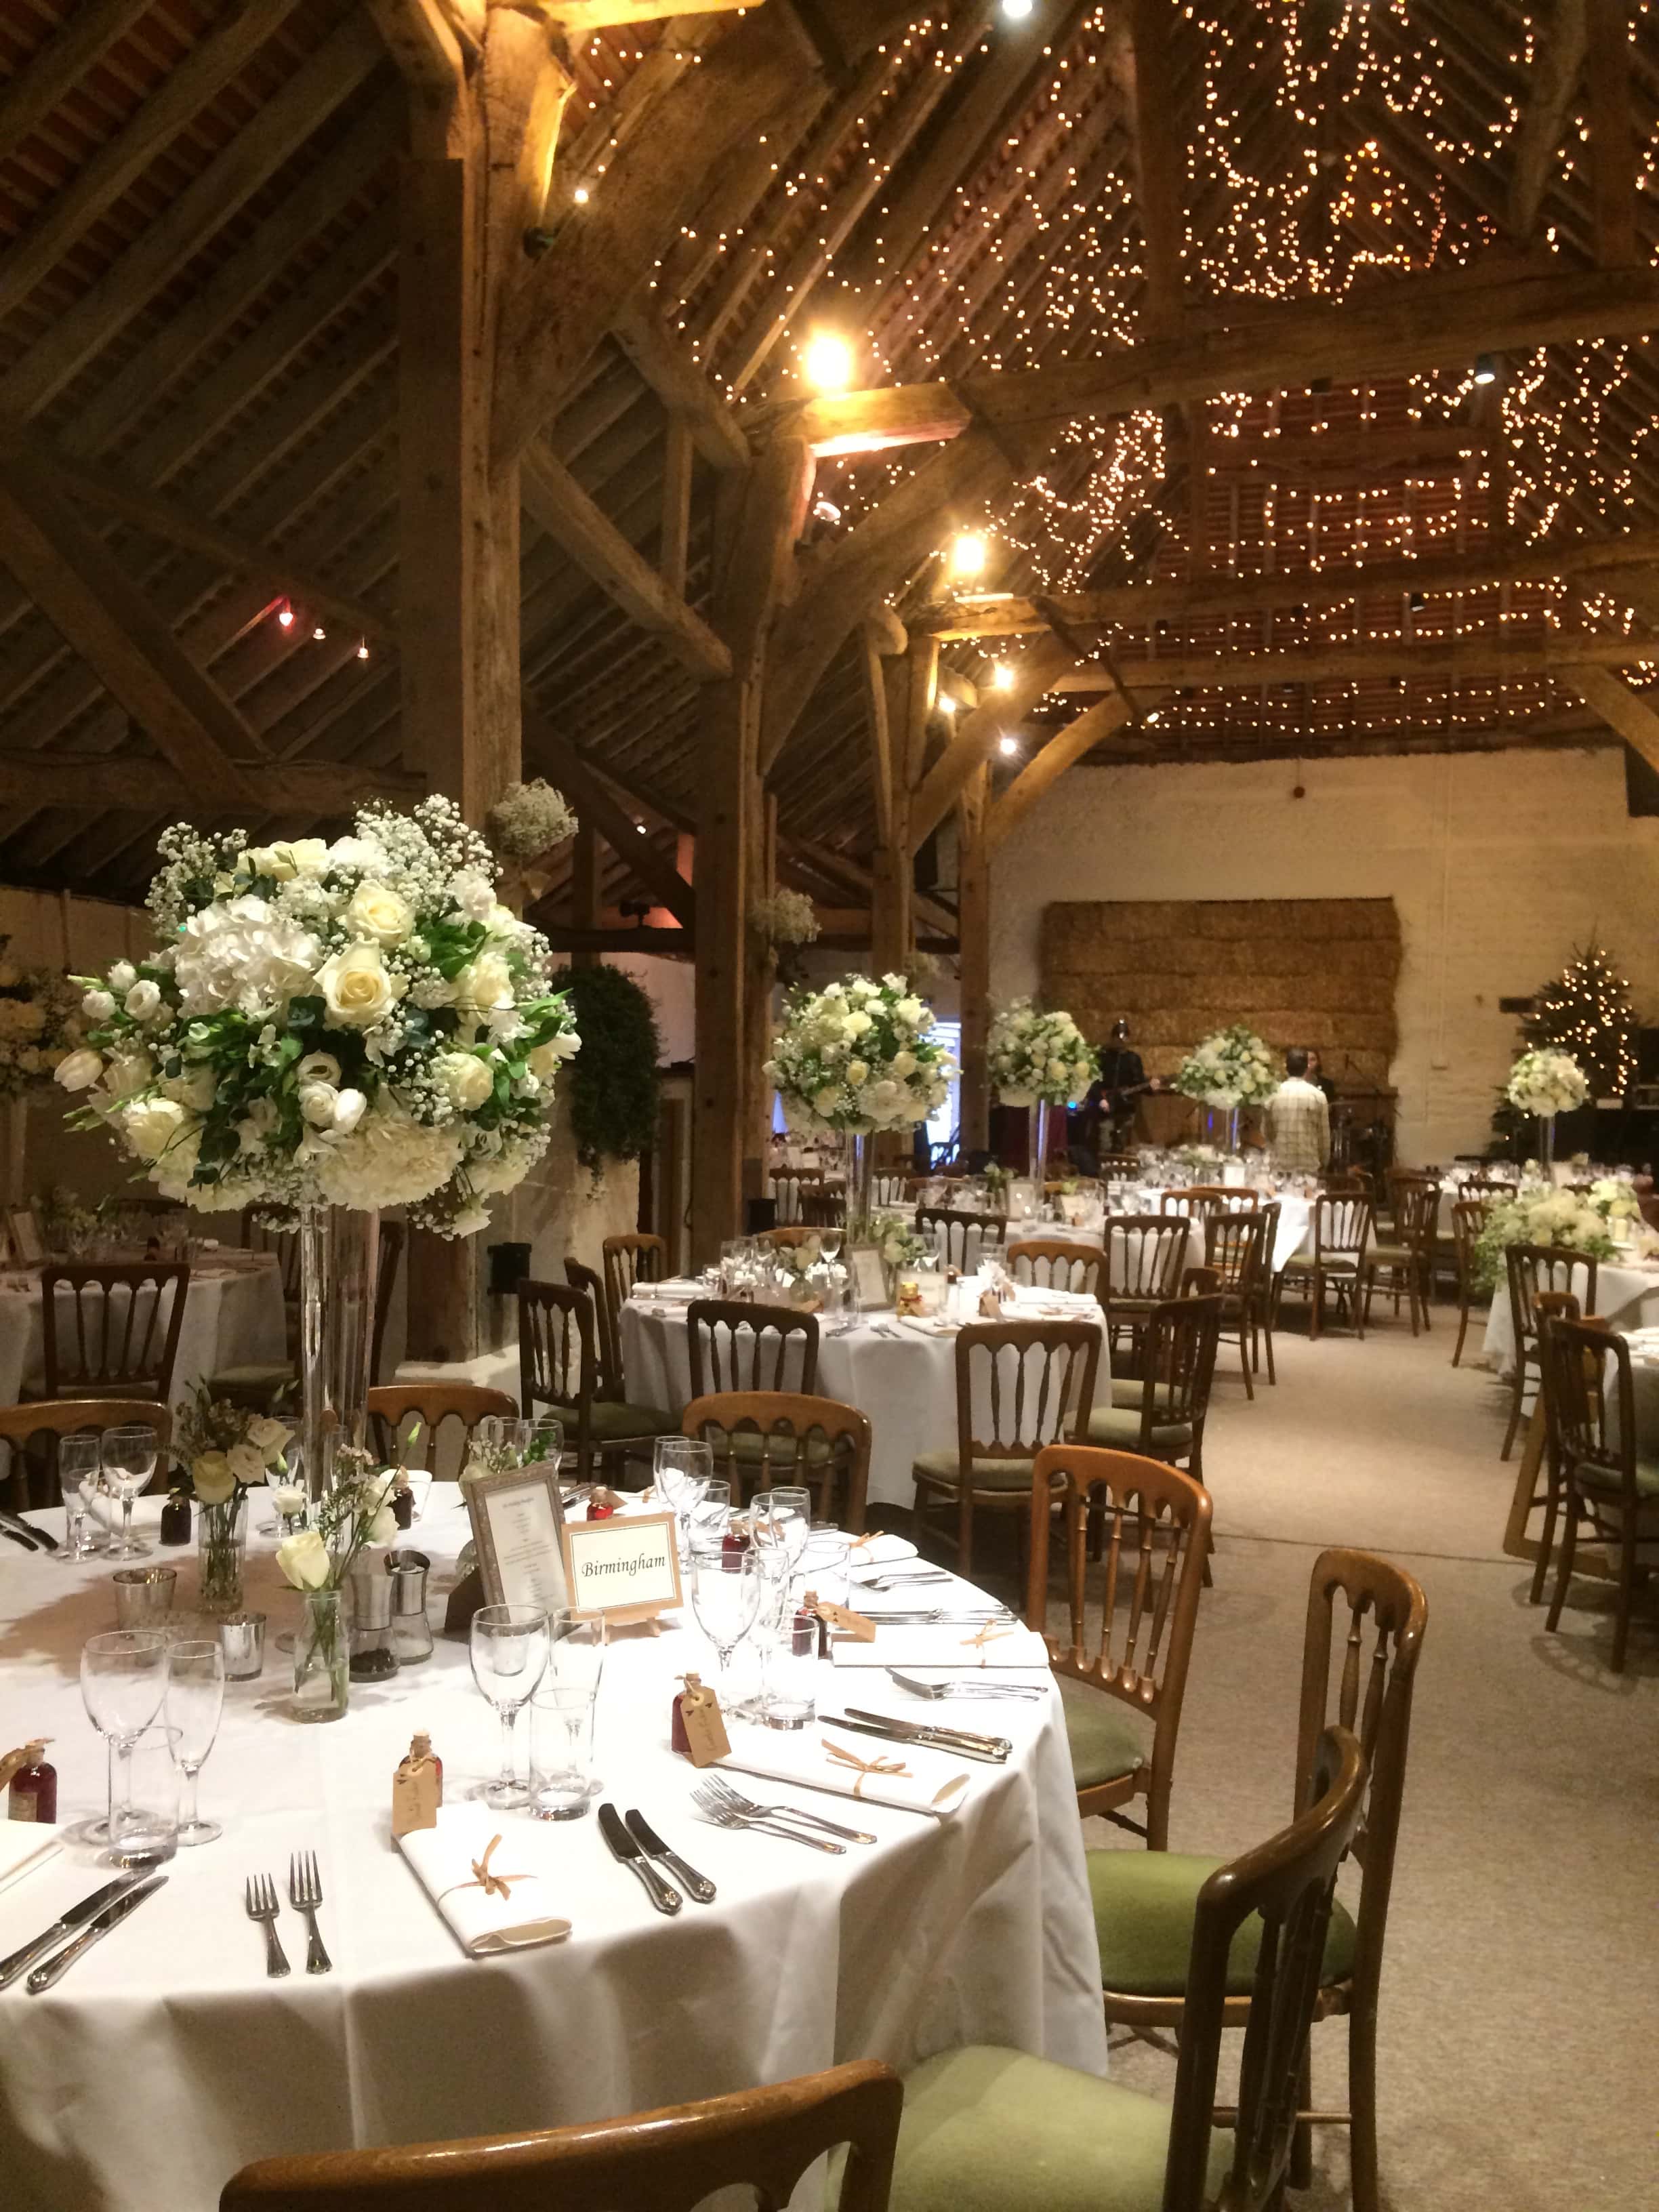
The classic tall ball of flowers is a very popular design at weddings, and for good reason – it’s beautiful and bursting full of flowers! An elevated floral design really adds impact to the room as it allows you to see the table flowers as soon as you enter. This has also been the hardest floral design to get to grips with whilst working foam free. I created a very similar design in 2016 for a Christmas wedding (also at Pangdean Barn like the one pictured below!) and I was really stumped with how to move forward without using foam. In the end that’s exactly what I did, I didn’t feel confident enough in an alternative way of working in this particular design. I know that’s still how a lot of florists feel now so hopefully this post can help with that. Part of the problem when you are working on weddings and events, it’s a very pressured and scary time to be testing out new ways of working – you really want your methods to be tried and tested before using them on someones wedding day!

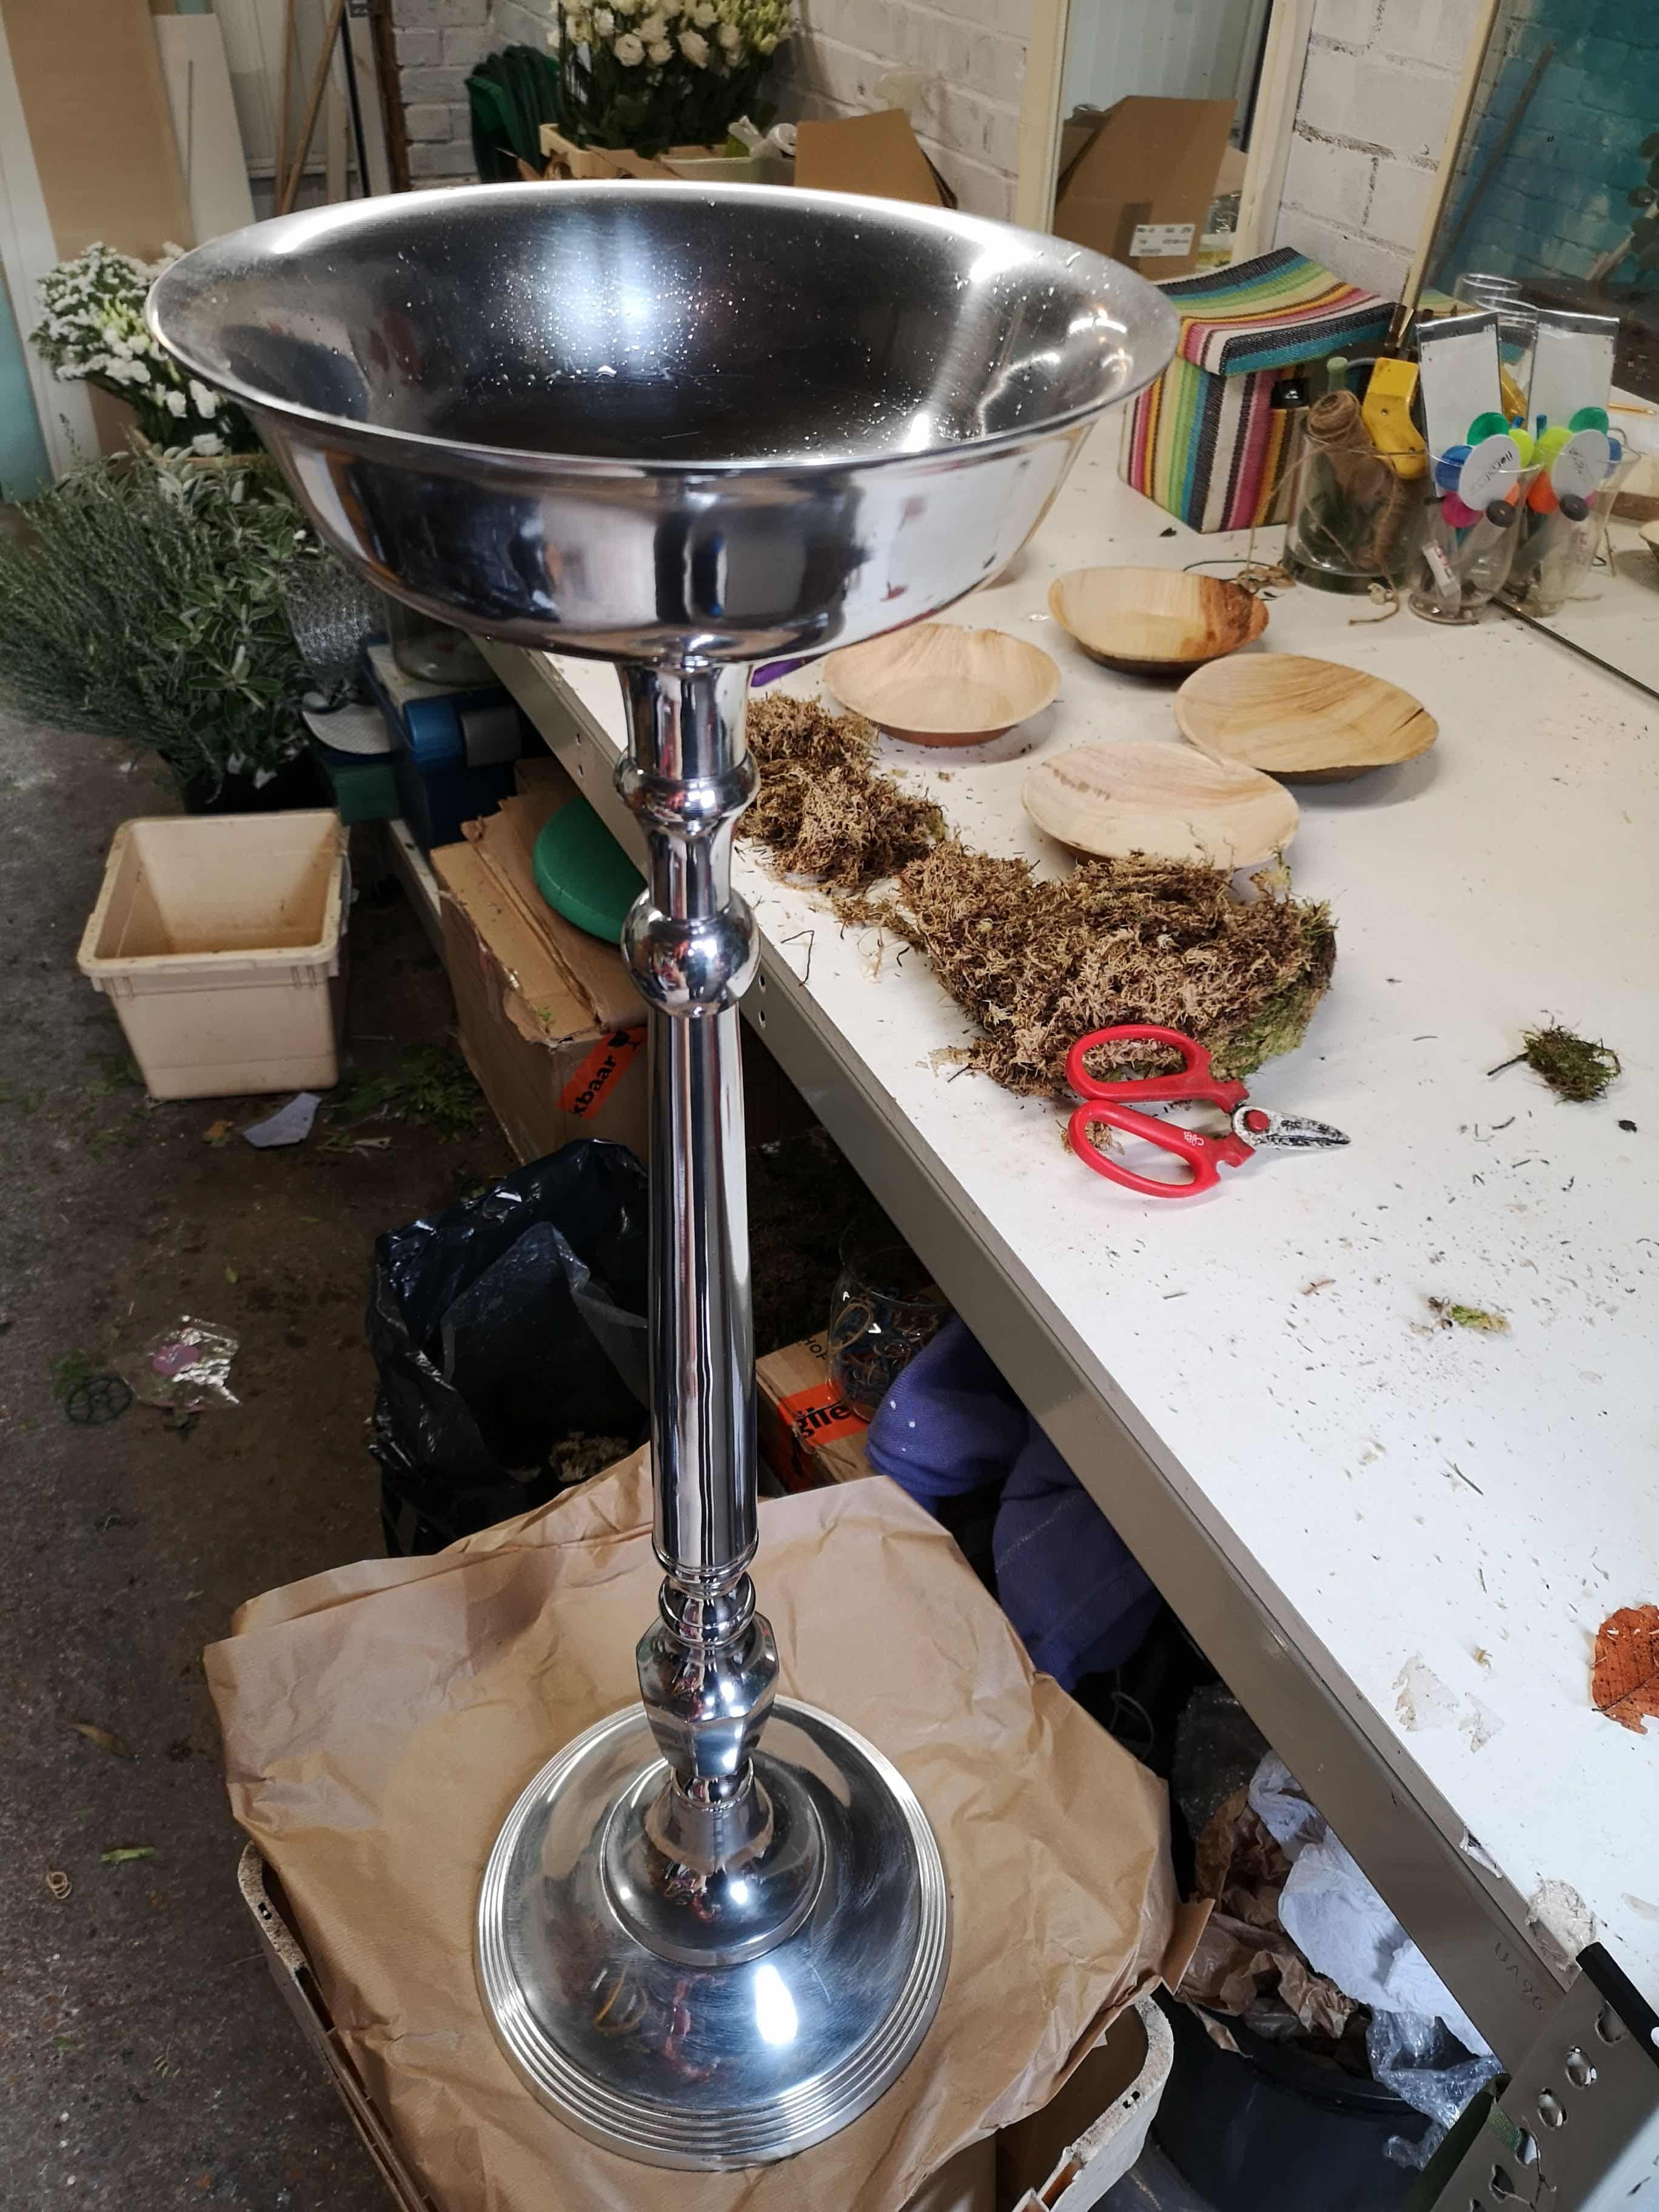
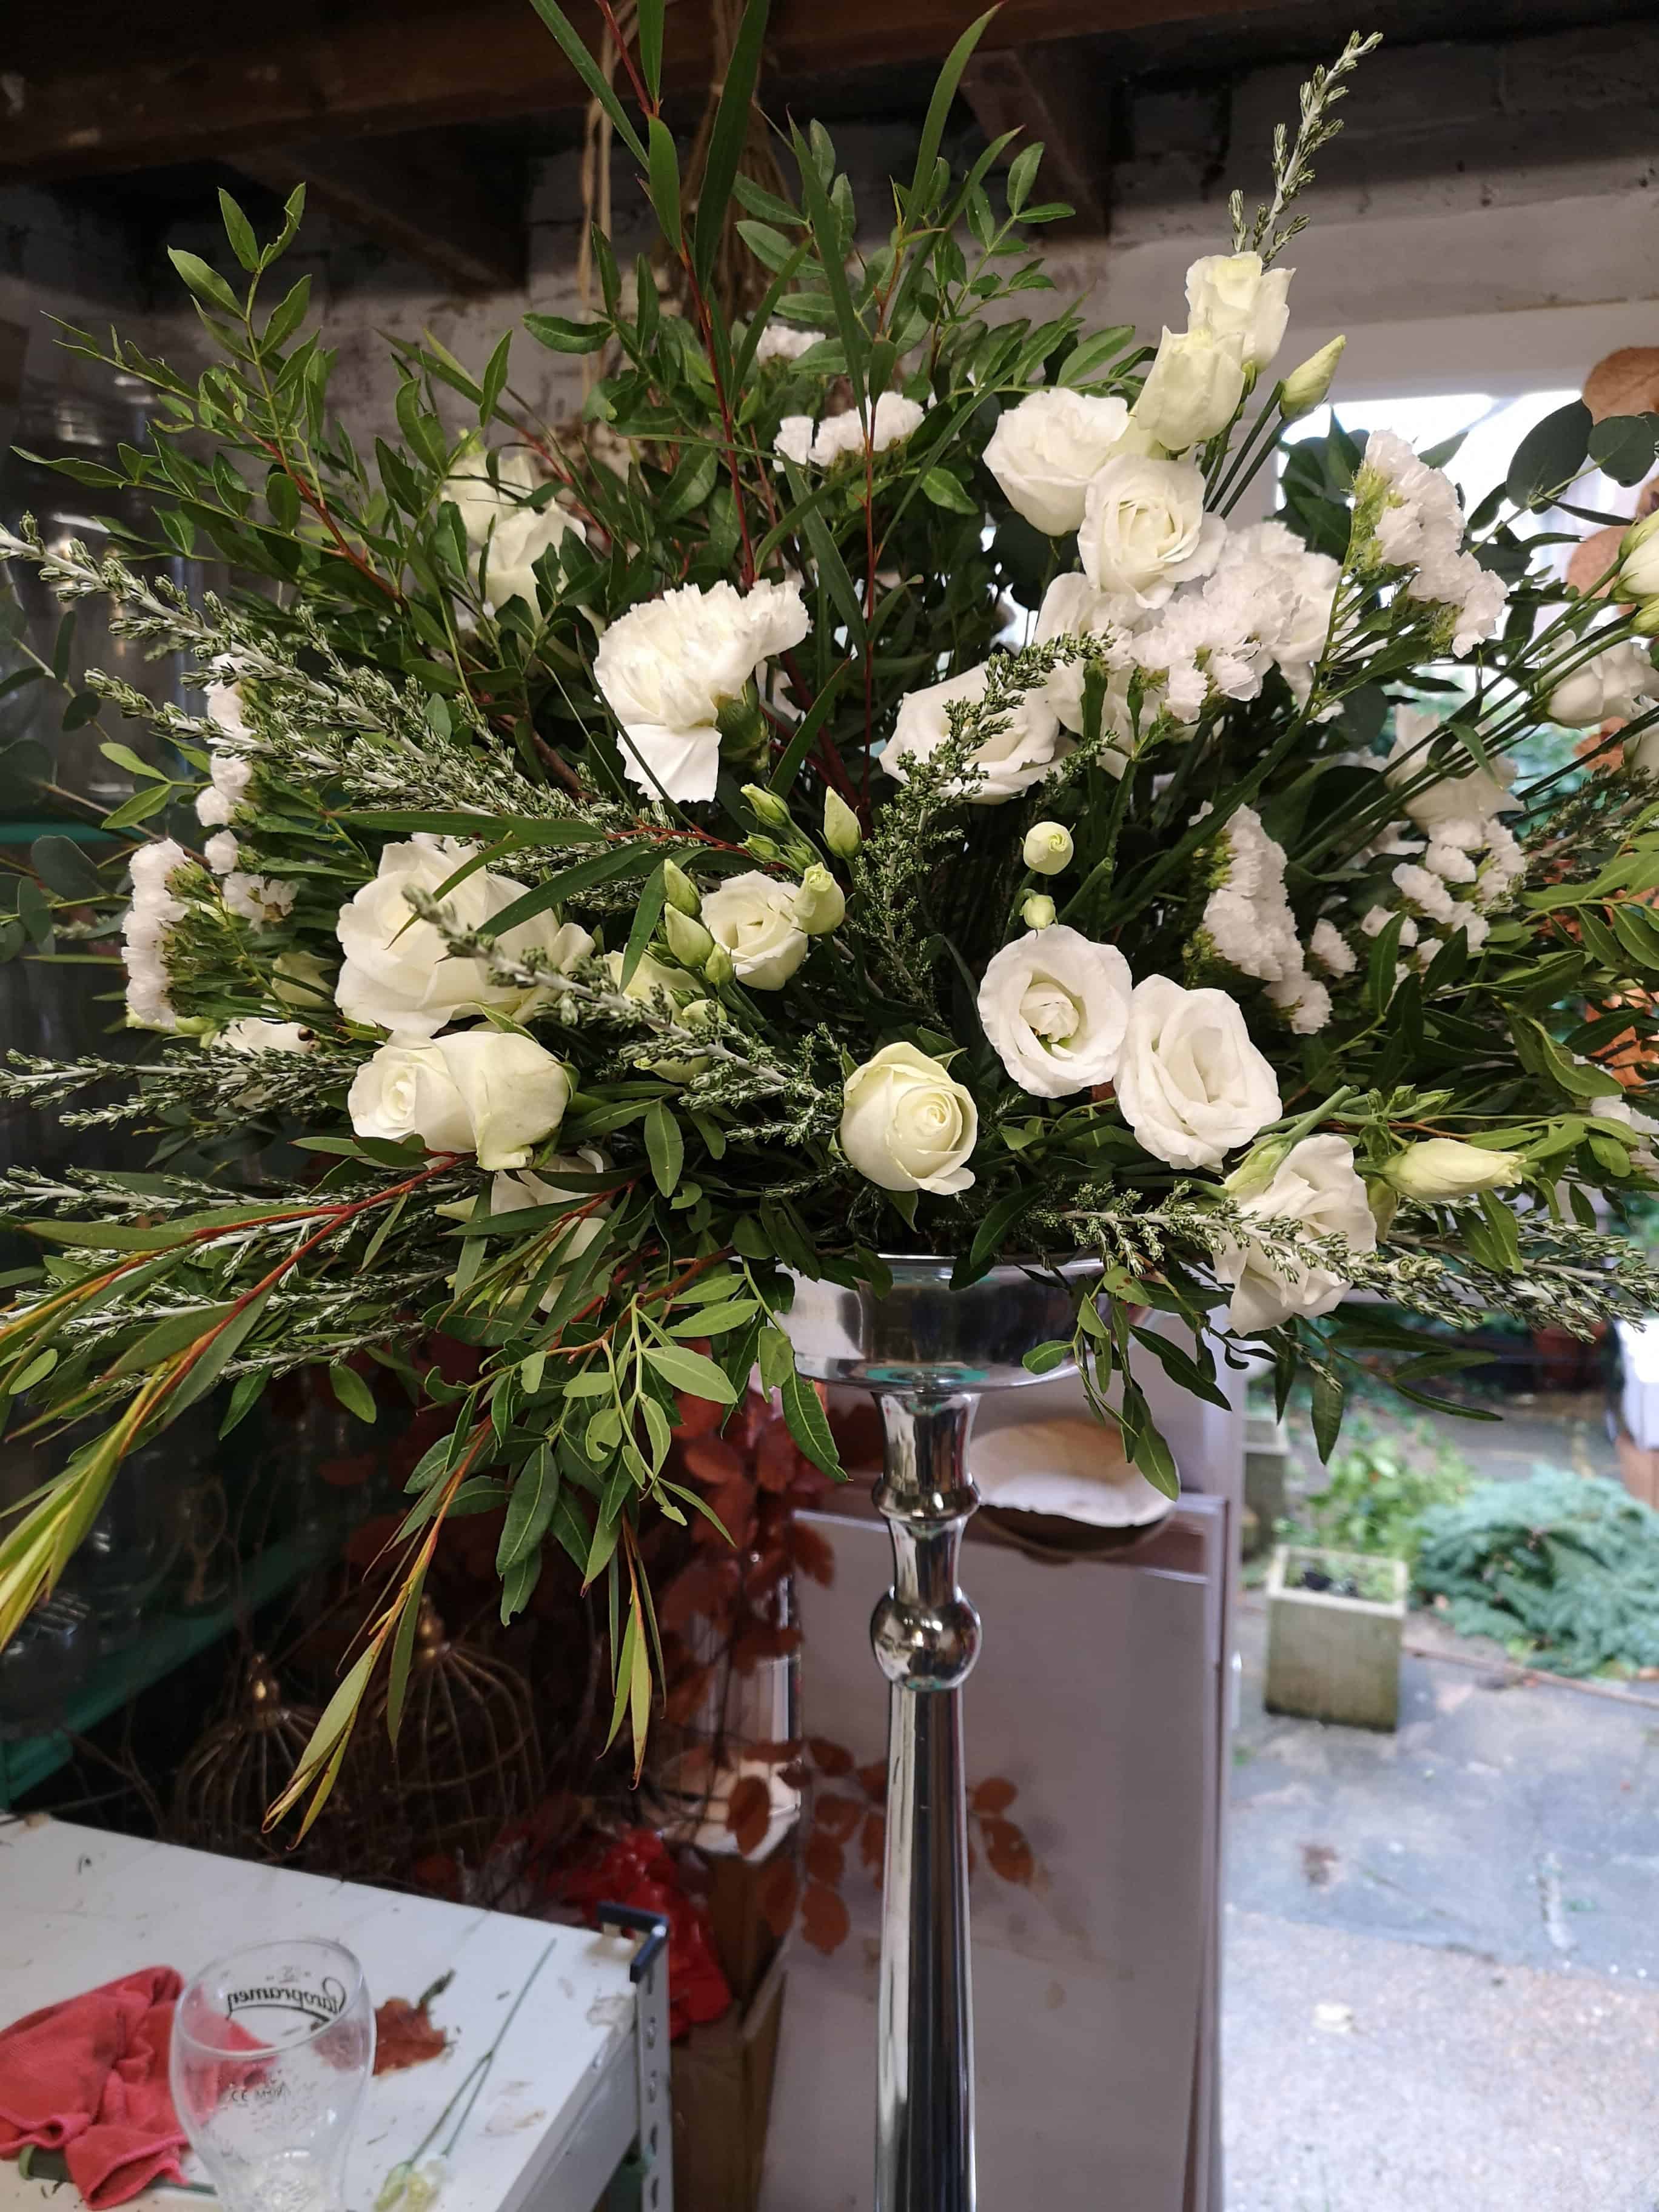
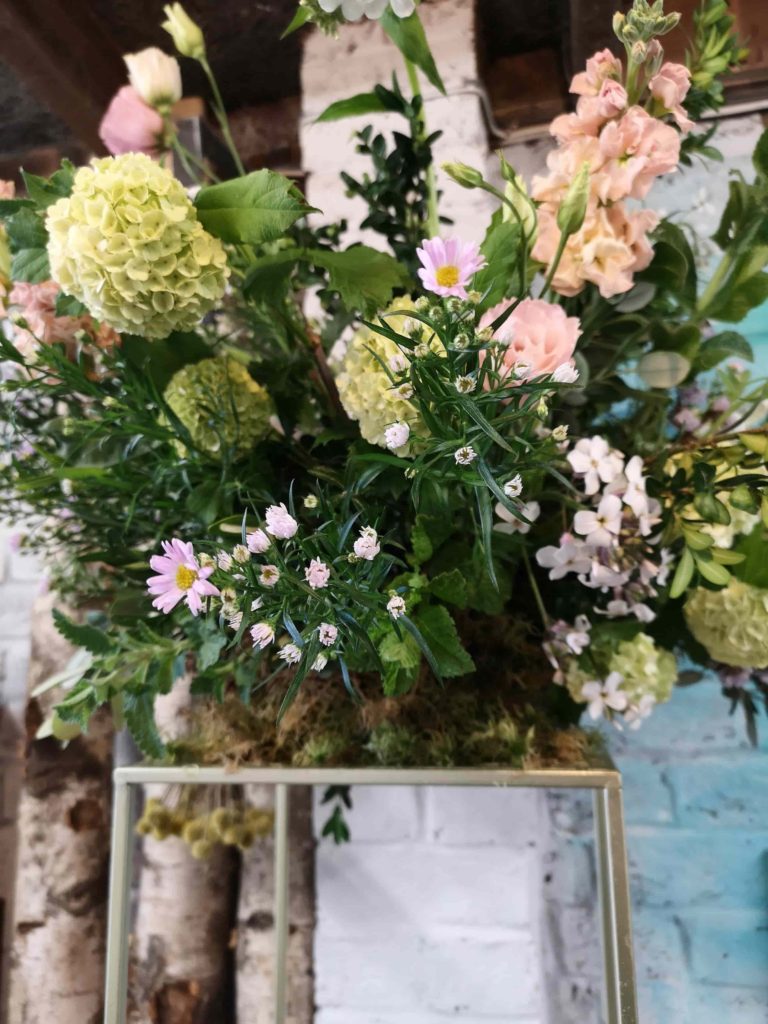
Below are the two very similar designs, the one on the left in foam and the right in moss. The main reason that the arrangement on the right was much easier to construct foam free was the choice of container, the silver candelabra style stand has a bowl at the top making it easy to place a container of moss or bowl water and chickenwire (which I will try next) The style to left is the classic third of a brick of foam in a plastic dish which is placed on the top of a glass vase. If you are wanting an eco friendly wedding and you like the design to the left make sure you talk to your florist about alternatives to foam. Don’t just assume that they will be working foam free because they’ve vaguely mentioned being environmentally conscious on their website!

Here is how the designs were made.

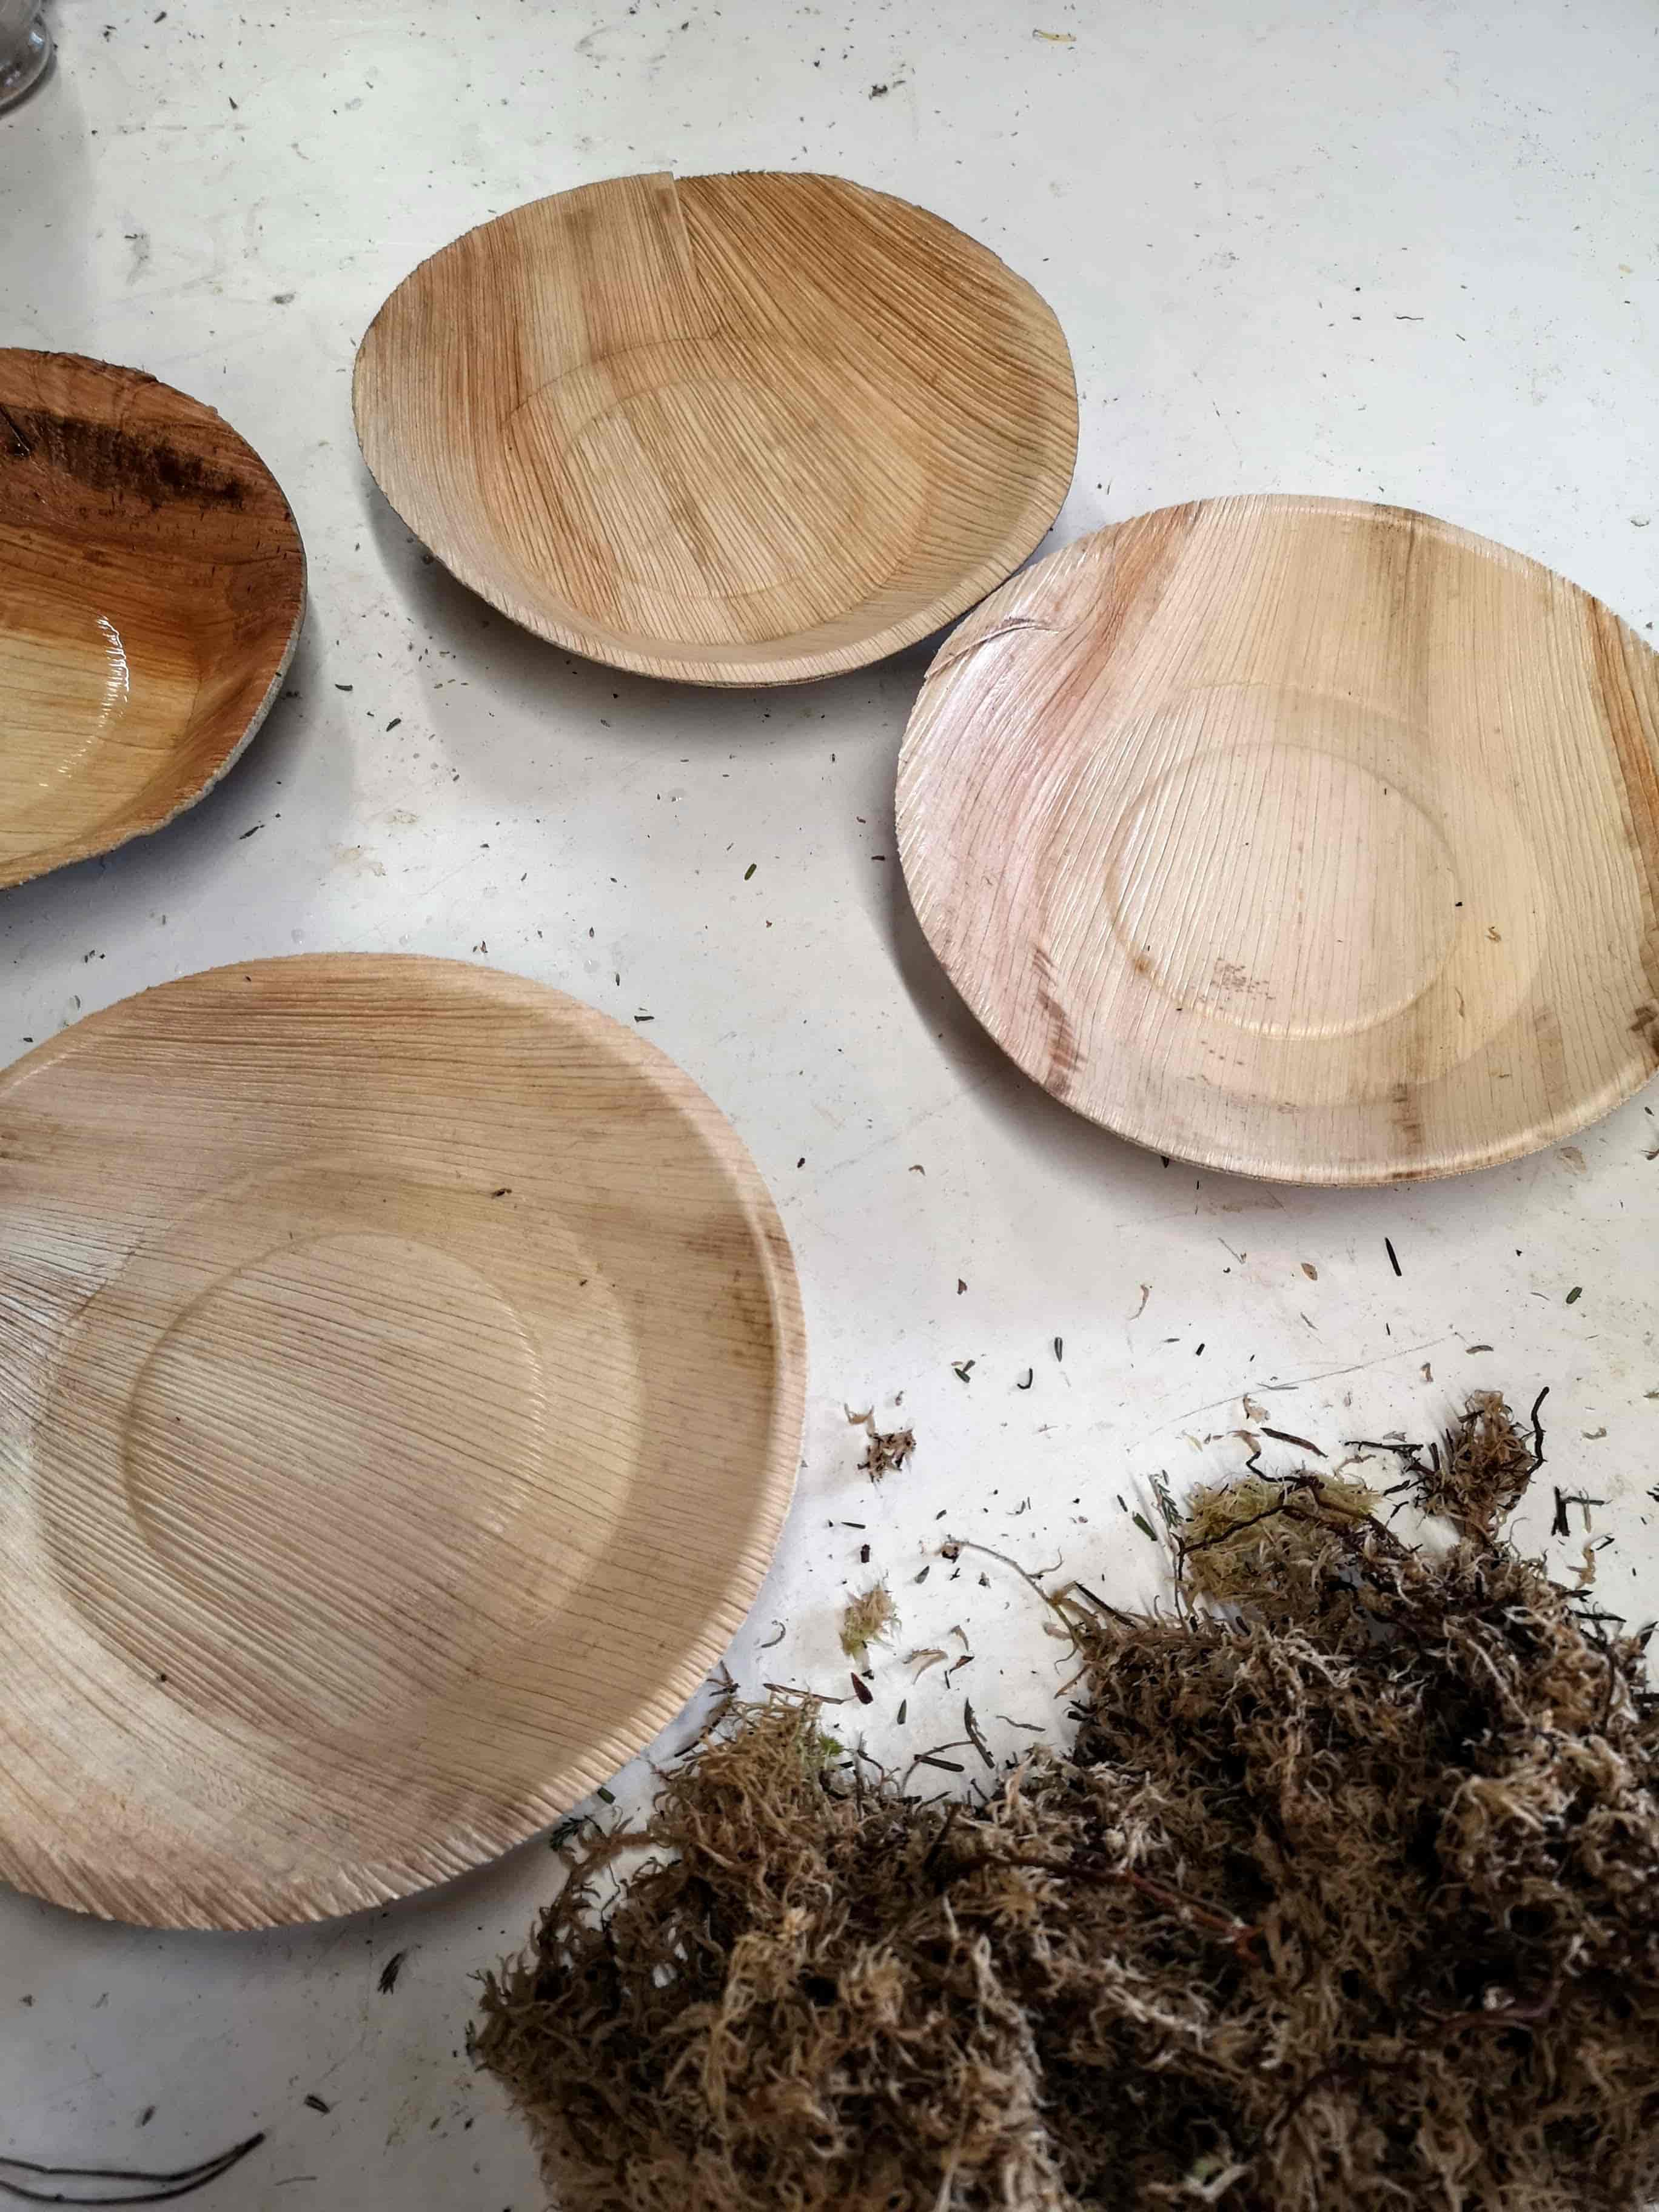
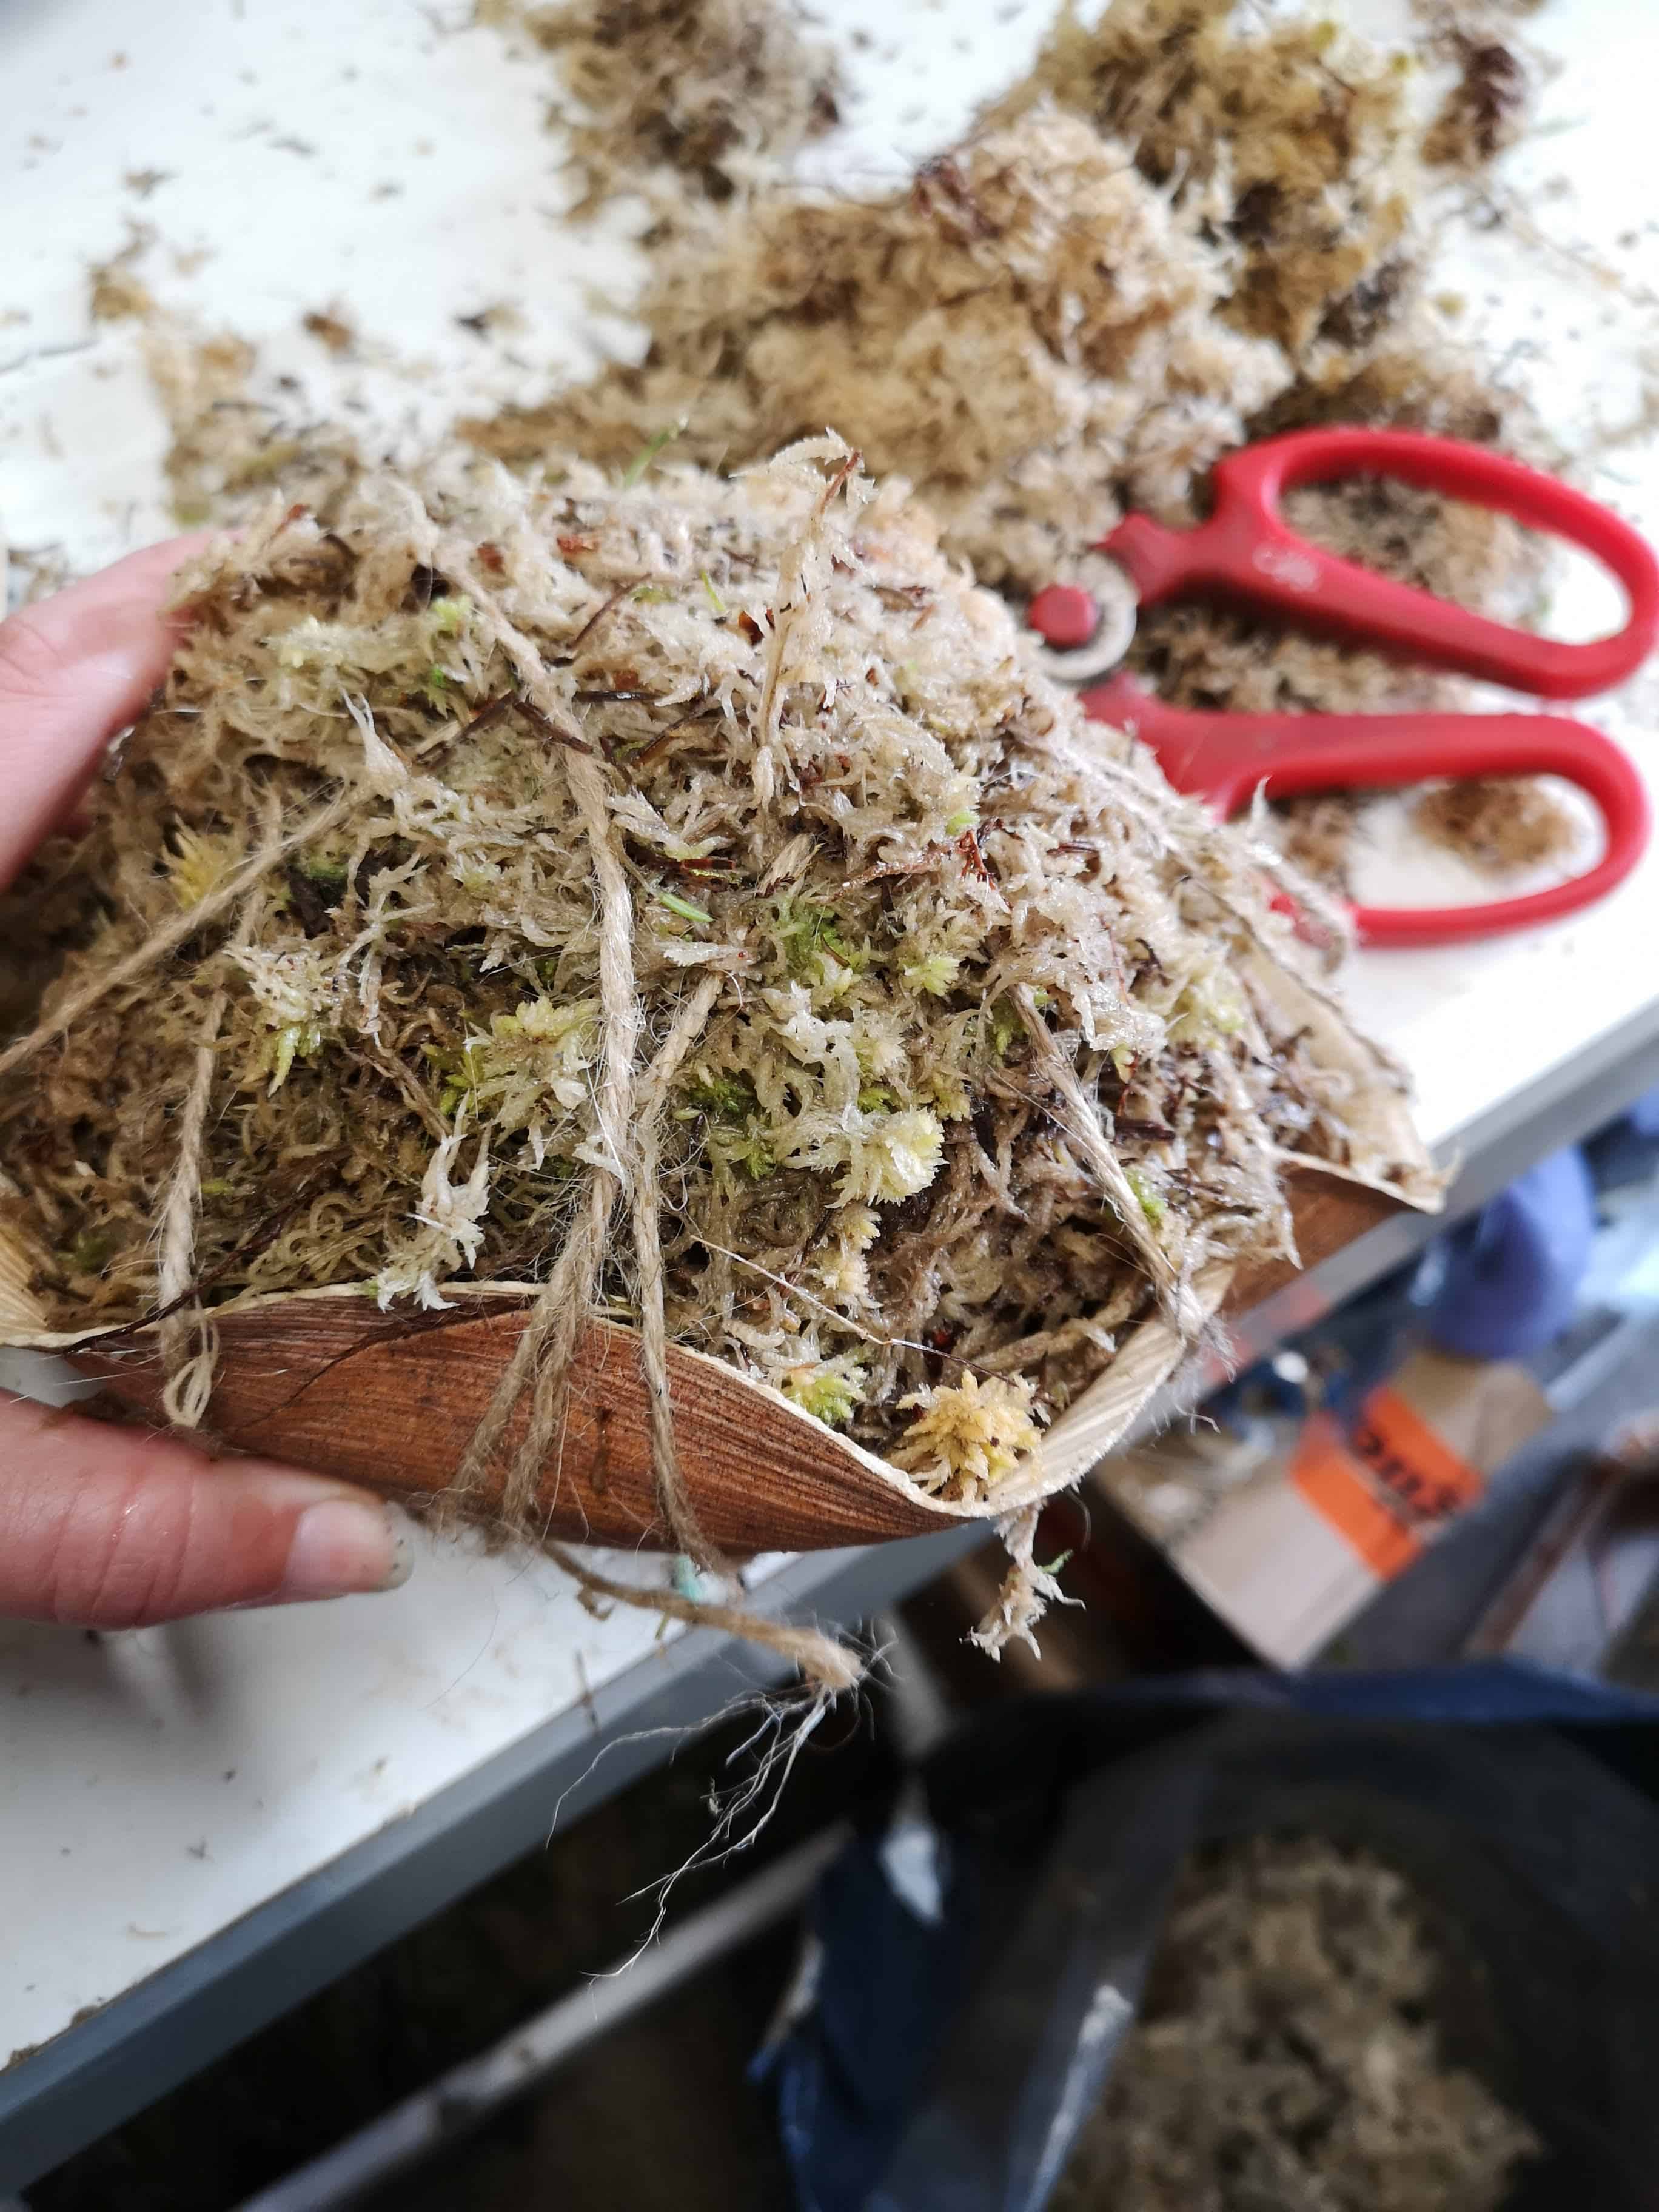
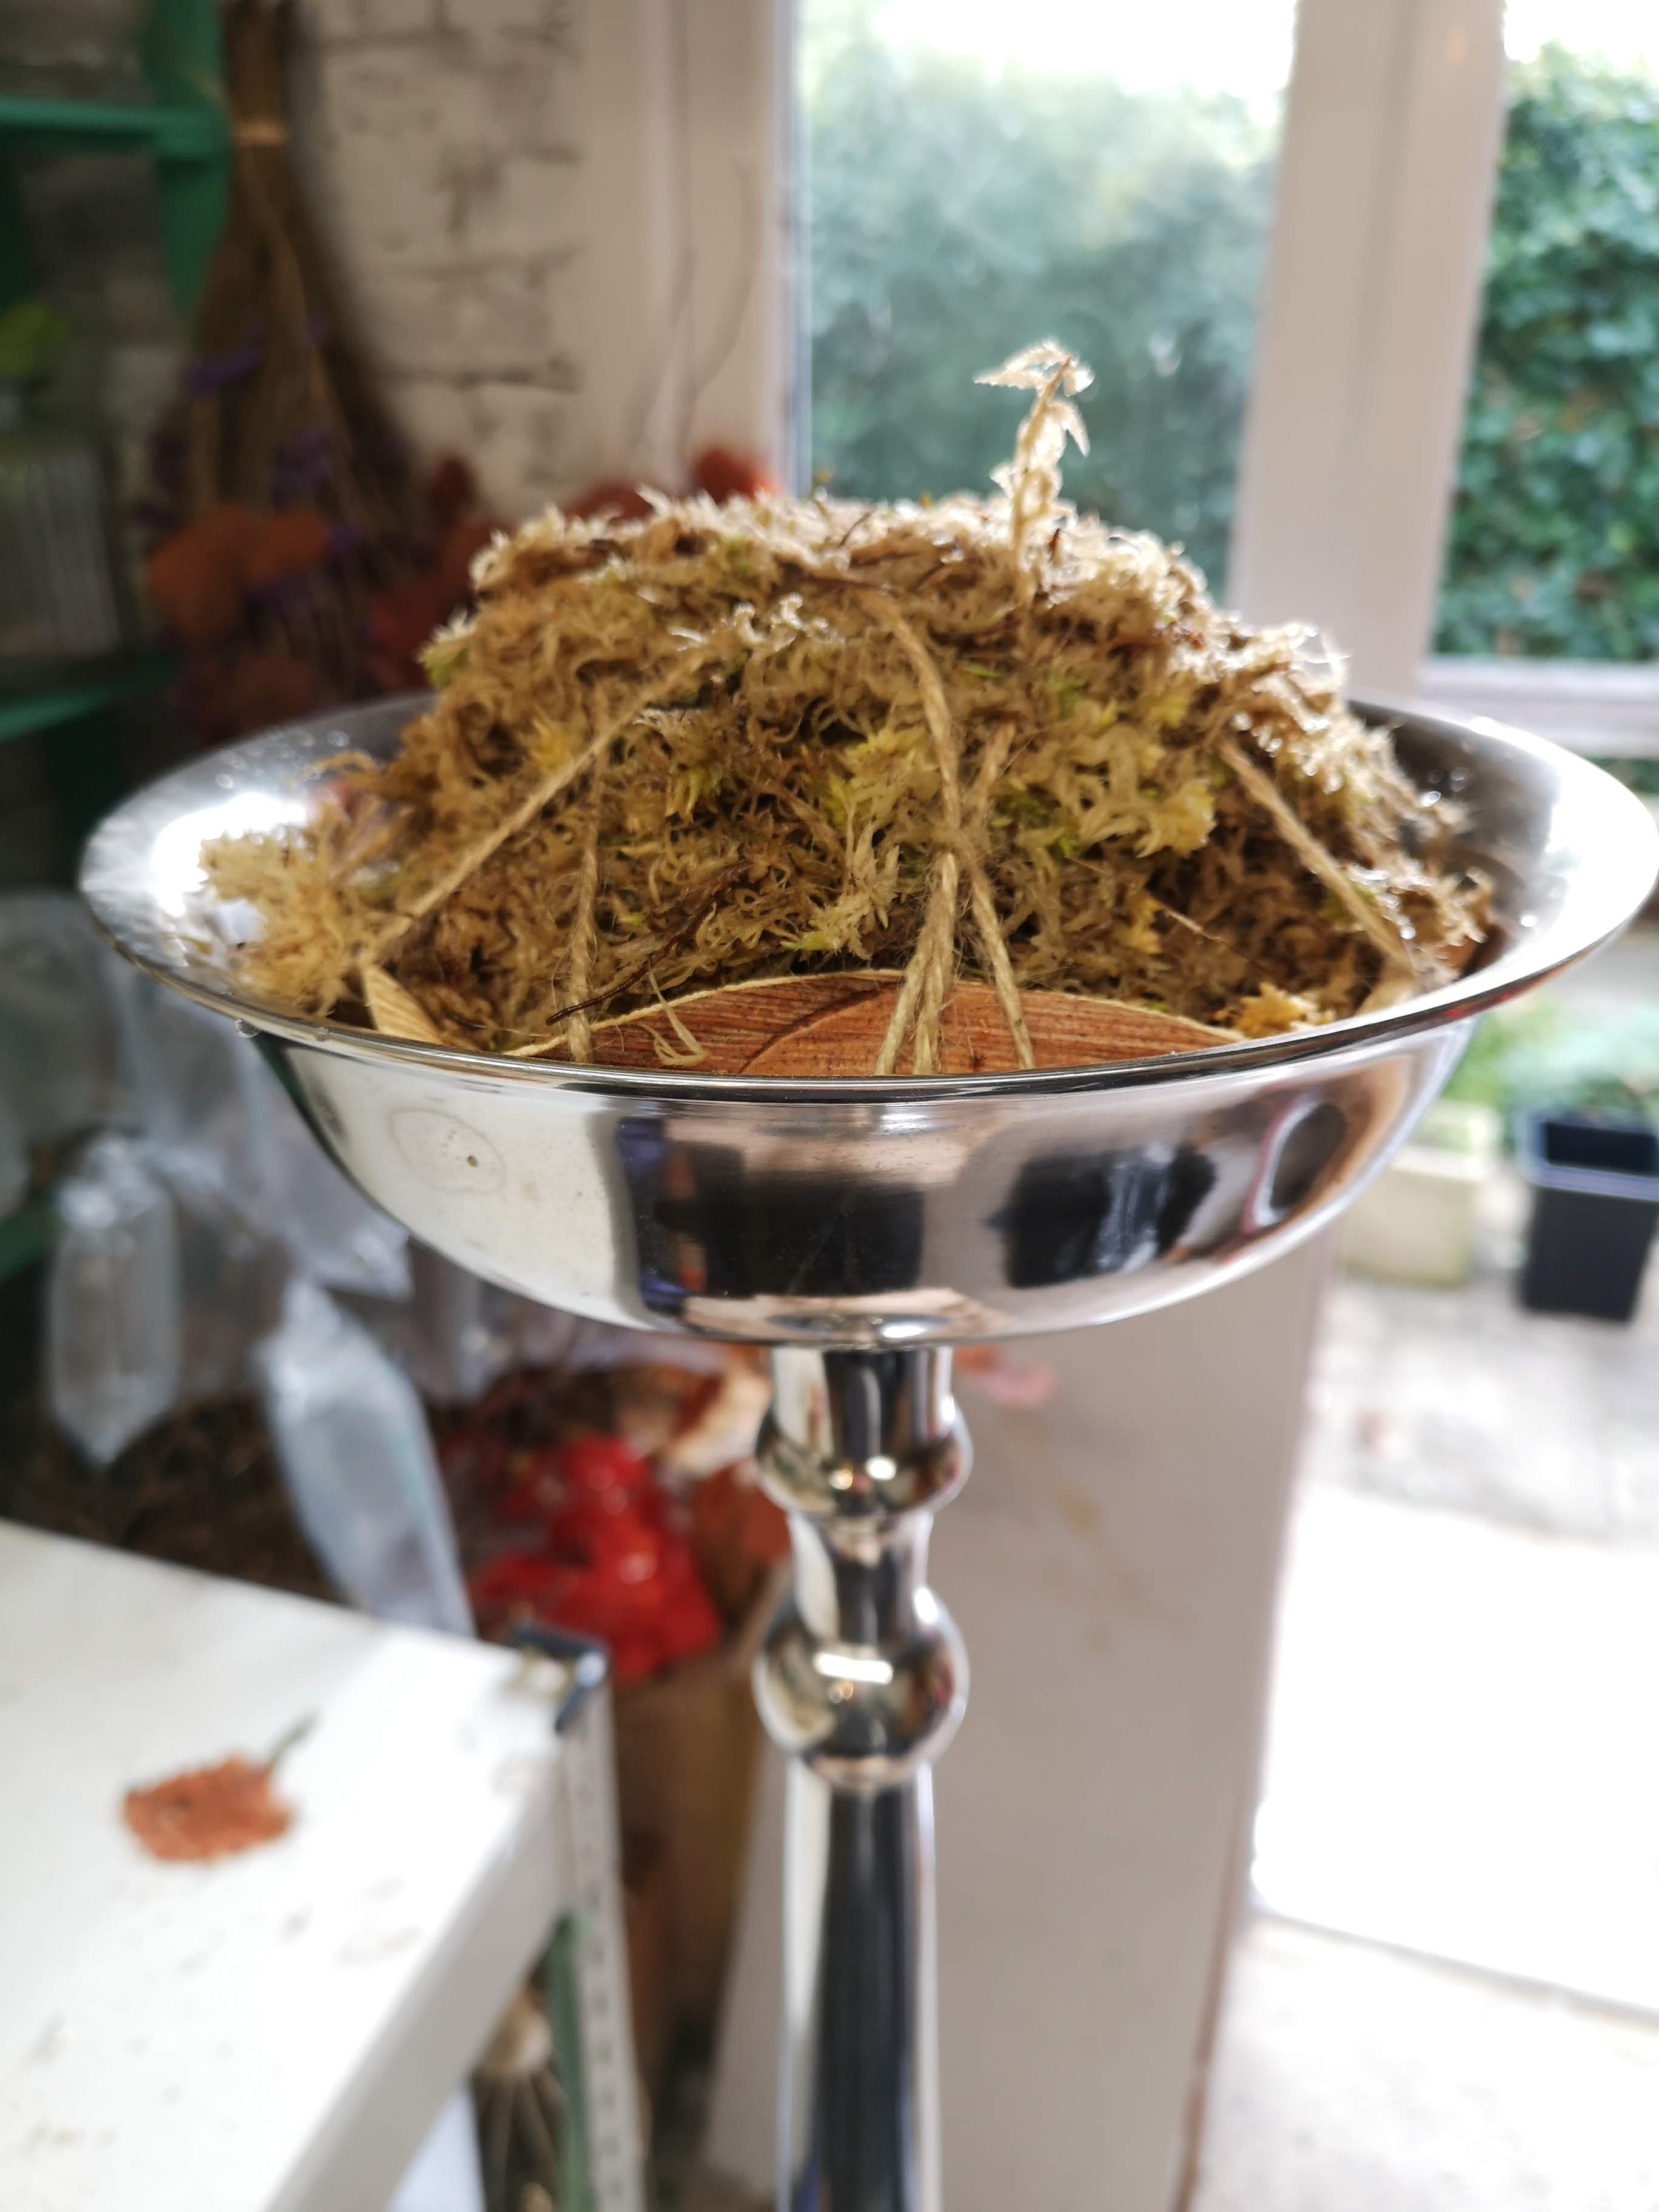
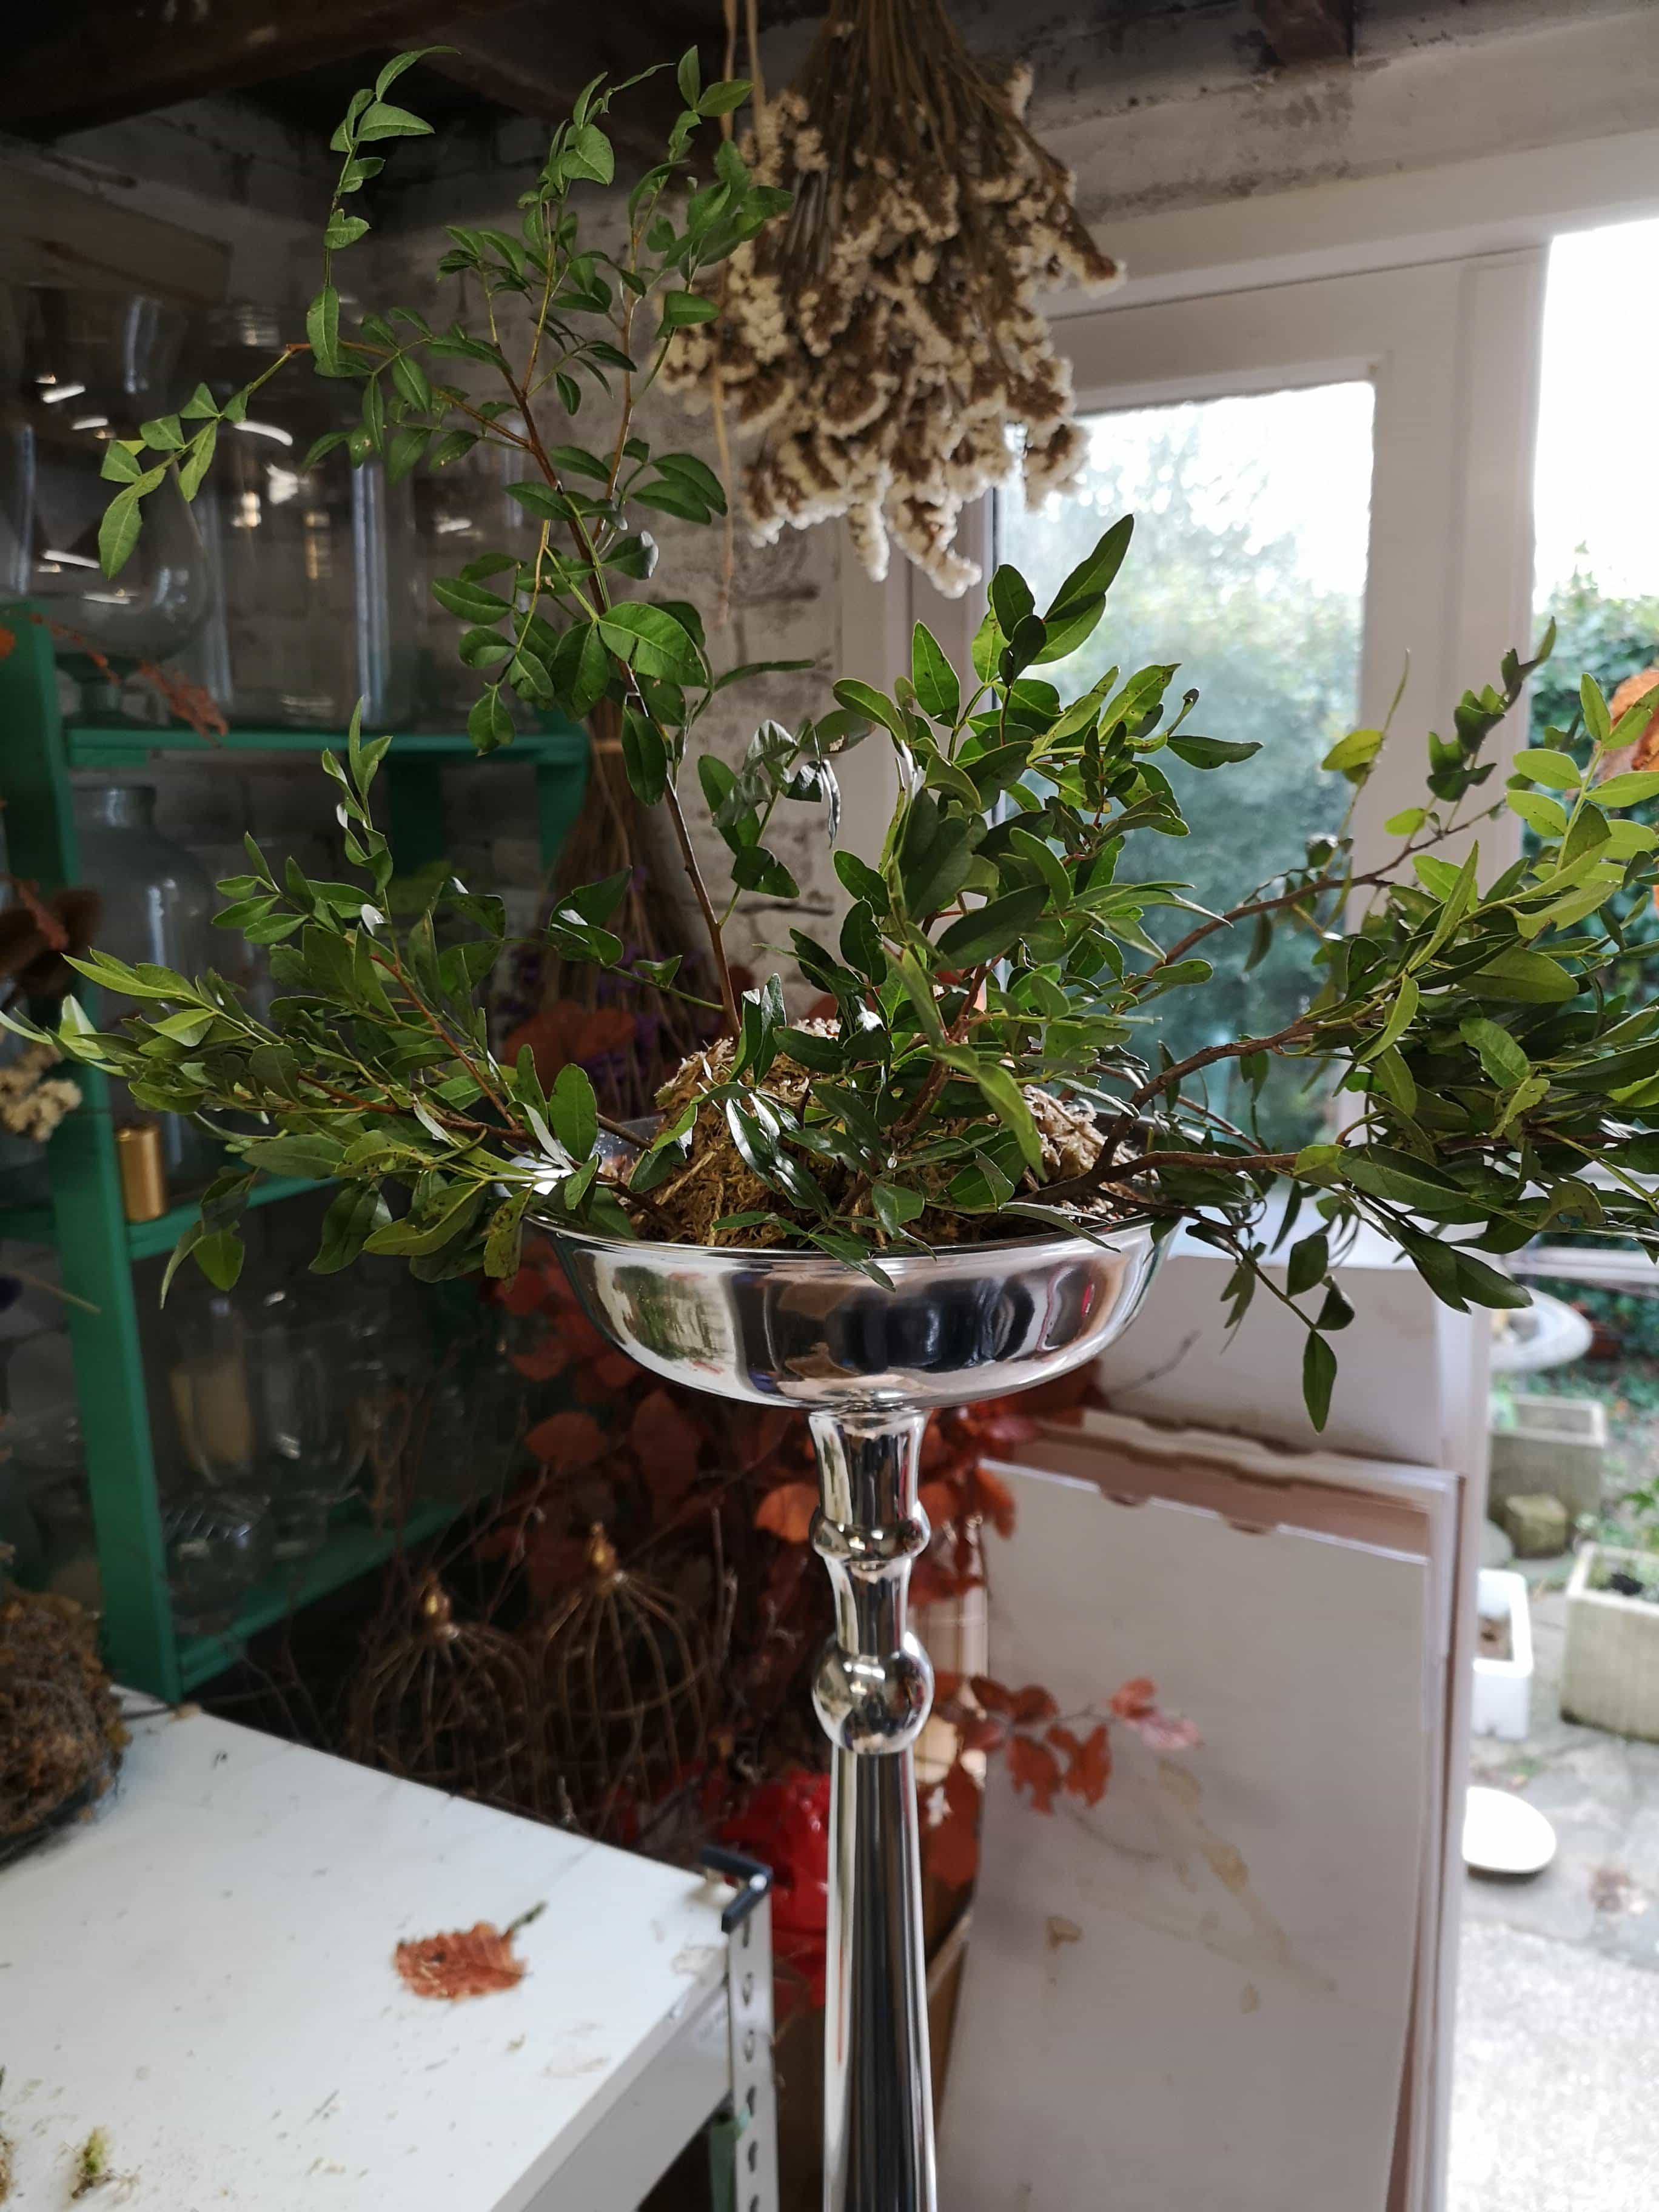
Step 1: Gather big mounds of moss and squish down into bamboo (or whatever bowl you choose) You need to make sure there’s a good few inches of moss to hold stems in place. Then bind with twine (or whatever you choose) I decided to keep these completely biodegradable but it’s up to you what you do. Below I’ve shown the steps I took to create this elevated design.

Step 2: Make sure the moss is nice and wet as this is what’s hydrating your flowers. 

Step 3: Start inserting your base foliage, this is to cover the moss and give you your shape. I used pistache here and then added some different varieties of longer foliage such as sussex silver and eucalyptus to give more natural cascades. 

Step 4: Add your flowers. I’ll be honest with you here, the sturdier the stem the easier your life is going to be! Soft stems are a pain to get into moss, if you are dealing with soft stems you are going to need to make a hole with some kind of long implement (chopstick, knitting needle, off cut twig, end of a plastic water tube – whatever you have to hand!) before inserting the stem to ensure they don’t immediately bend/break. 


There is so much support out there now on Instagram and in eco florist Facebook groups and it’s been invaluable for a lot of us. There is such a supportive community of like minded florists who are being really generous in sharing ideas for how to move forward towards more environmentally friendly businesses. I am really grateful to see how this has grown over the years since I decided to phase out floral foam from my work. As I said, two years ago it was a very different story. I am pleased to say I have only used foam once or twice since then, and this year 2019 I have been completely foam free and that’s how I plan to stay.
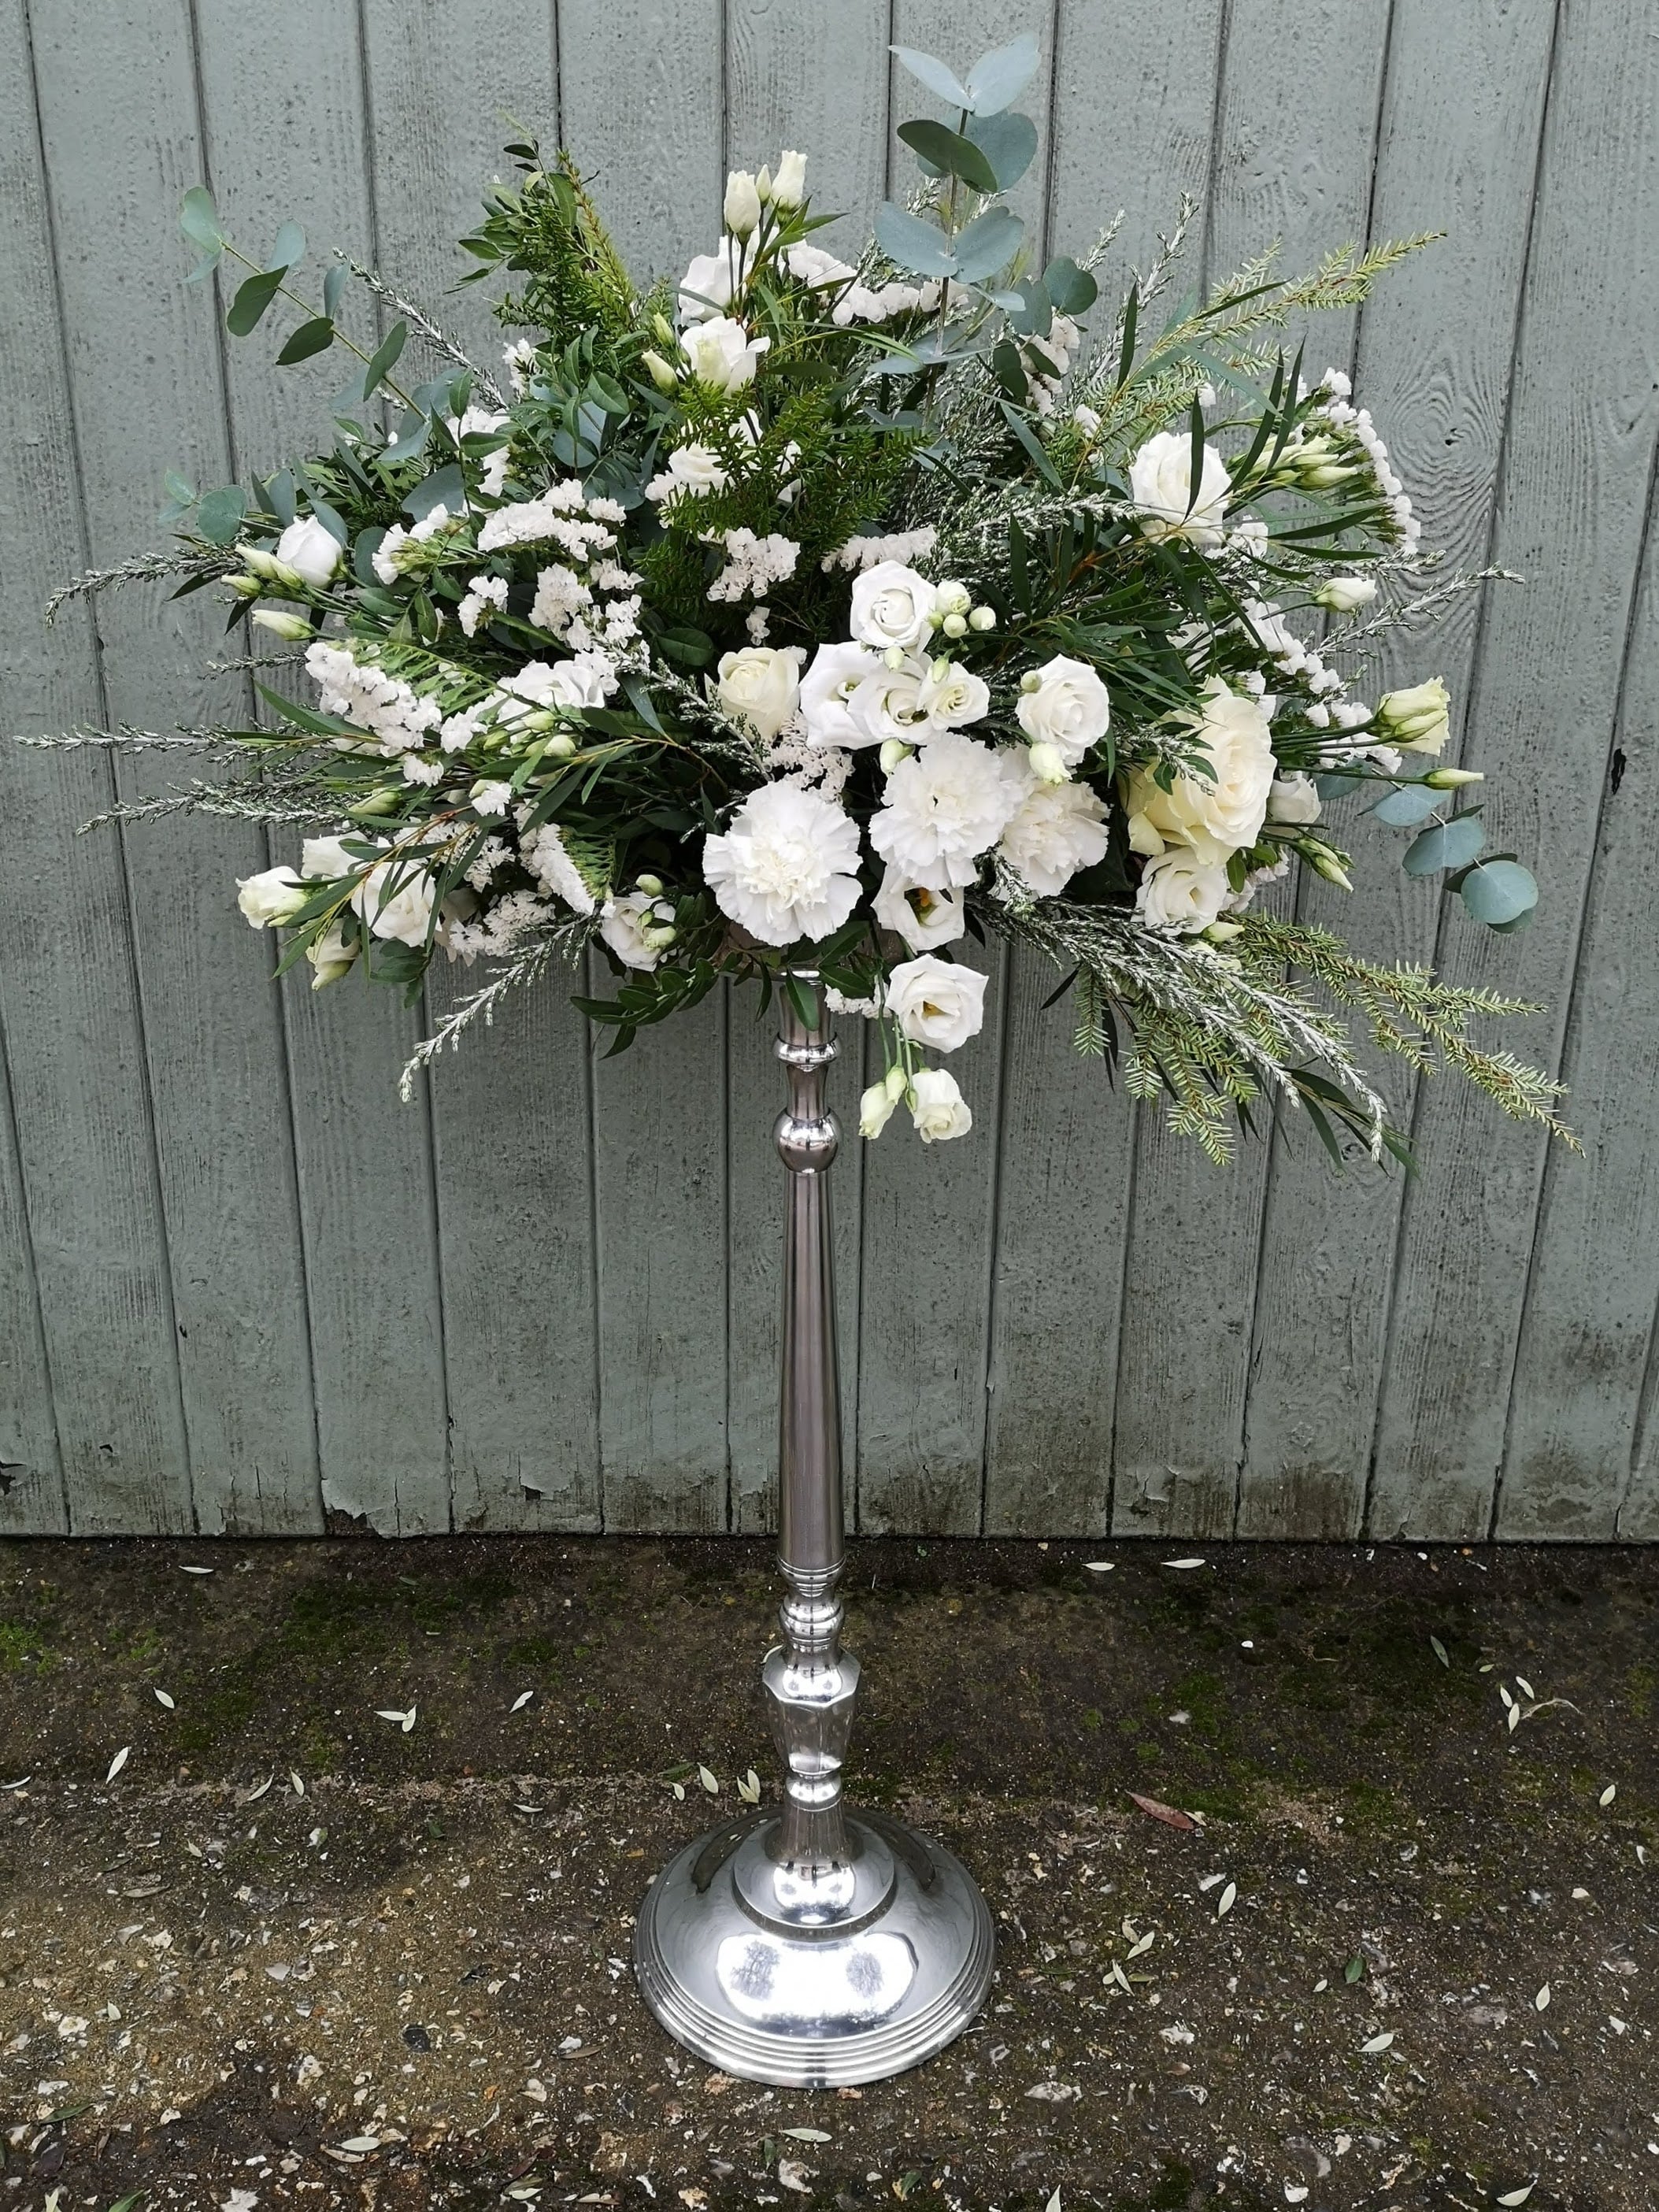
Chickenwire & Water Method

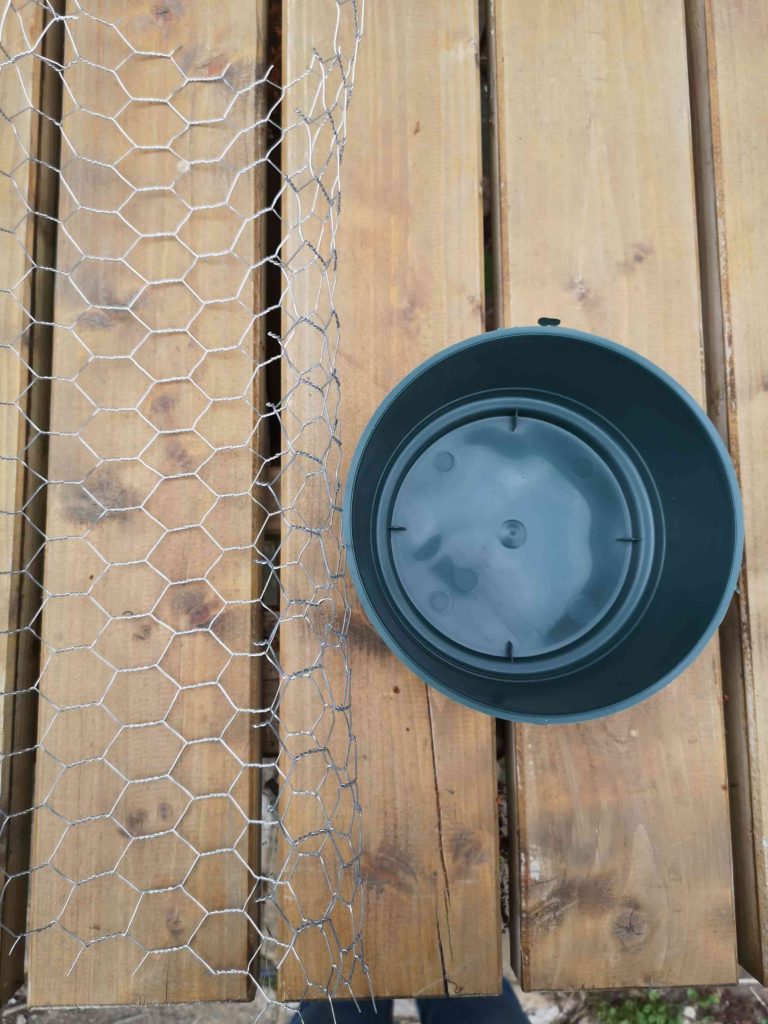
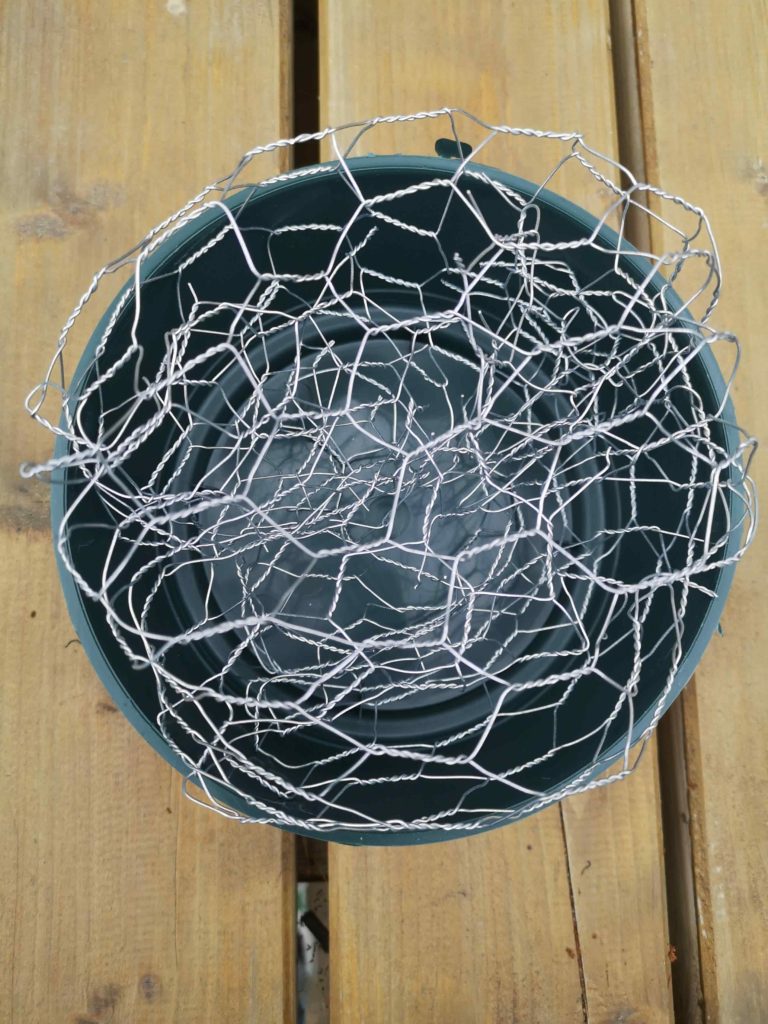
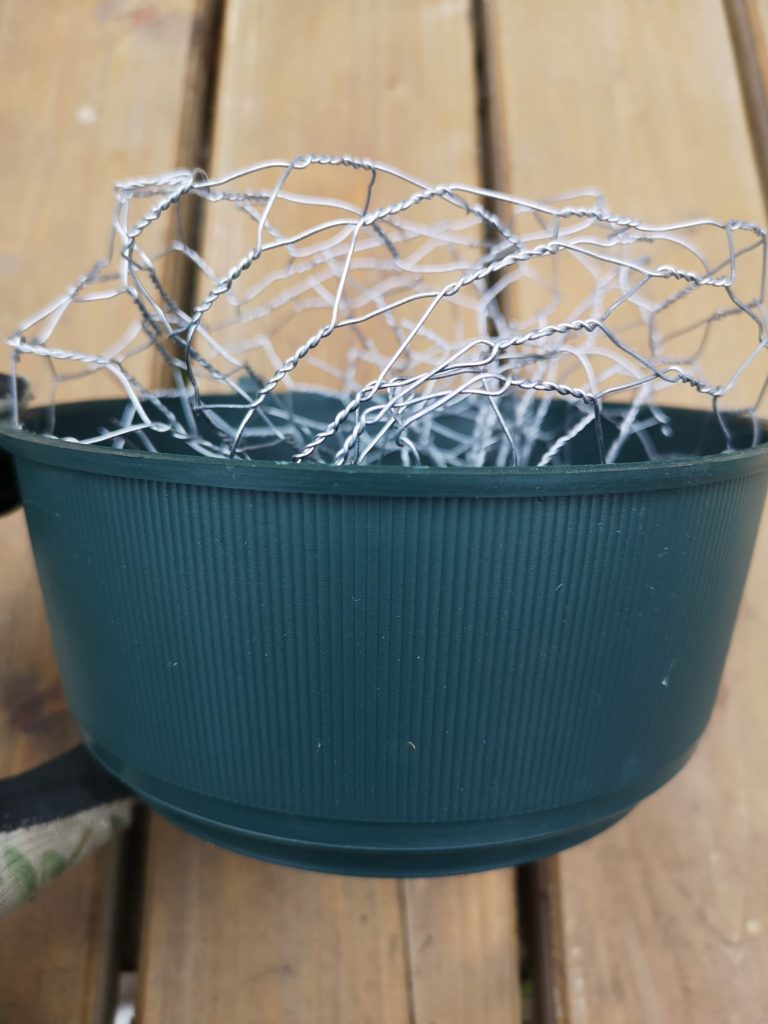
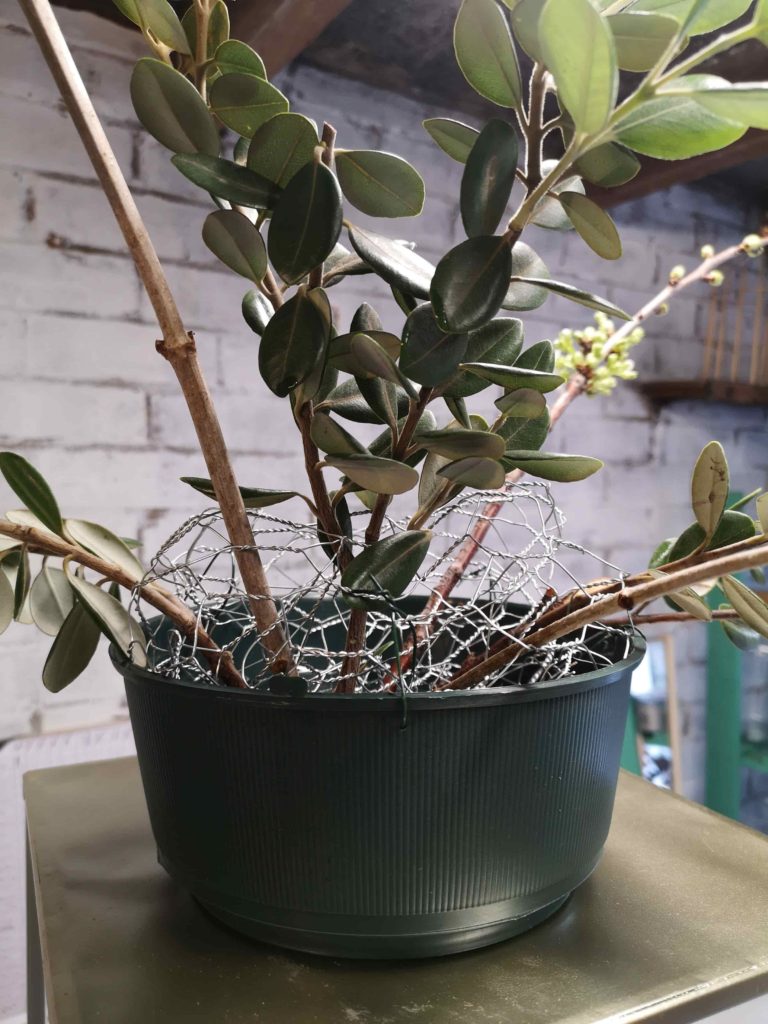
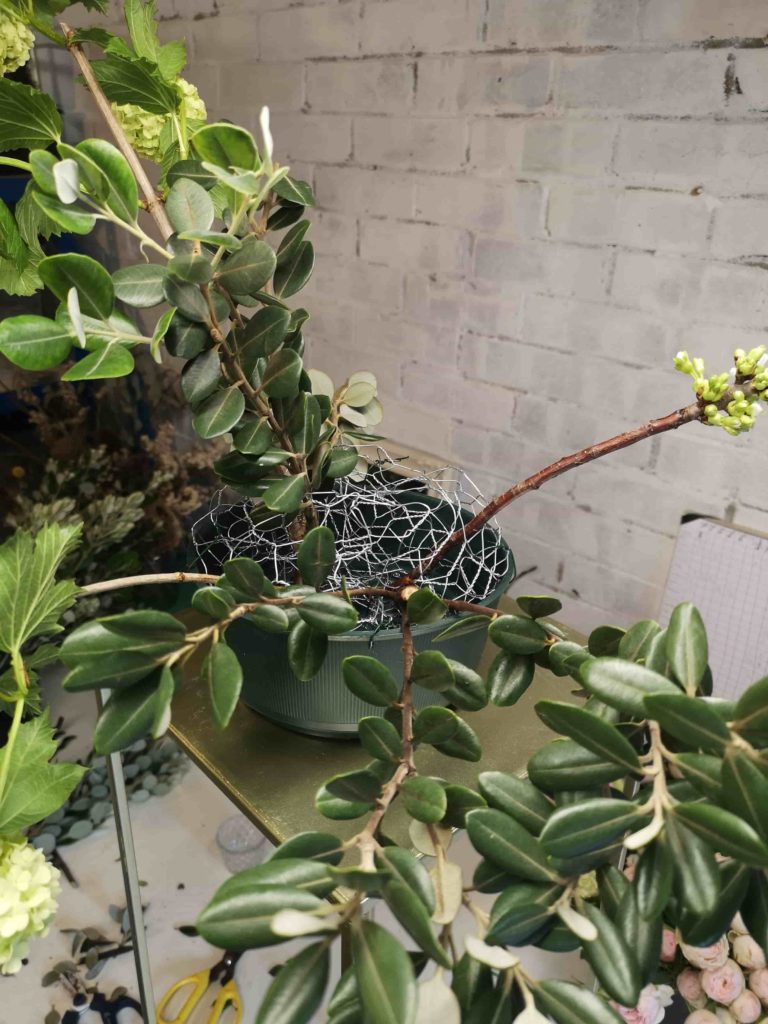
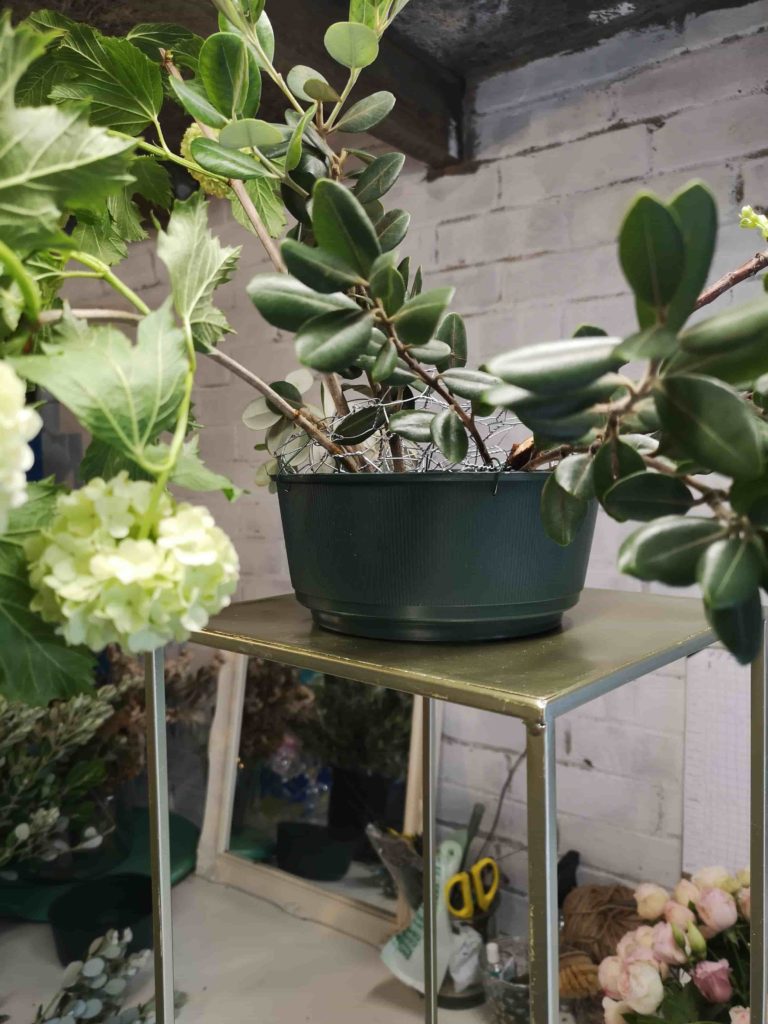
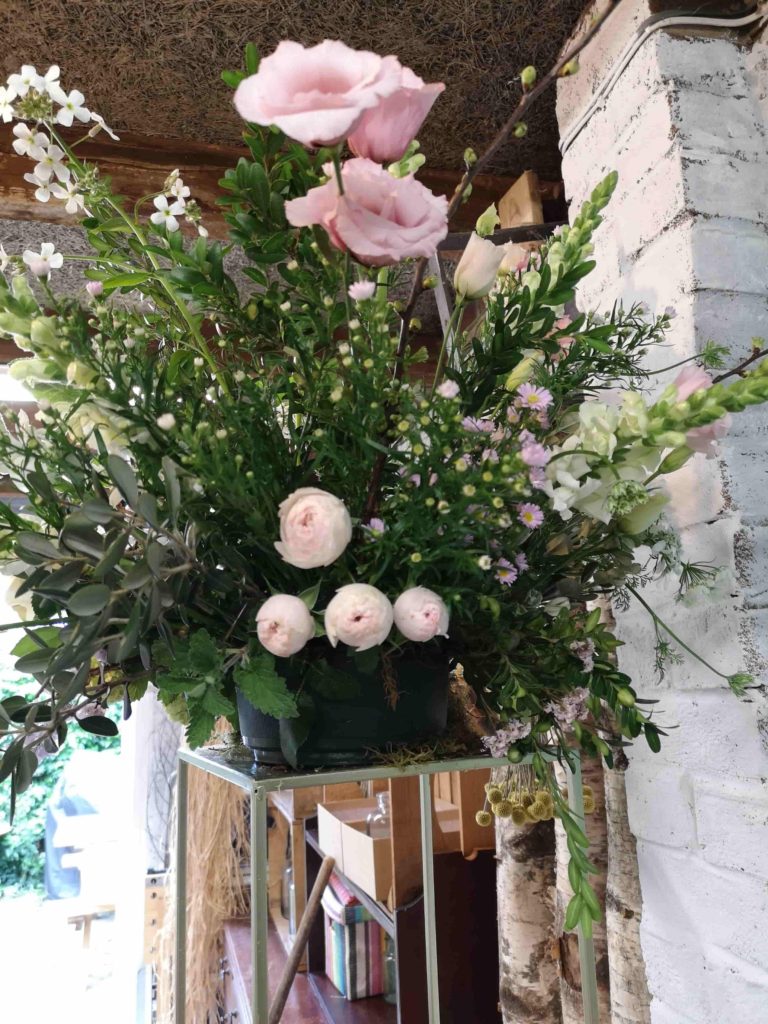
For this arrangement I used an 18inch plastic bulb bowl with some chickenwire inserted. Make sure to secure your chickenwire so nothing tips out. Personally I prefer to make these arrangements up on the tall stand that they are going on as it allows me to look upwards and see if anything needs covering. I prefer not to have any of the container showing, especially if it’s a crappy plastic pot! I am going to invest in some nicer bowls which mean I don’t have to work so hard at covering mechanics if they are already pleasing to the eye.

If you can find foliage and flowers which have natural curves and an element of drapeyness (is that a word?!) to them then this will help you immensely to cover the sides. The viburnum helped me achieve this, other great options are asparagus fern, eucalyptus nicholi and populus.

Below are my step by step photos.
Foam Free Friday

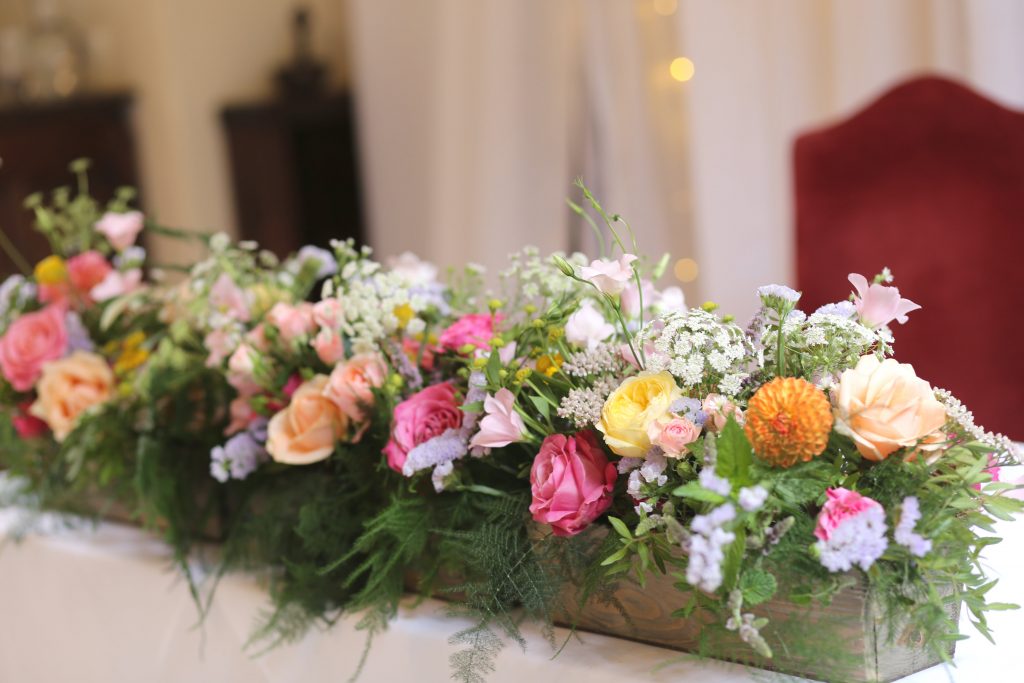
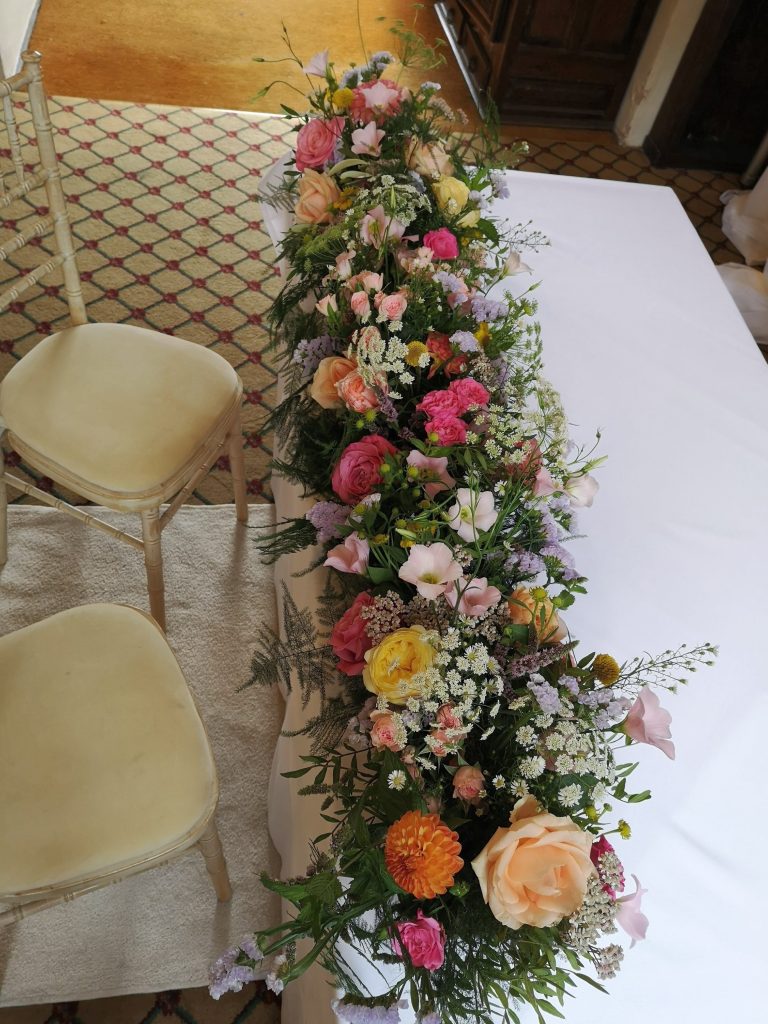
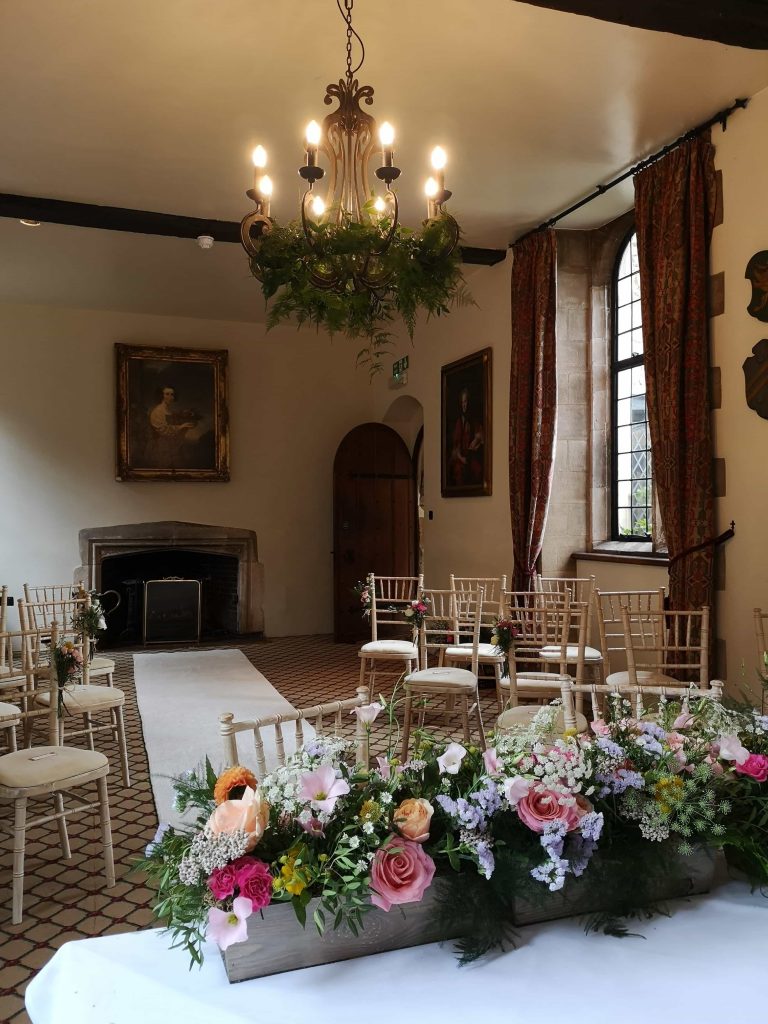
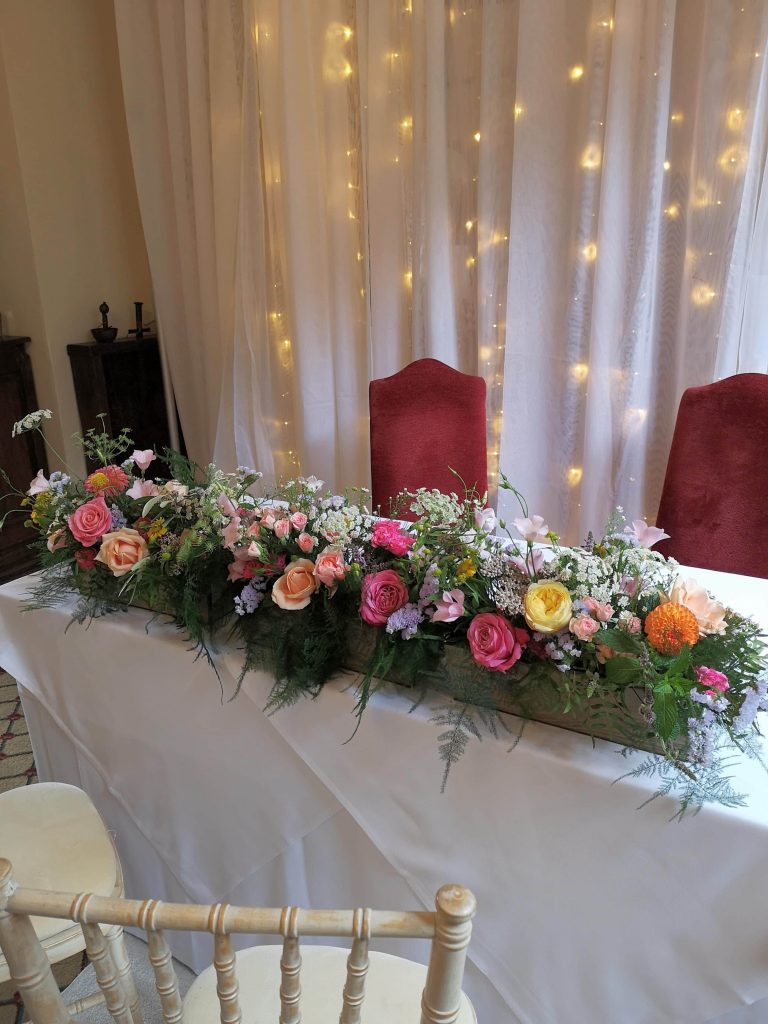
Ceremony arrangement

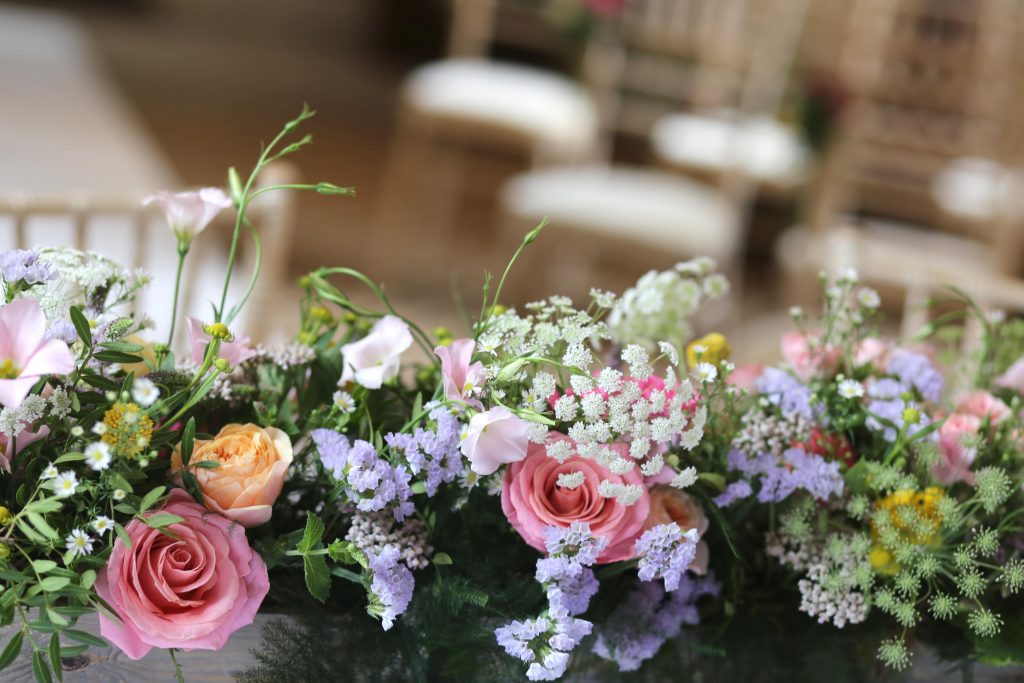
Hello everyone! Foam Free Friday is here again! Today’s foam free arrangement is an easy way of making a really pretty, natural garden style ceremony table decoration.

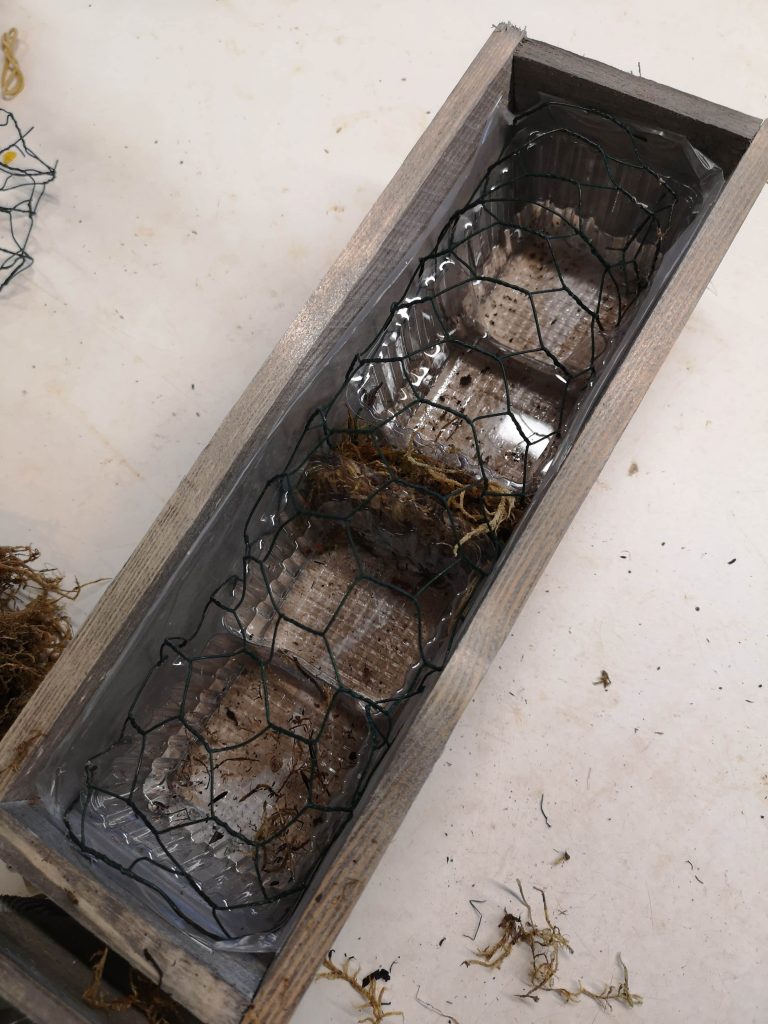
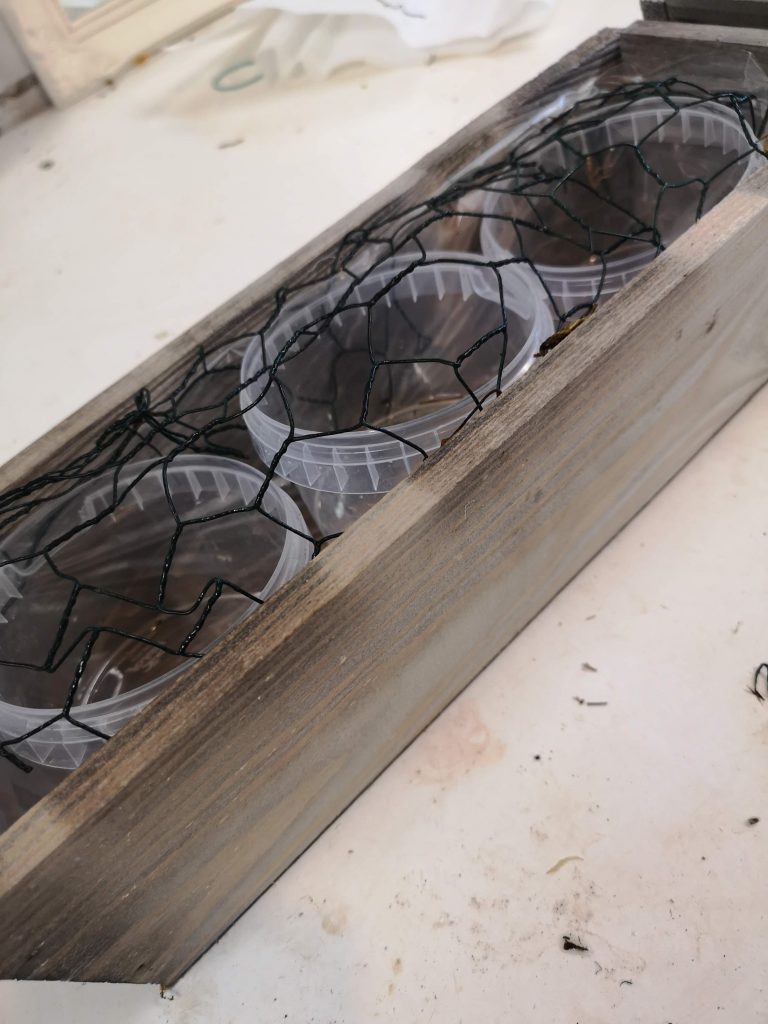
Start with a container which is relatively long but short in height, the wooden troughs I used are 35cm long and 10cm wide. These can either be used alone or put together, for this wedding I placed 3 together in a line to create one long arrangement which covered the front of the ceremony table.

more foam free ideas

Step 1: Find a suitable container which isn’t too high at the sides. If it is too high then once you have put the flowers in it will be too tall to see over. This only matters if you are using as a ceremony or table arrangement. You can go as high as you like if no one needs to see over the top!
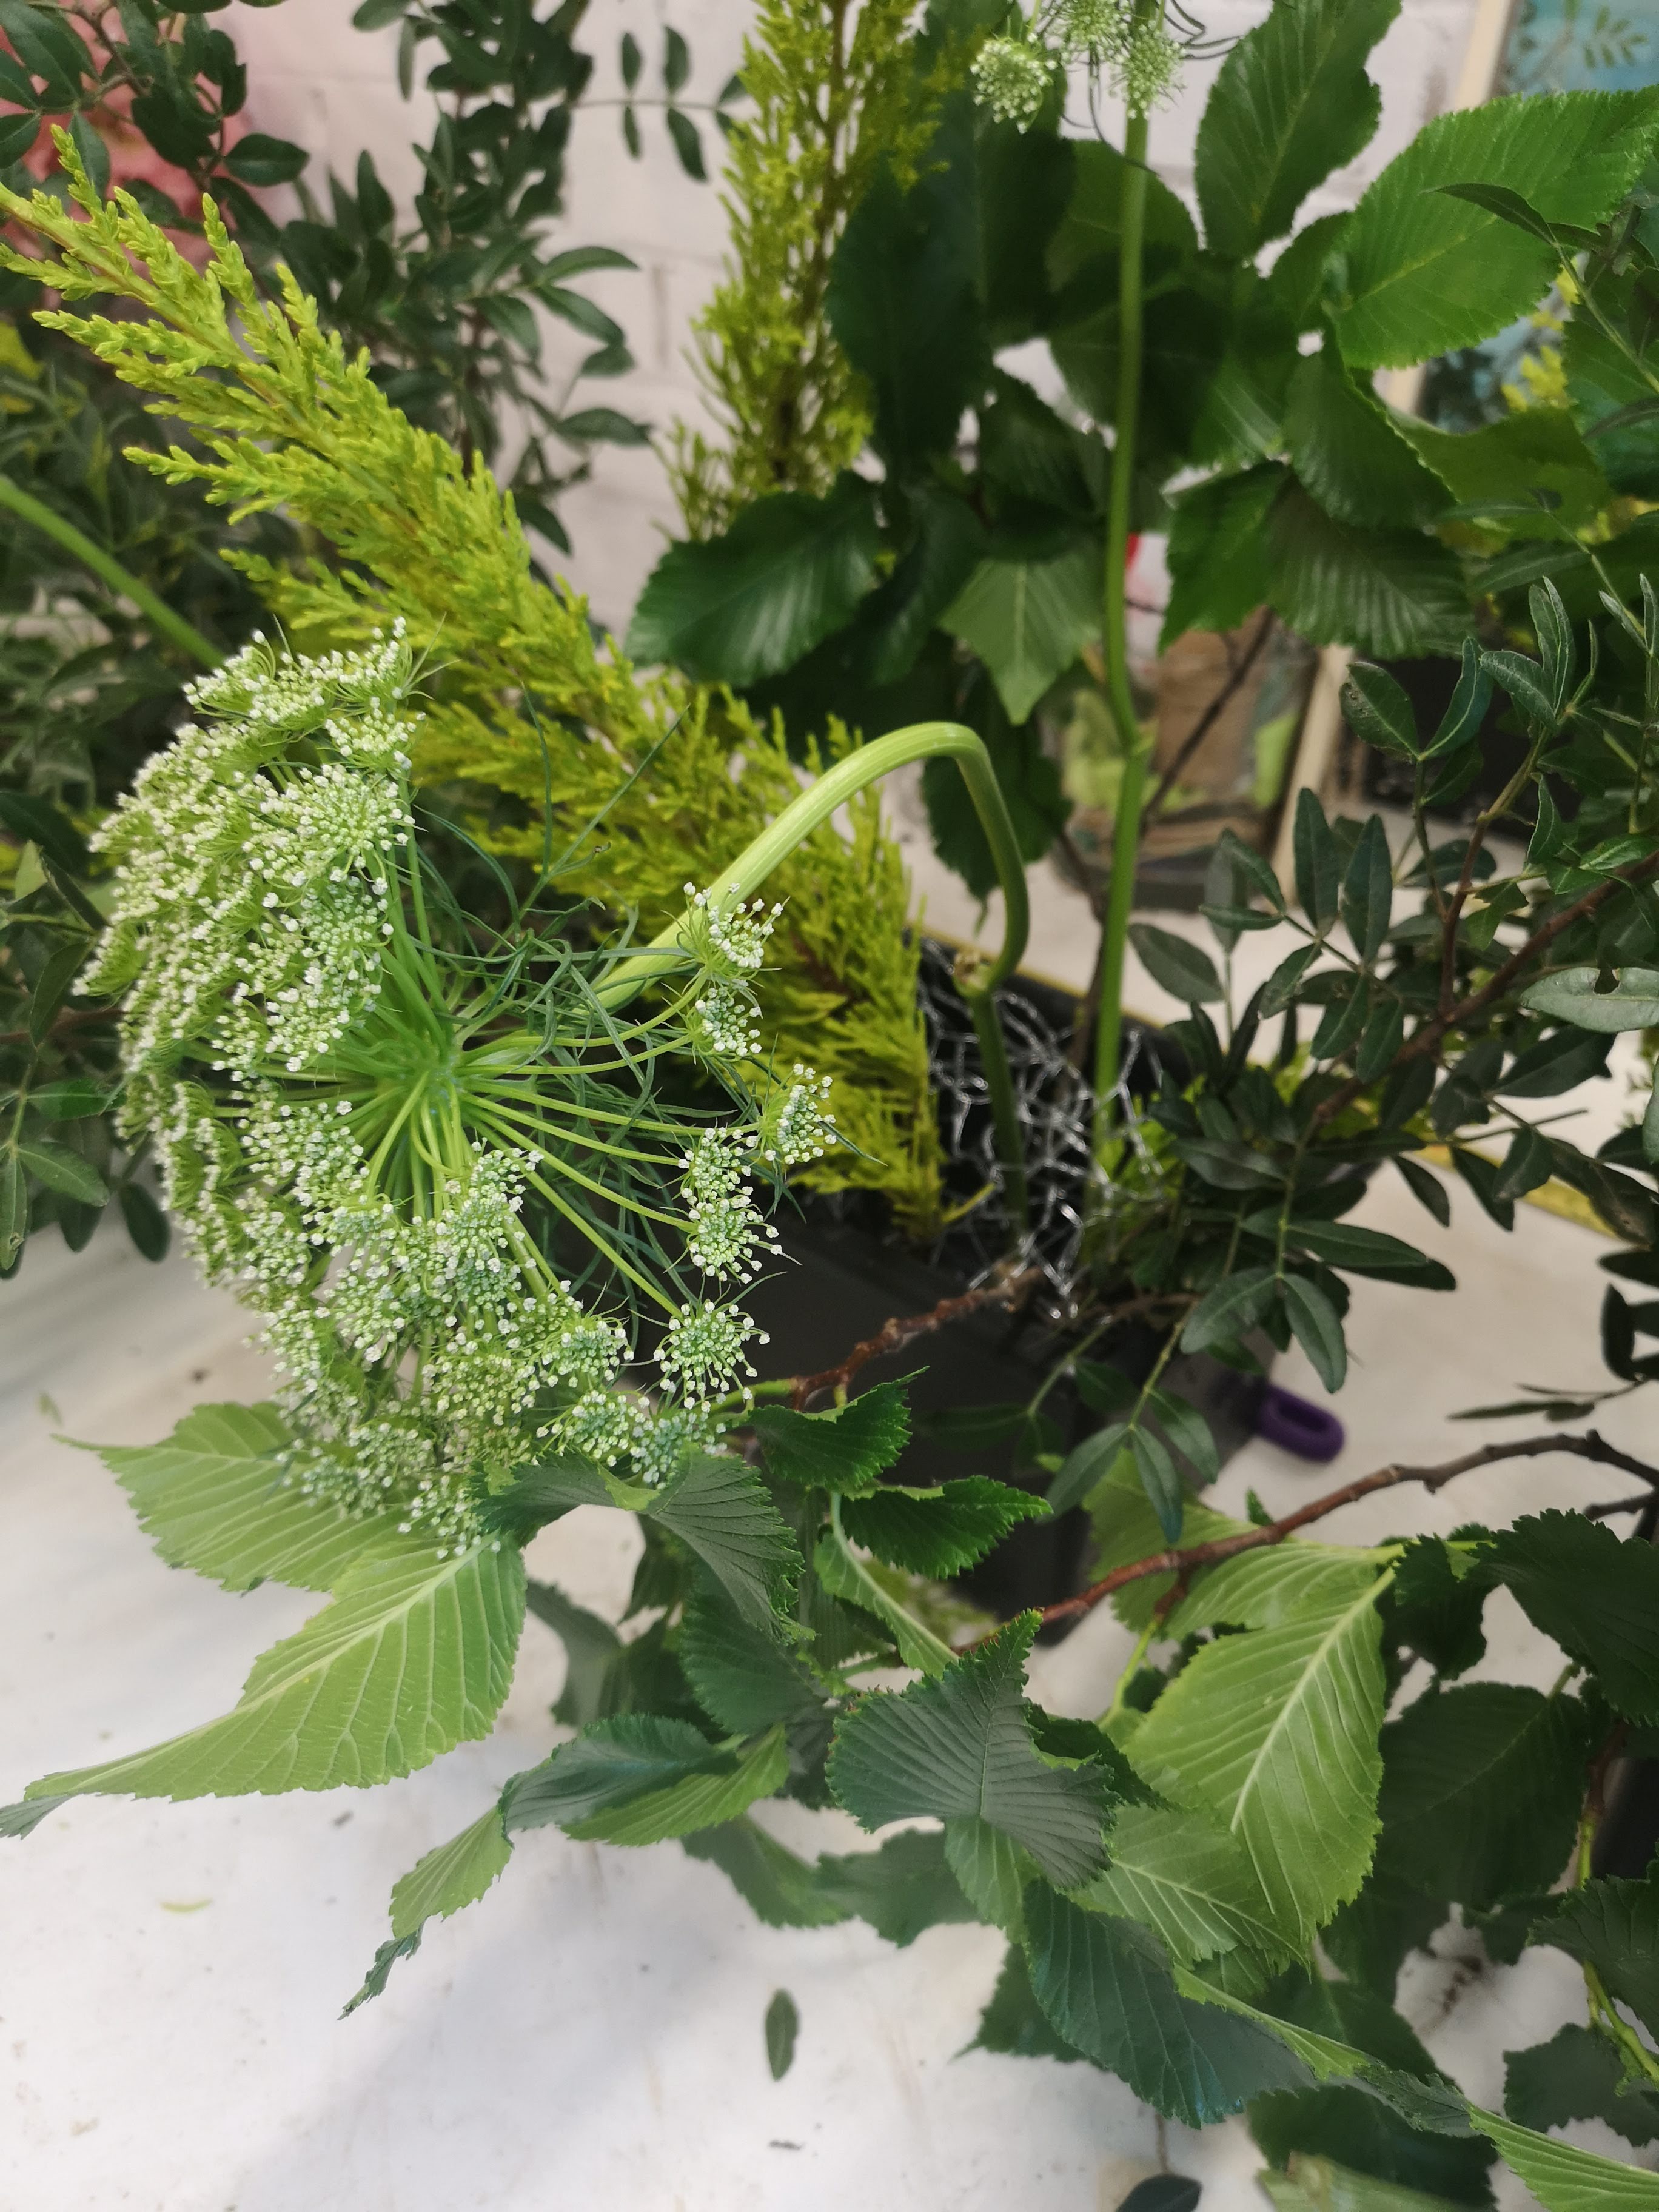
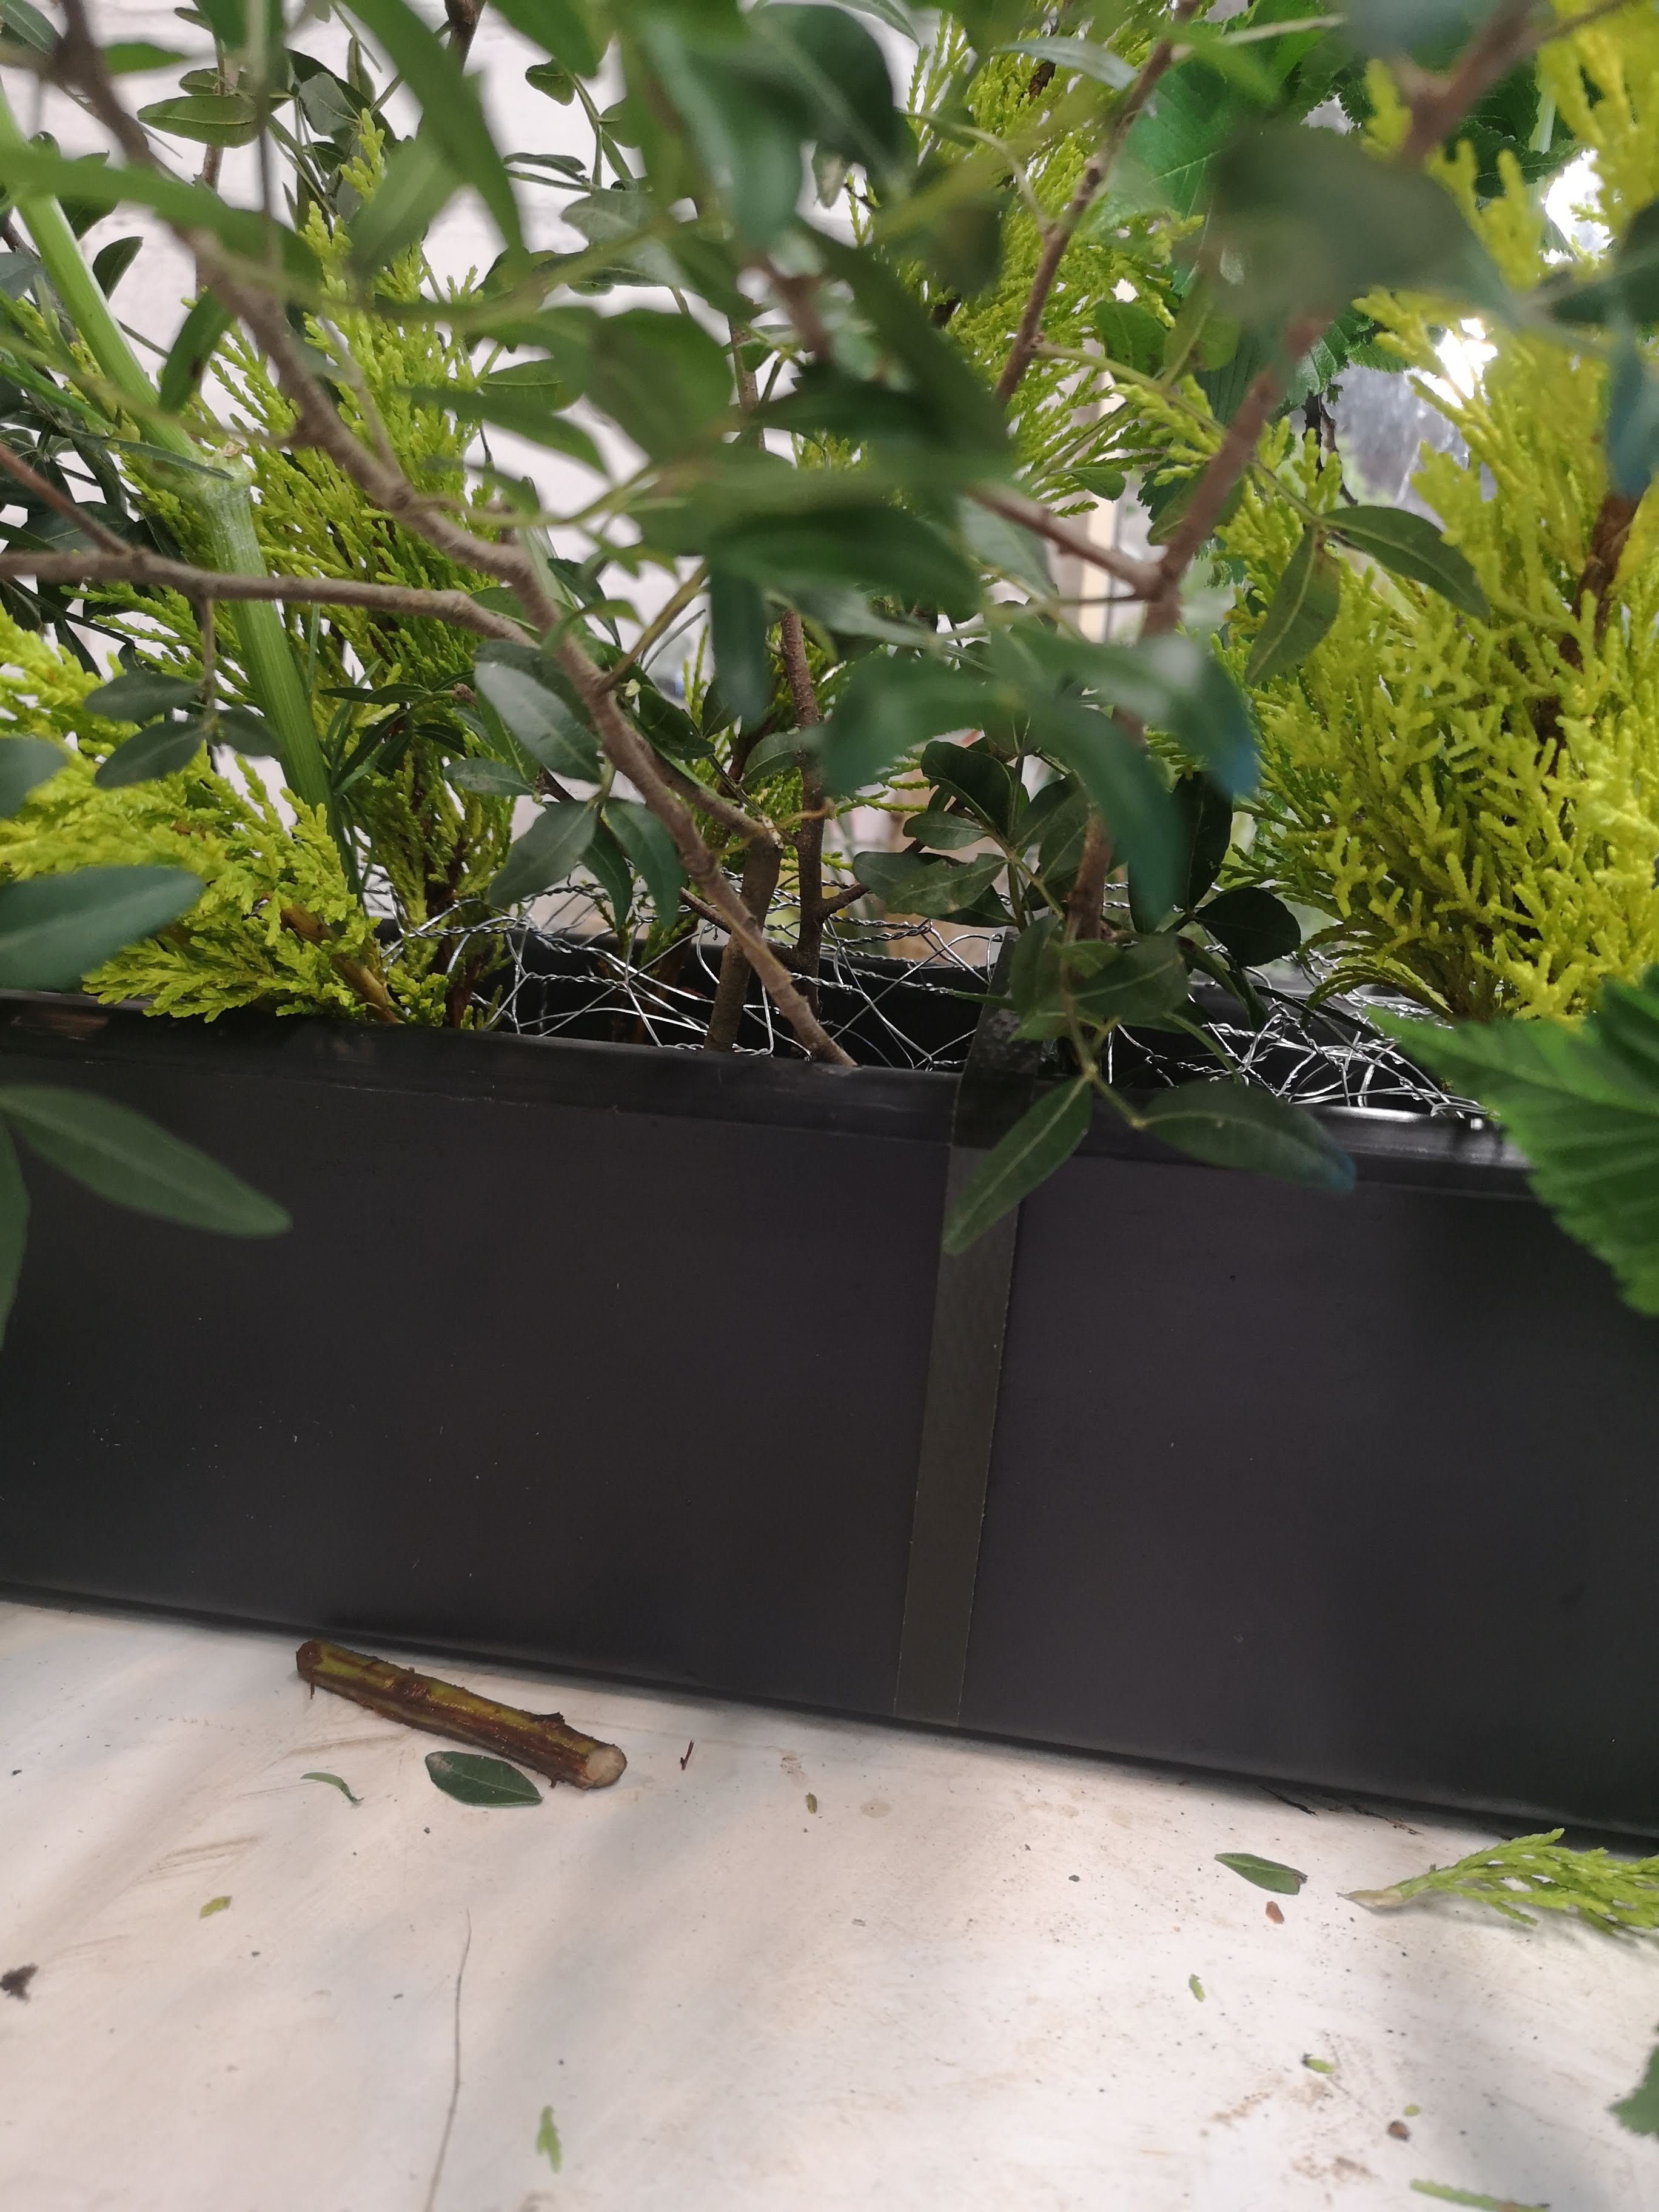
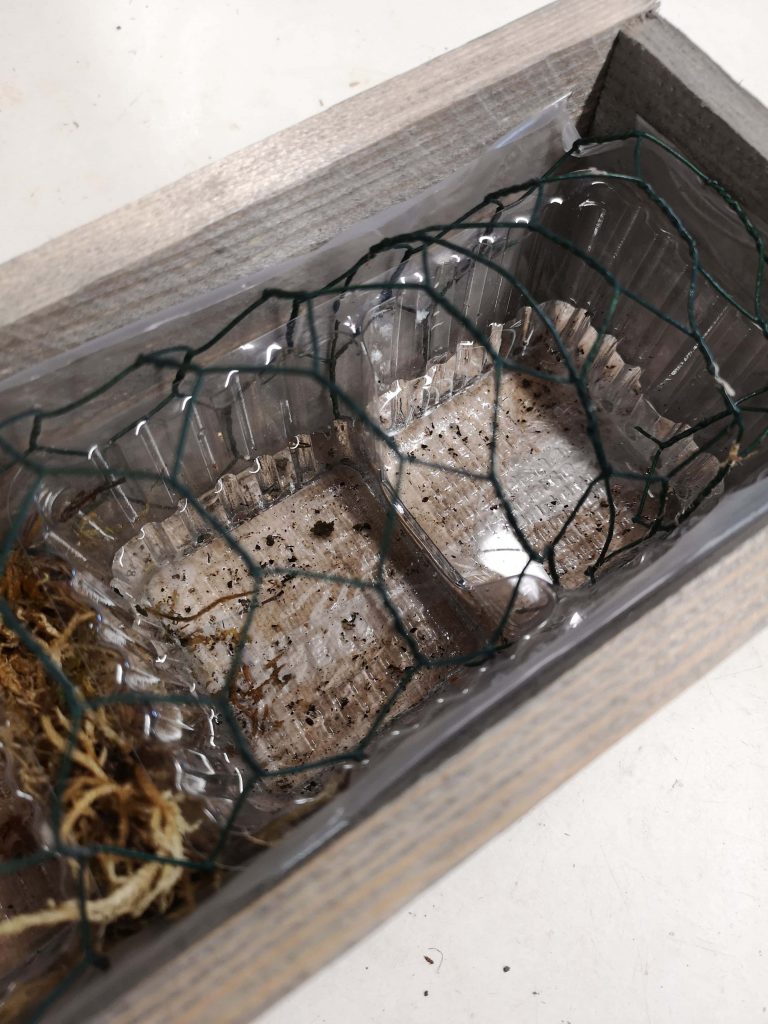
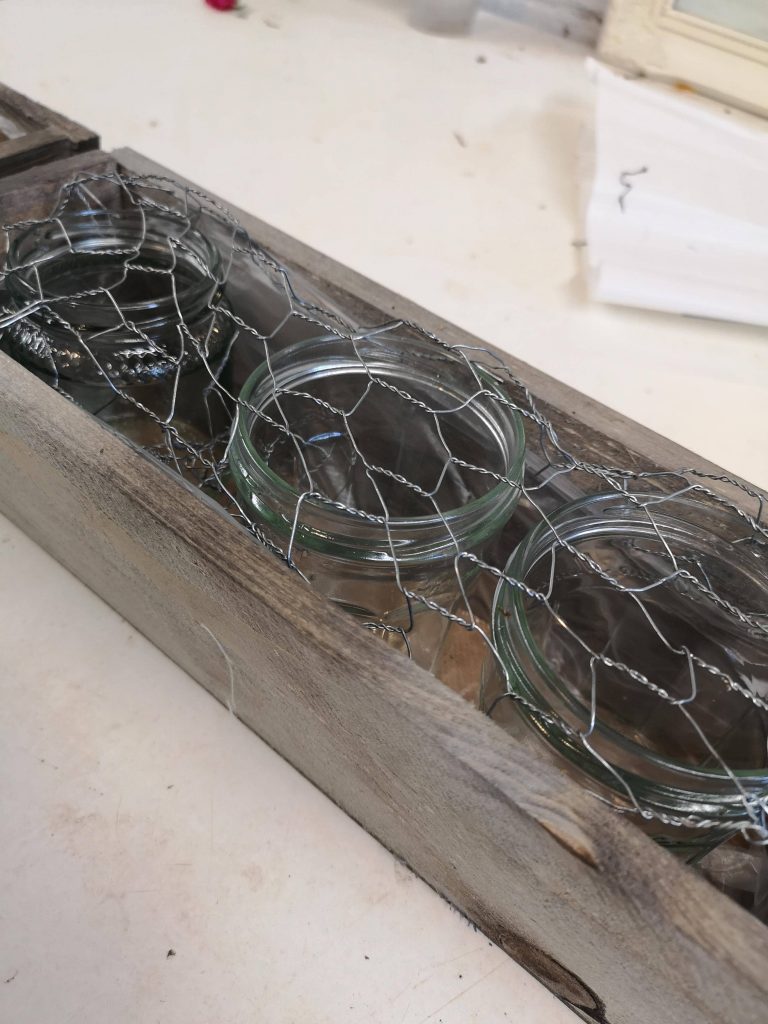
Step 2: Find some water tight containers to place inside the boxes/outer vessel. I experimented on different items to put inside which would hold the water. First were 3 jam jars, the second was 3 humous pots and the third was two plastic biscuit containers (the posh biscuits that come in a cardboard box with a plastic insert – these particular ones were co-op ginger and dark chocolate cookies, very tasty!) The biscuit inserts were the easiest to design in as they were wider and had more surface area which I could poke stems into whereas the jars had more narrow openings so had to be careful to ensure I was placing stems within the jar.

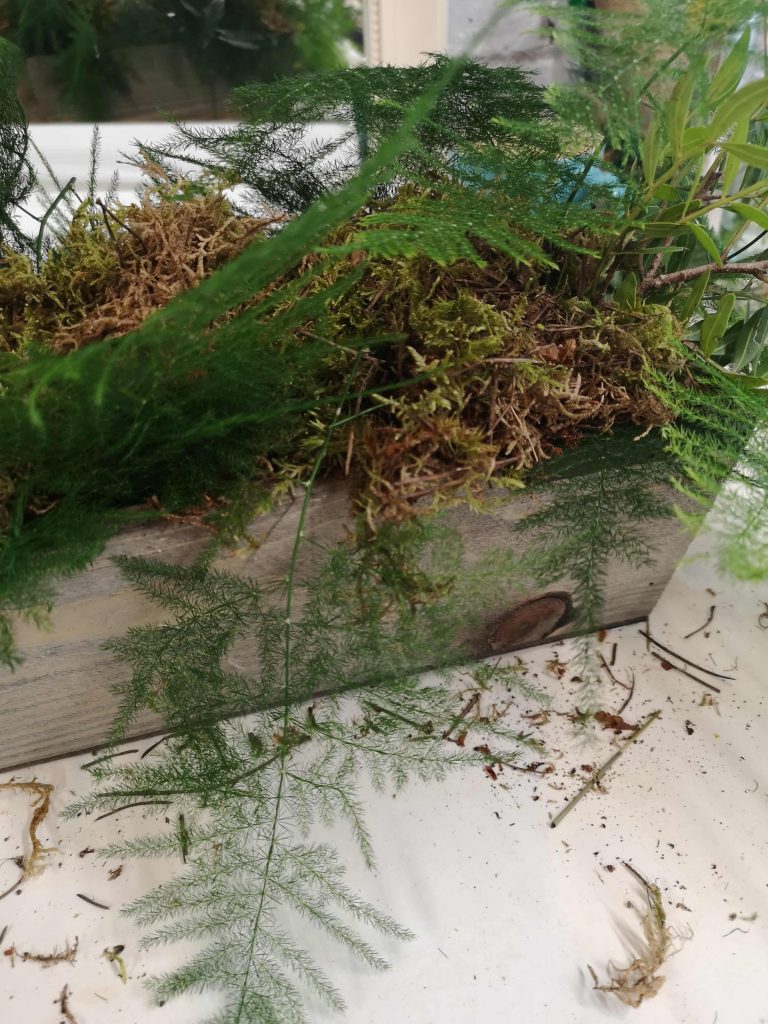
Step 3: Fill containers with water and place chicken wire over the top, then you can also lay a little bit of moss over the top to cover any chickenwire you might be able to see still. Start inserting the foliage through the chickenwire into the water.

Step 4: Once you’ve put the foliage in and covered your mechanics start inserting the flowers in. Design however you please, after the event you can reuse this time and time again. I tend to hire out these for table centres and top table arrangements so that I can collect after the event and reuse.

As with a few other things I’ve designed I do appreciate these aren’t perfect in terms of no plastic, but they are free of new plastic, these are all things that I already had and would have been going to waste. As much as I do try and live as plastic free as possible it is very difficult to cut everything out – as you can see here sometimes I need to buy biscuits or humous that come in plastic!

Foam Free Friday

Mantelpiece arrangement

Welcome back to Foam Free Friday, I really appreciate people returning to read more of my journey to become more environmentally friendly. It’s all about small steps which will hopefully all add up to be one massive change in the right direction.

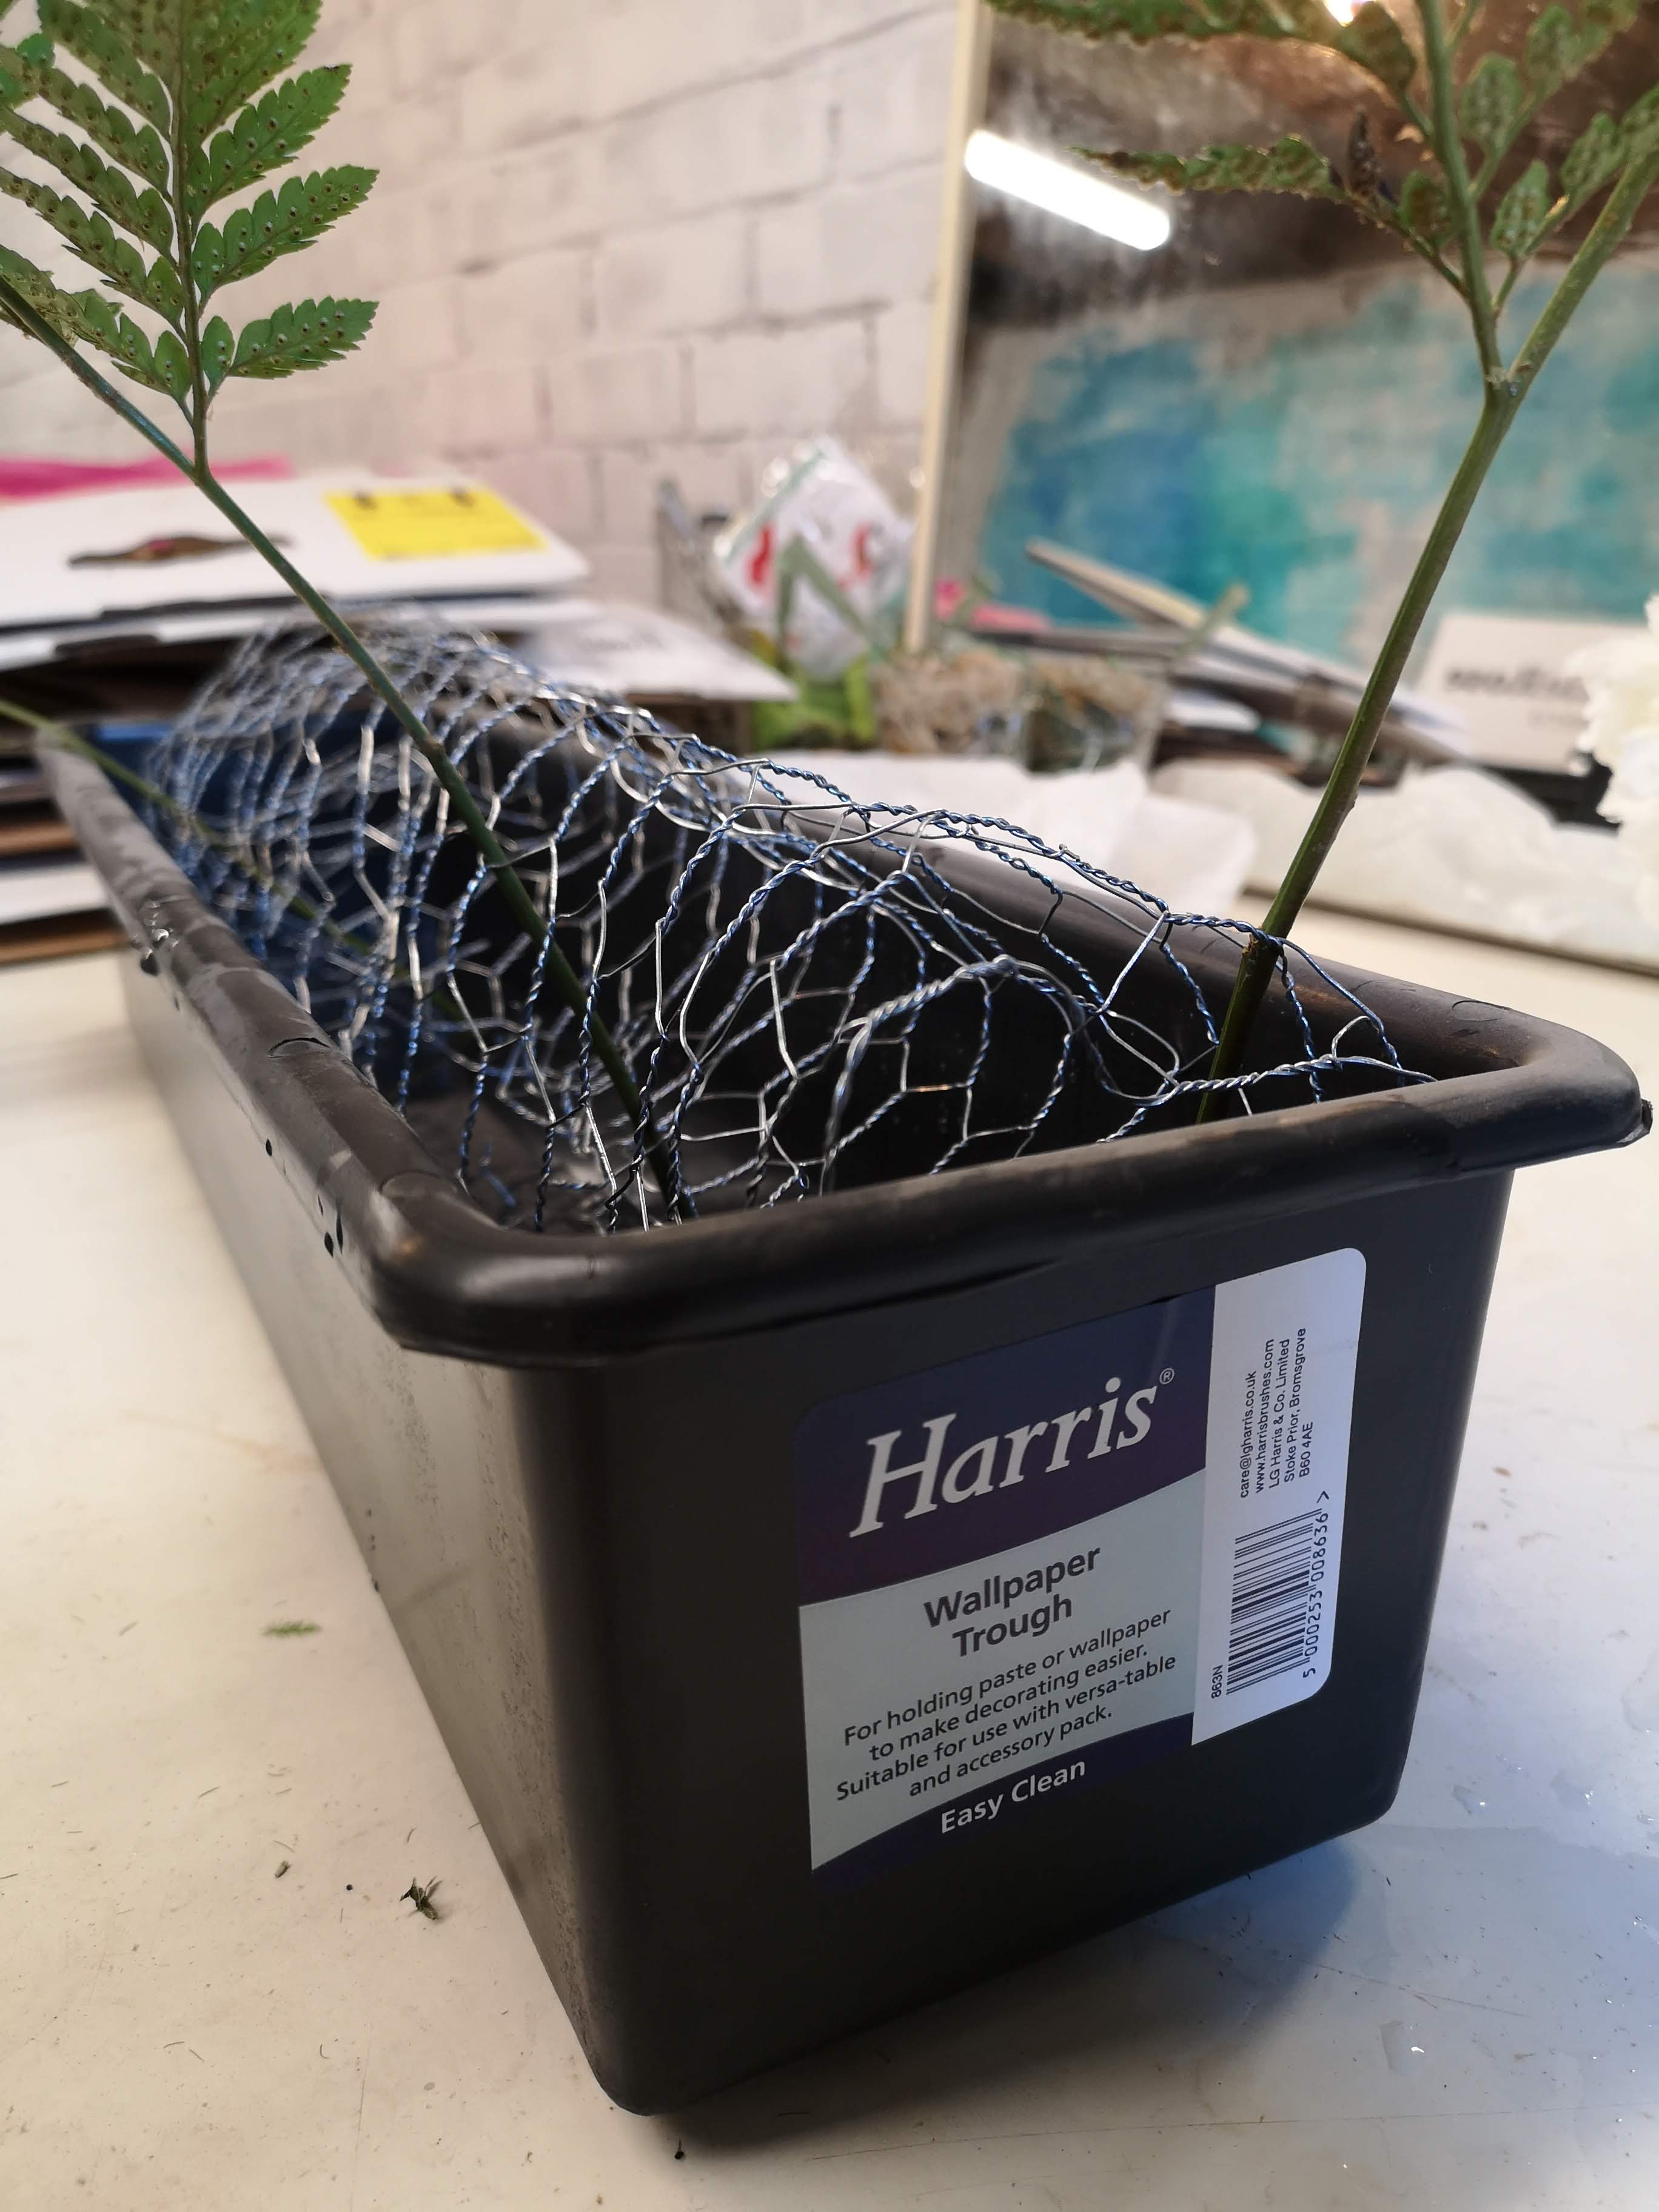
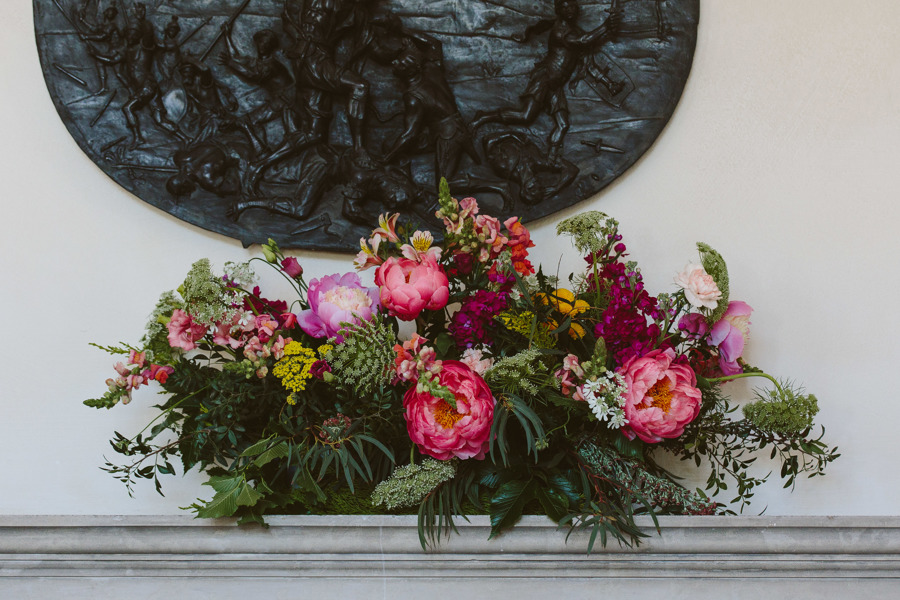
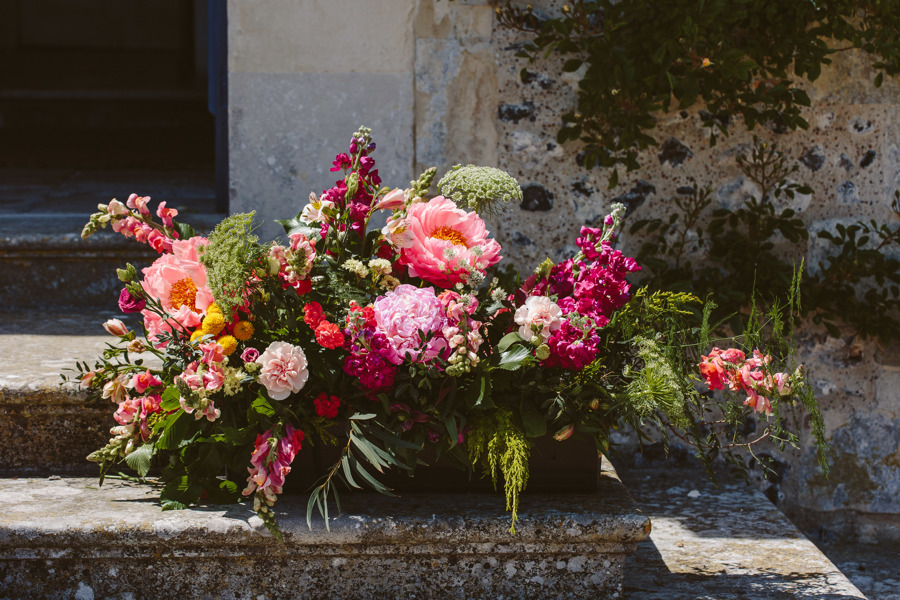
Today’s ‘how to’ is a foam free mantelpiece arrangement I made earlier this summer for an amazing wedding at Glynde Place in East Sussex. These kind of arrangements often end up being made out of foam simply because it’s easier, and let’s be honest when you’re busy running a business sometimes is just nice to chose an easy option! But that’s not why we are here. We want to be creating beautiful arrangements without nasty single use plastic foam. I’d like to say that I created this without the use of any plastic but sadly I haven’t quite found the right container, it’s tricky to find something that is water tight and the right kind of size without it being plastic. I’ve invested (I say invested but they were pretty cheap!) in these wallpaper troughs, they sell them all over the UK in places like B&Q and Homebase for something like £3.99. They are water tight and a good long and low shape which is perfect for making a lovely loose and natural arrangement in.

more foam free ideas

Step 1: Scrunch up your chicken wire so you have a couple of layers to poke the stems through, if you only have one single layer then the stems will flop over to the side. I used pot tape to secure but this could be, and will be done with a biodegradable twine next time I do it.

Step 2: Add water. You’ll want plenty in here if you are designing ahead of time and if the weather is very warm. I’d advise tipping mist of the water out before you travel and then topping back up when you have set up – these kind of containers are prone to sloshing in the back of your van!

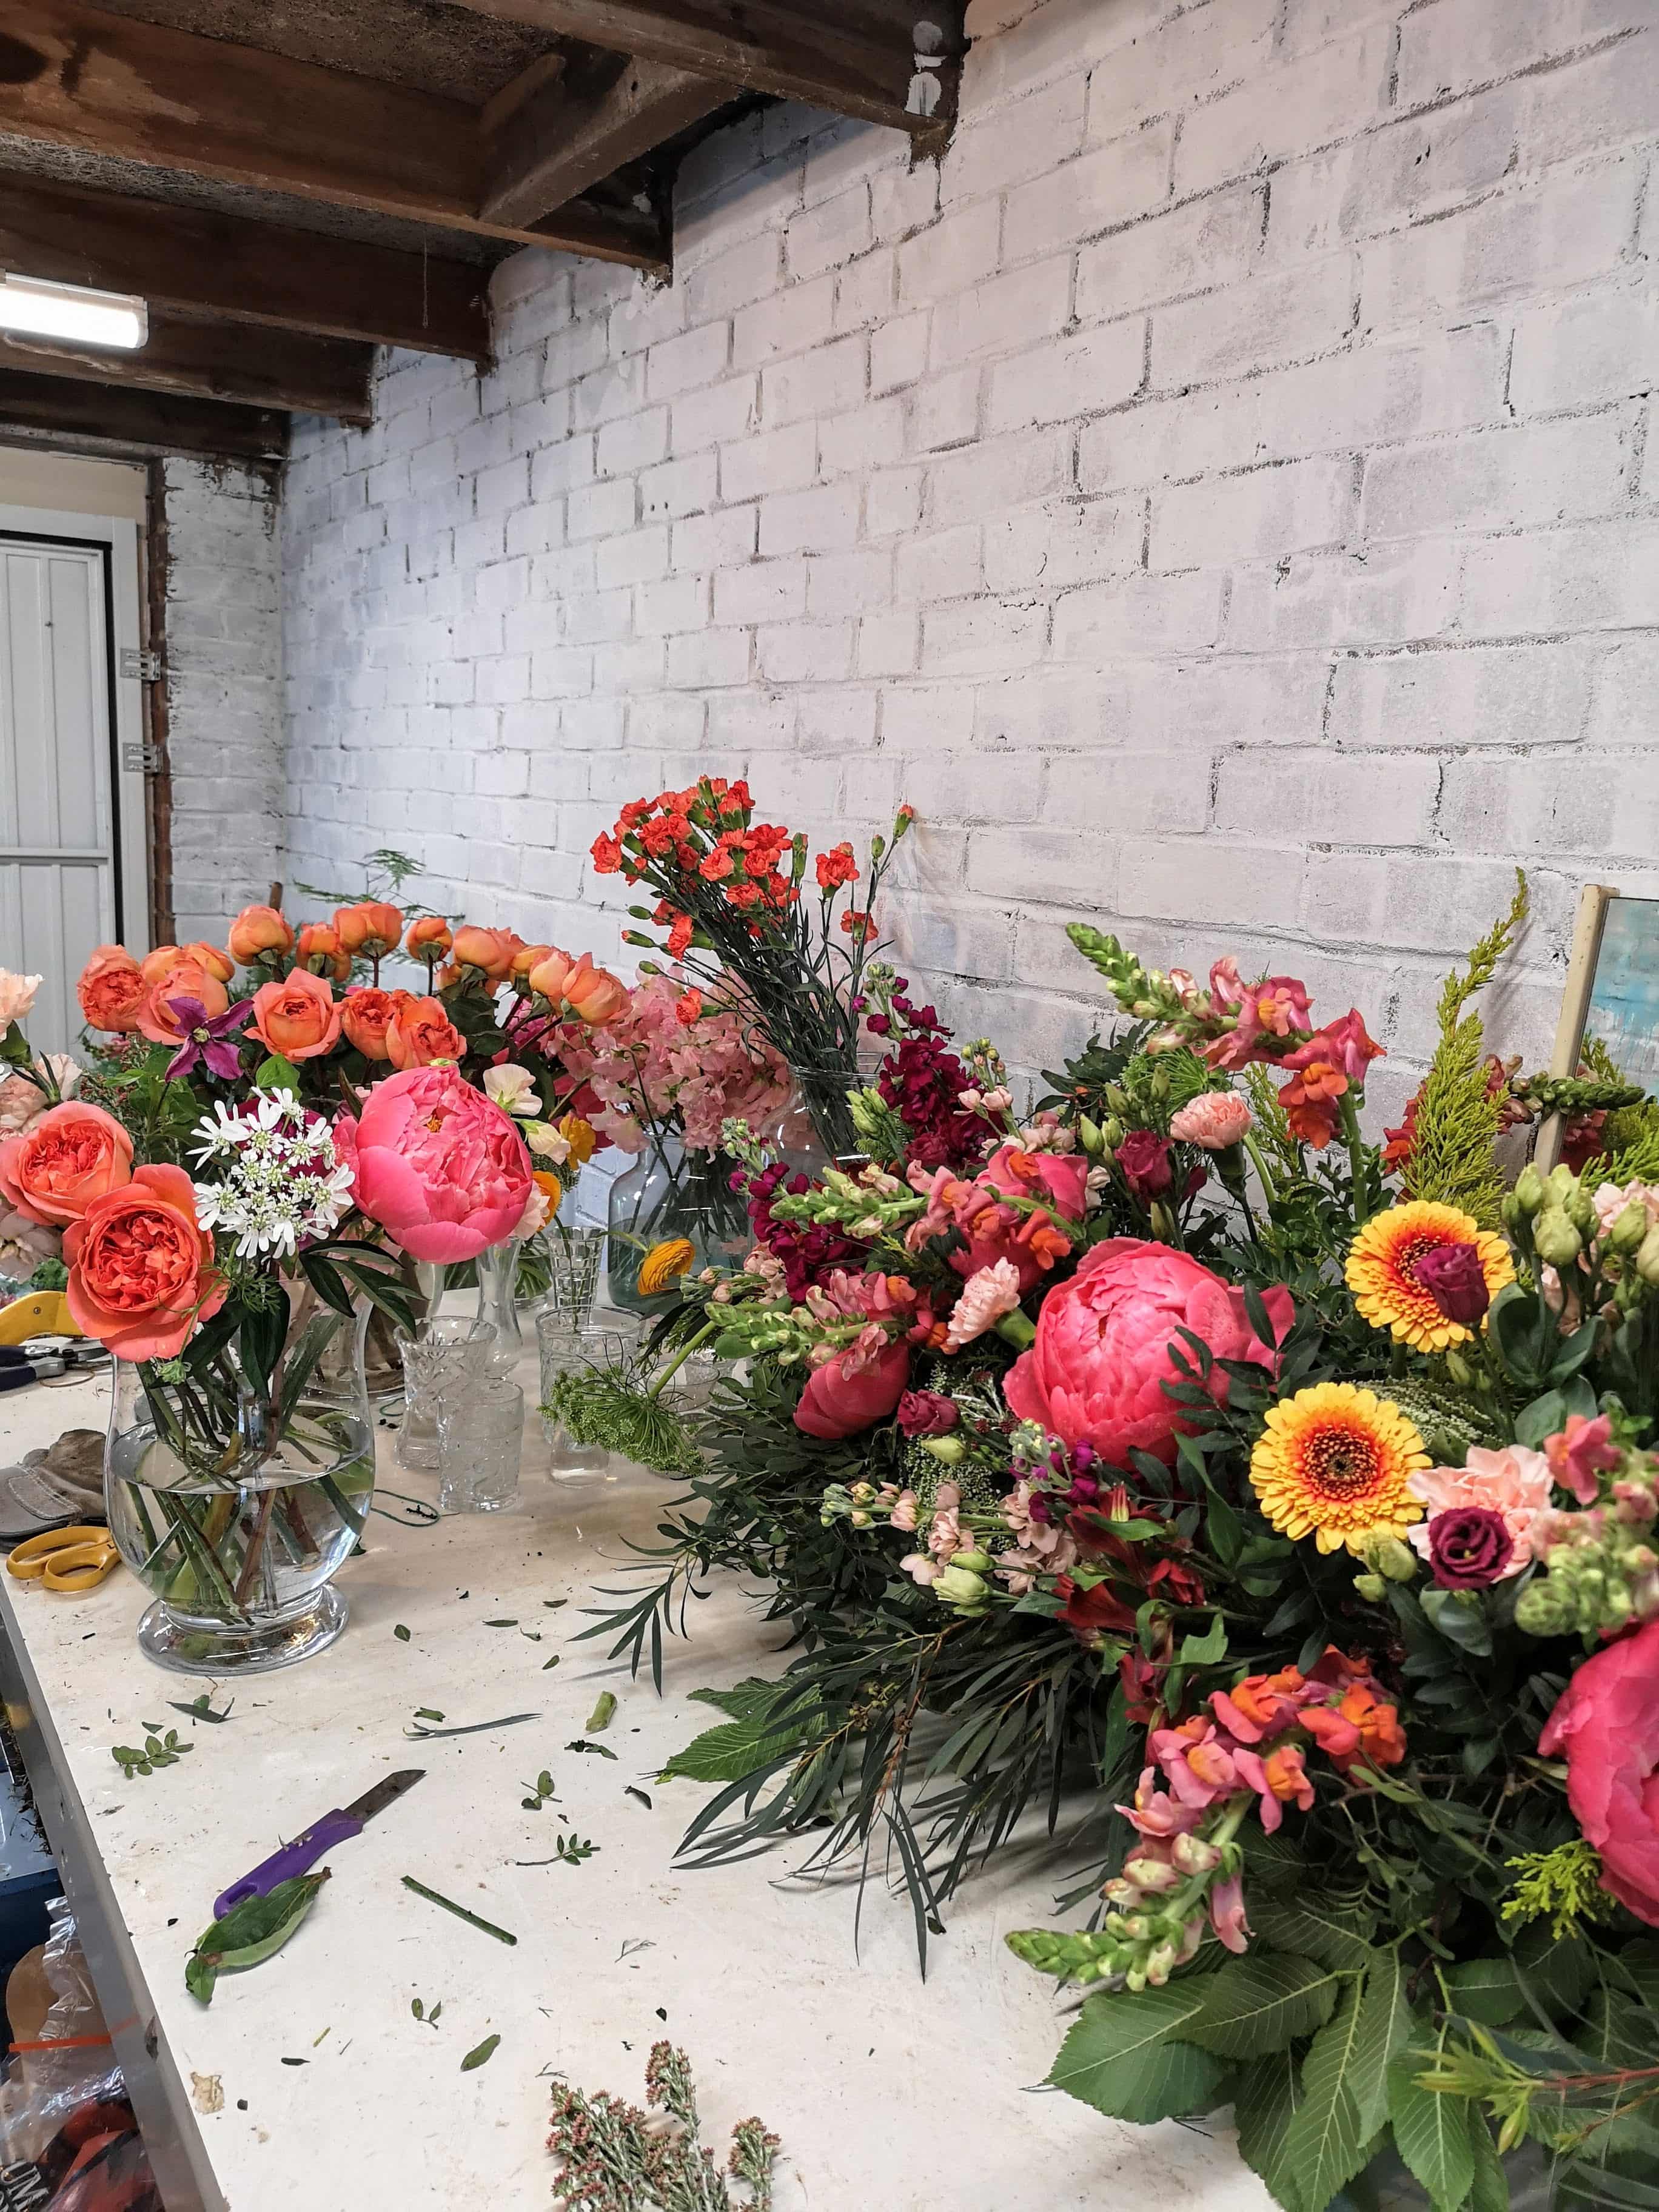
Step 3: Start adding your foliage. I used a base of pistache as this covers the chicken wire nicely and adds bulk to support your flowers. I then use longer stems of more decorative foliage to create movement and texture.

Step 4: Start adding your flowers in. I do this intuitively rather than a planned way, I have a certain number of stems I allow for each arrangement to fit within budget but I arrange them however my creativity allows me to – this is why no two weddings are the same! You want to make sure there’s some drapey type flowers and foliage to help you disguise the container. Things like eucalyptus nicoli and parvifolia have a good drape to them.

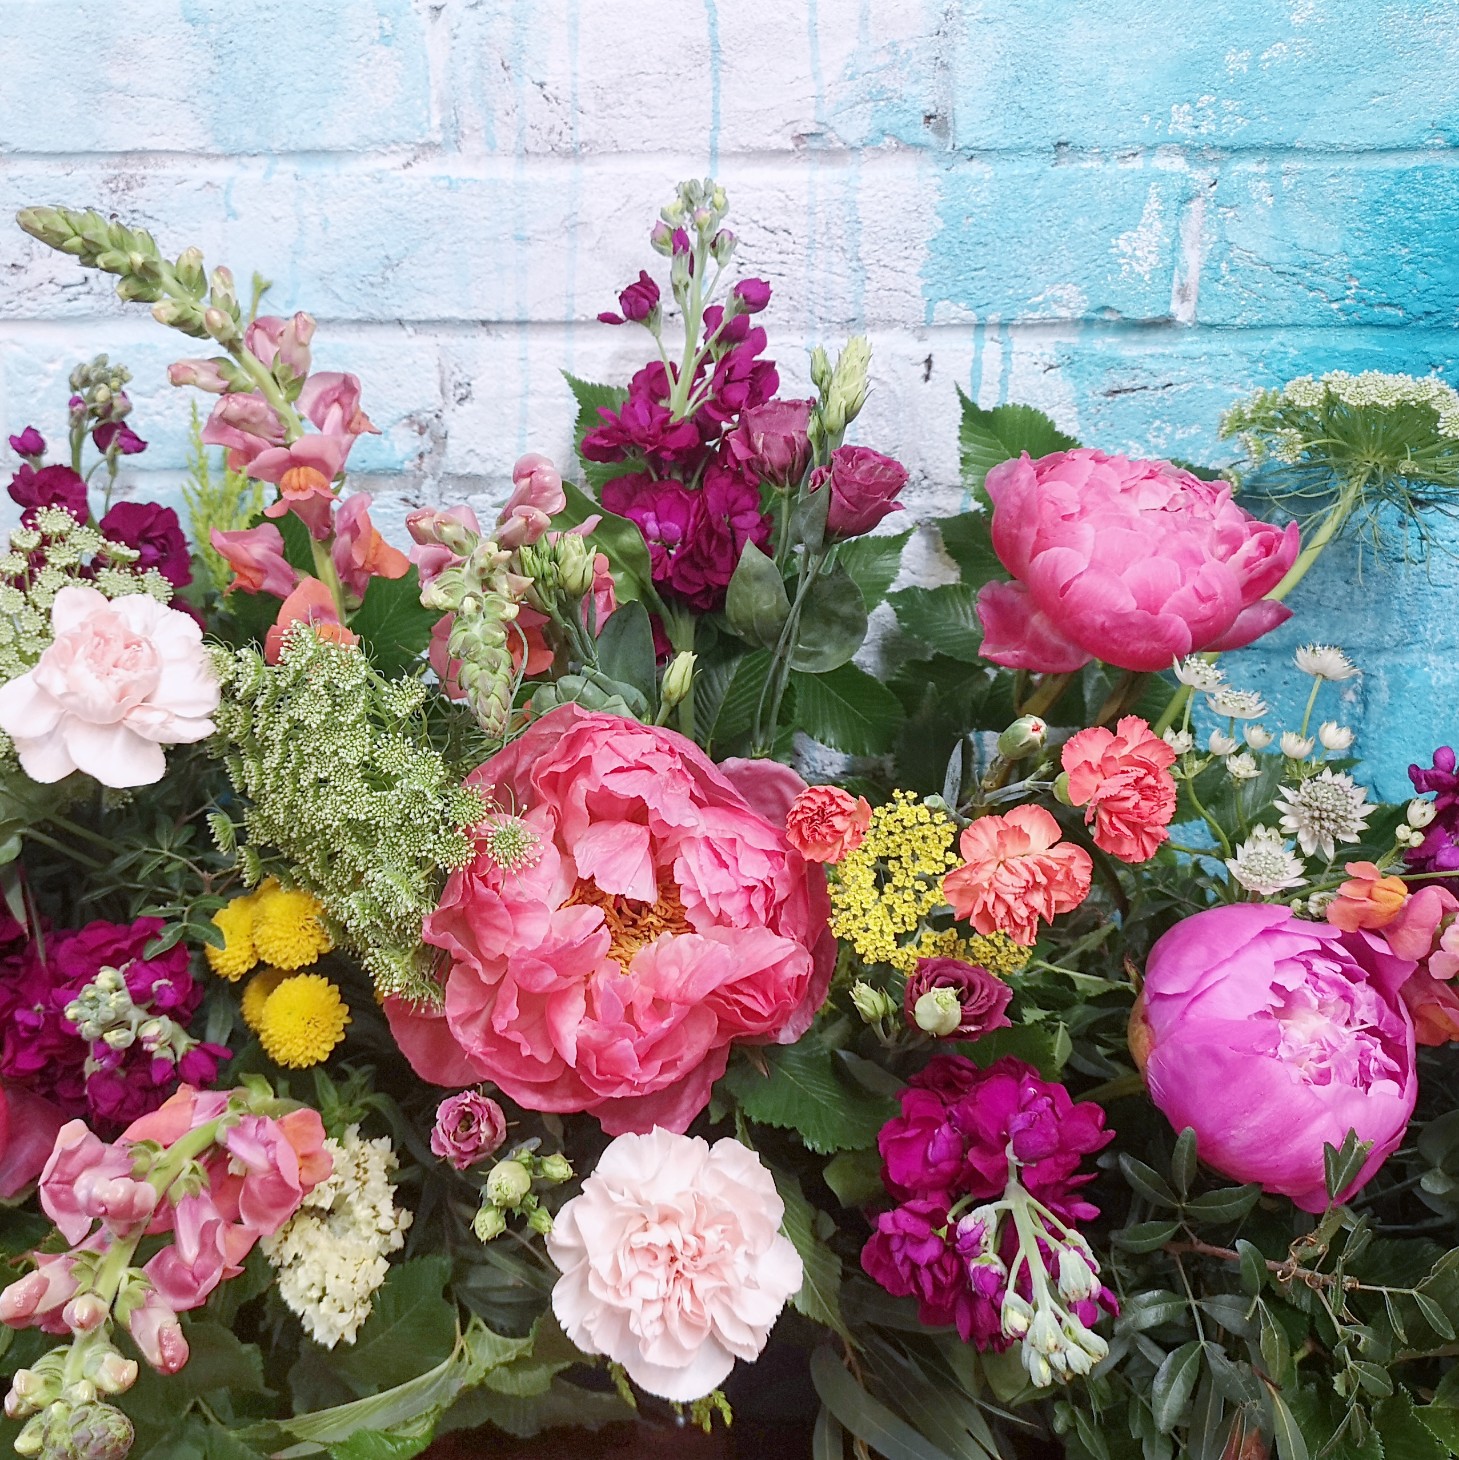
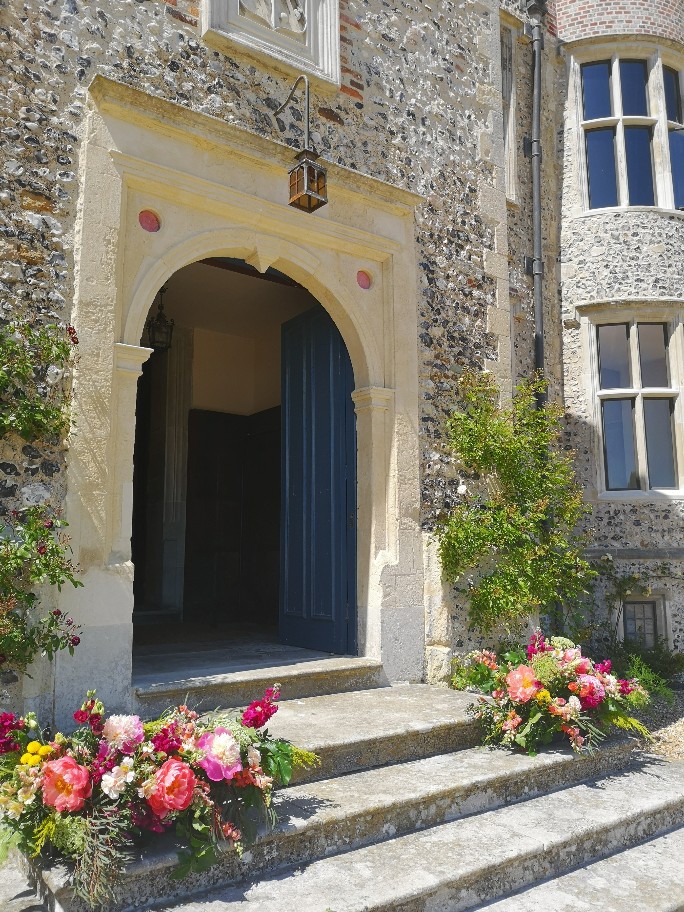
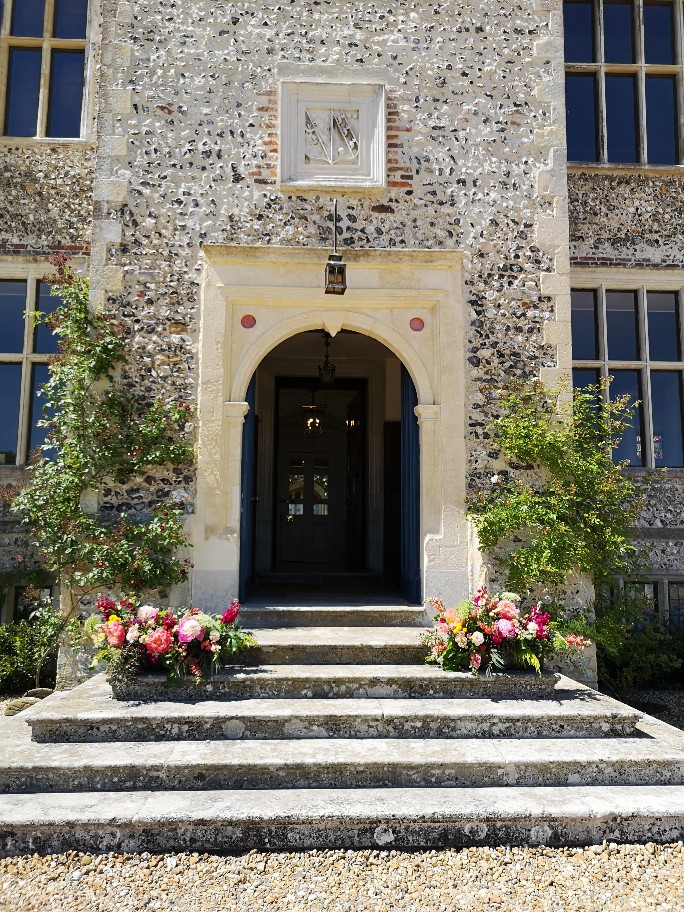
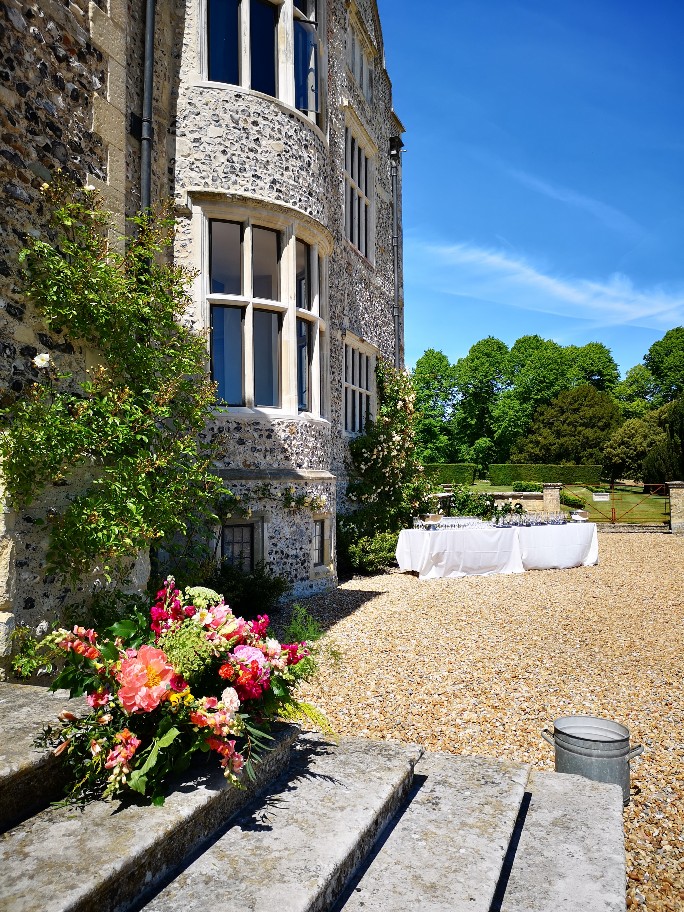
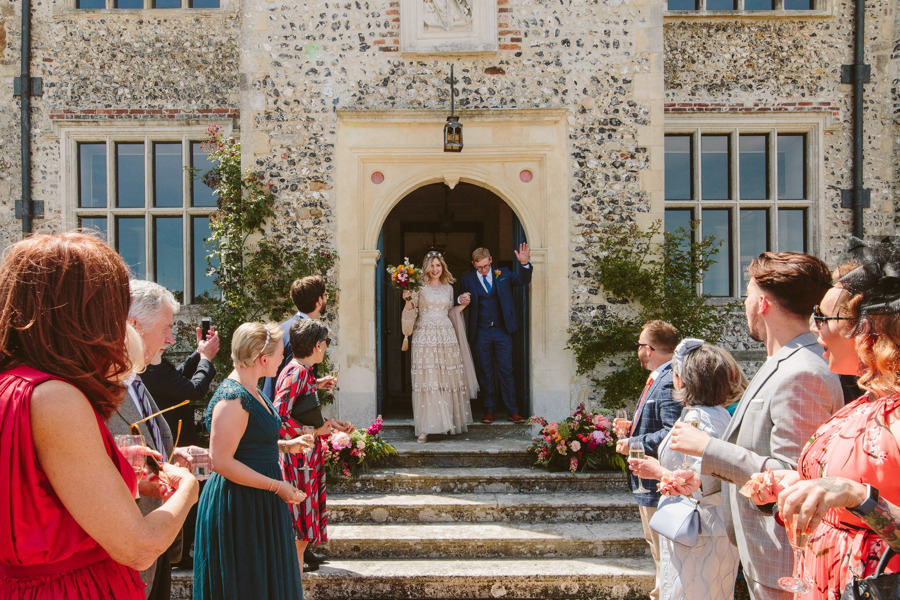
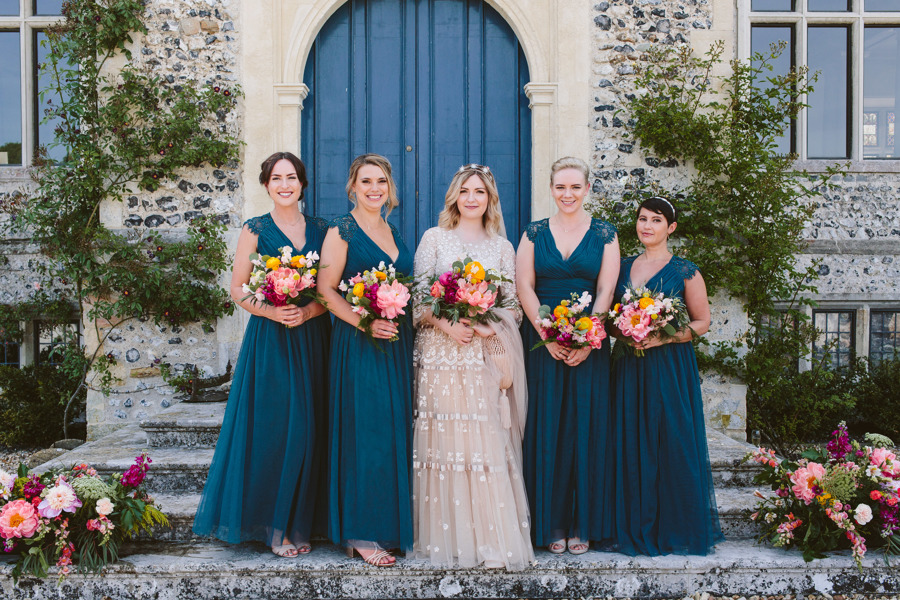
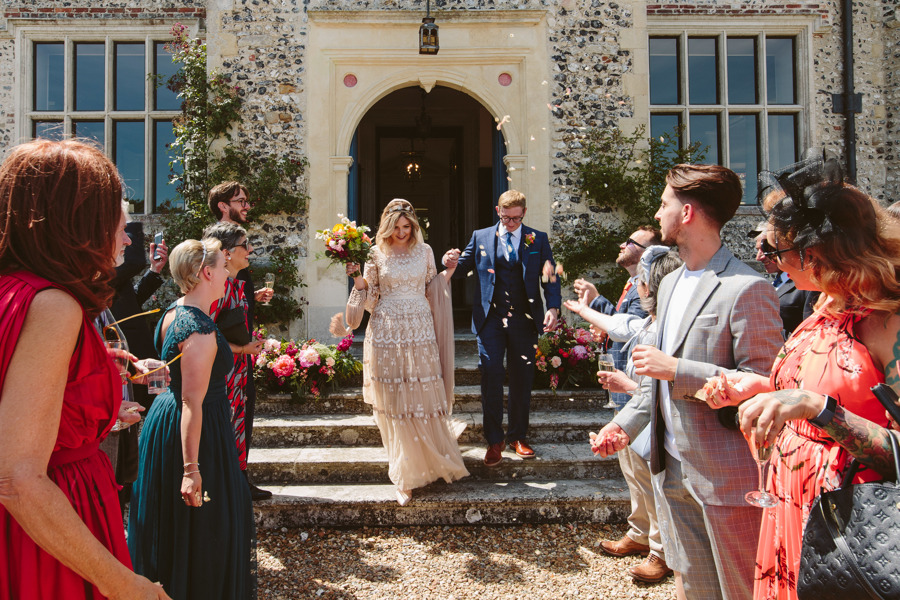
Below is the finished item. These were designed to be long arrangements on, so there would be two on each mantelpiece. We quickly changed this on the day as it was such a hot day the bride and groom felt that the flowers would be wasted inside as everyone would be outside. So instead of 2 long arrangements we made 4 smaller ones and had two on the steps outside – great as a backdrop for the all important confetti shot!

Below are the professional pictures from the day taken by the super talented Sarah London Photography

Thanks for reading, I hope you enjoyed learning how to make a foam free mantelpiece arrangement. I’ll be back again next Friday for another instalment of foam free ideas.

To see the full gallery of this beautiful colourful summer wedding at Glynde Place click here

Foam Free Friday

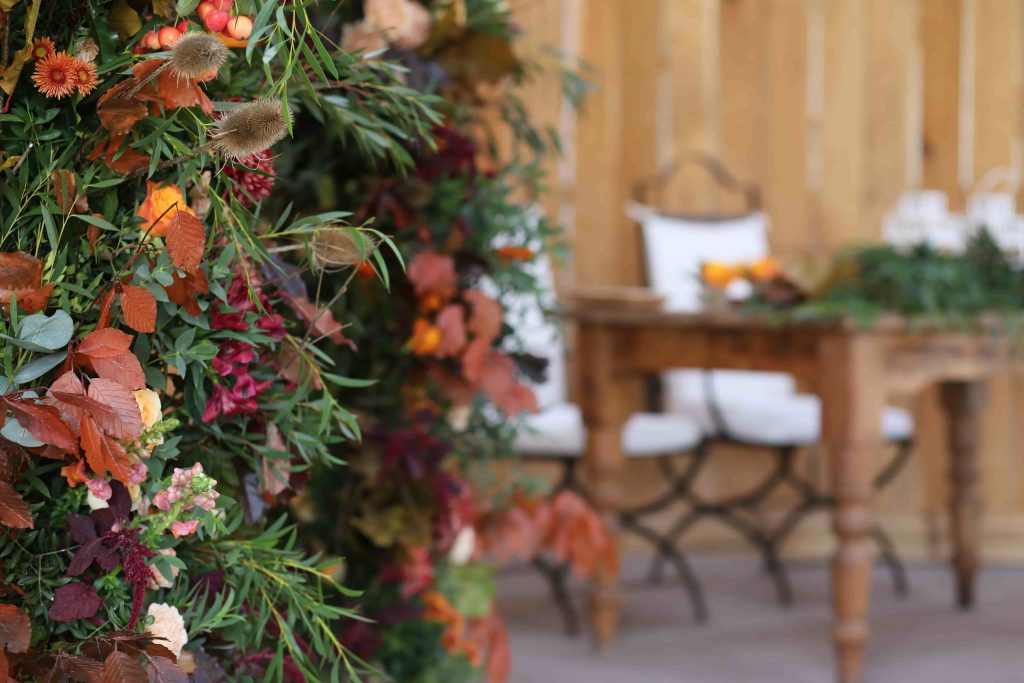
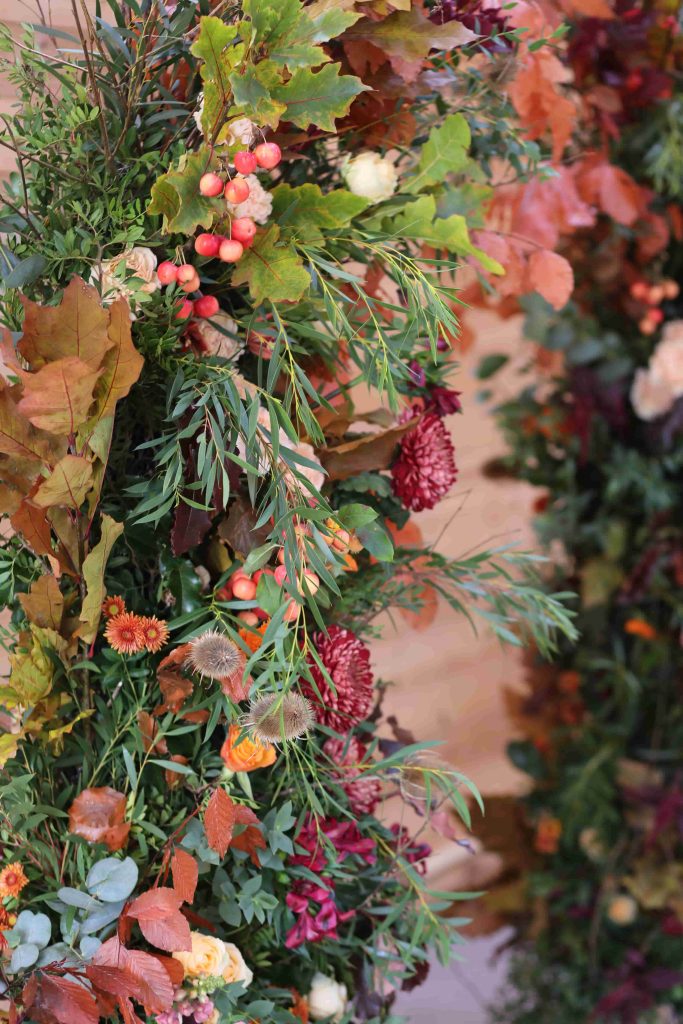
Autumnal archway

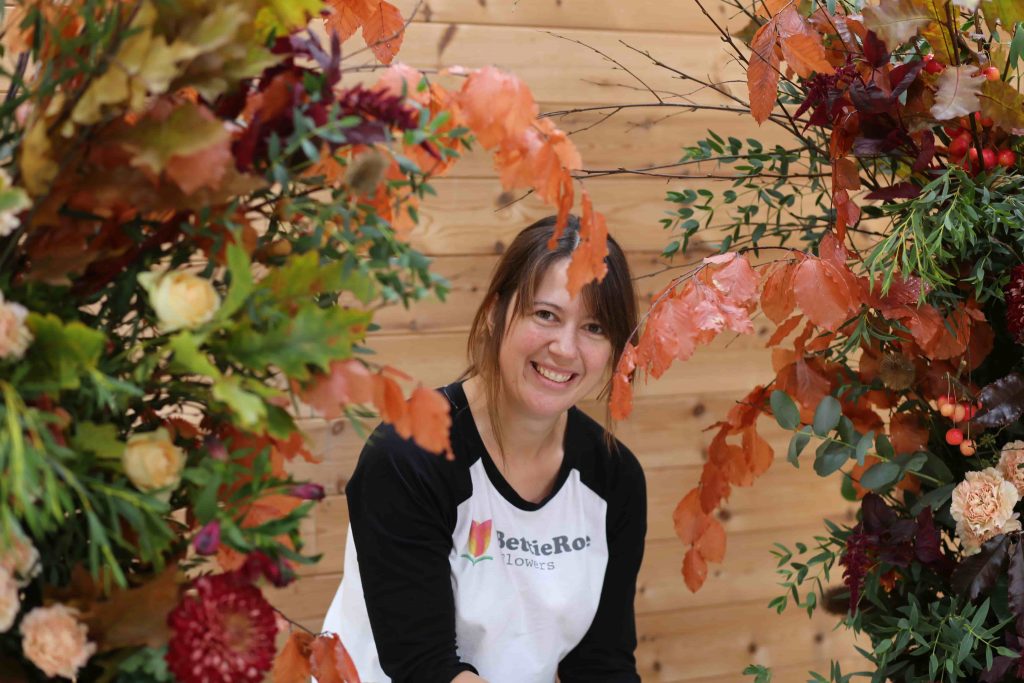
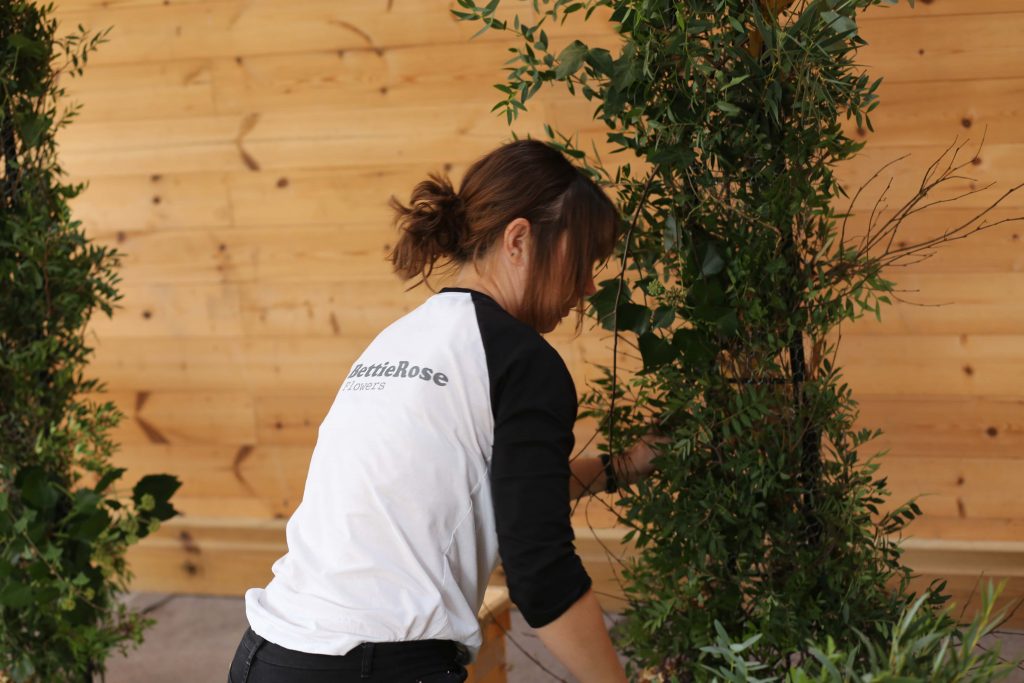
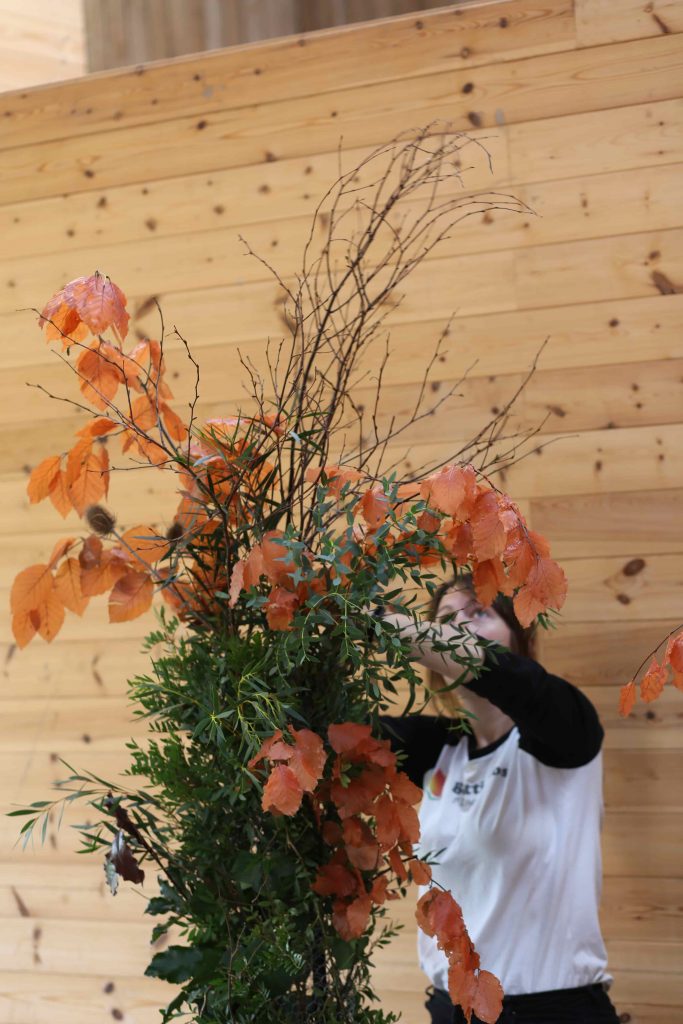
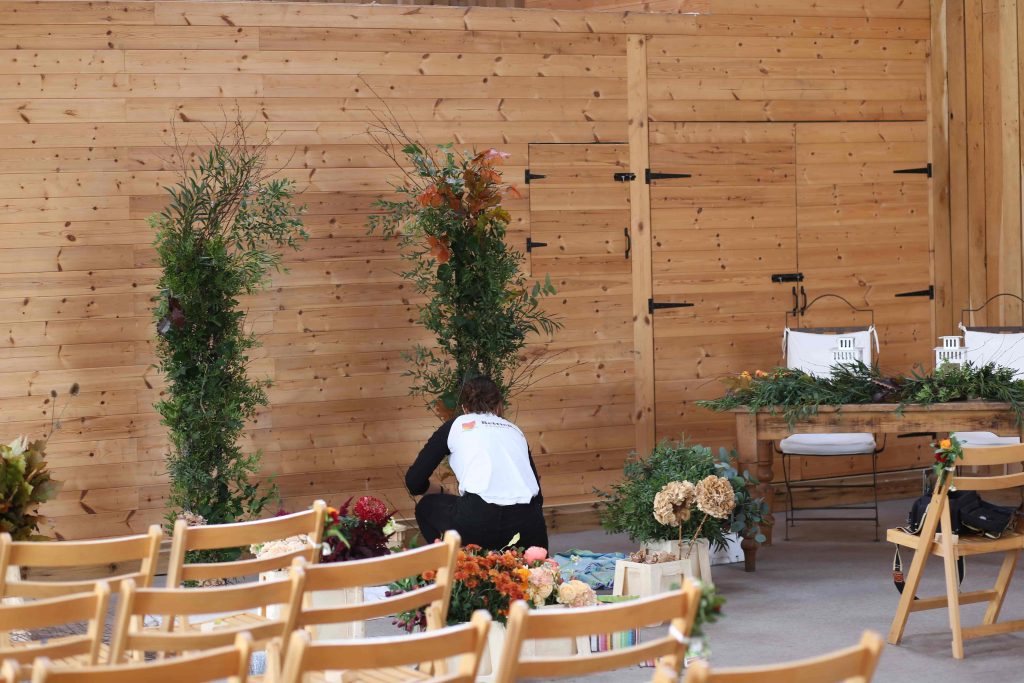
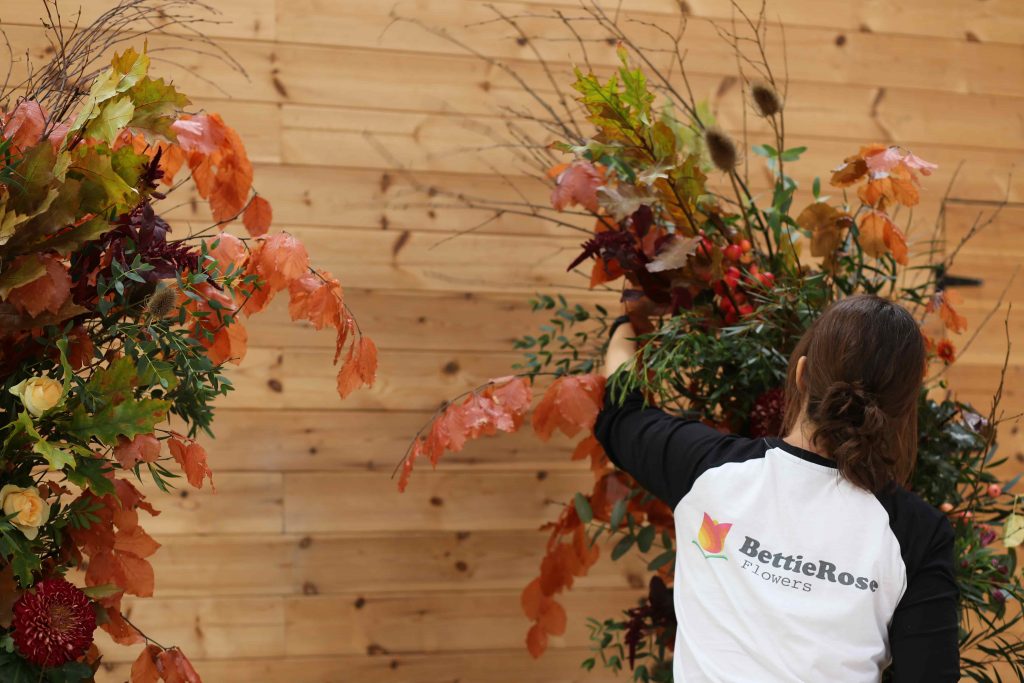
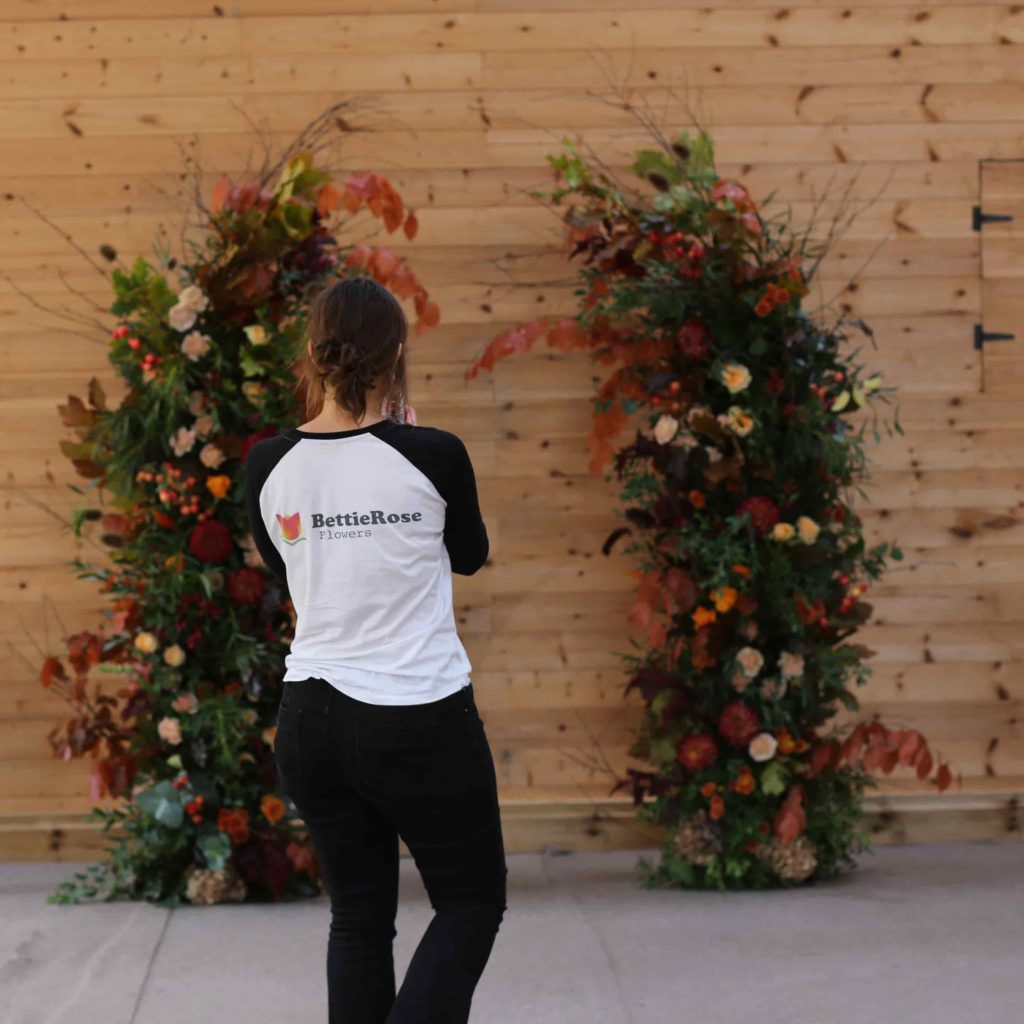
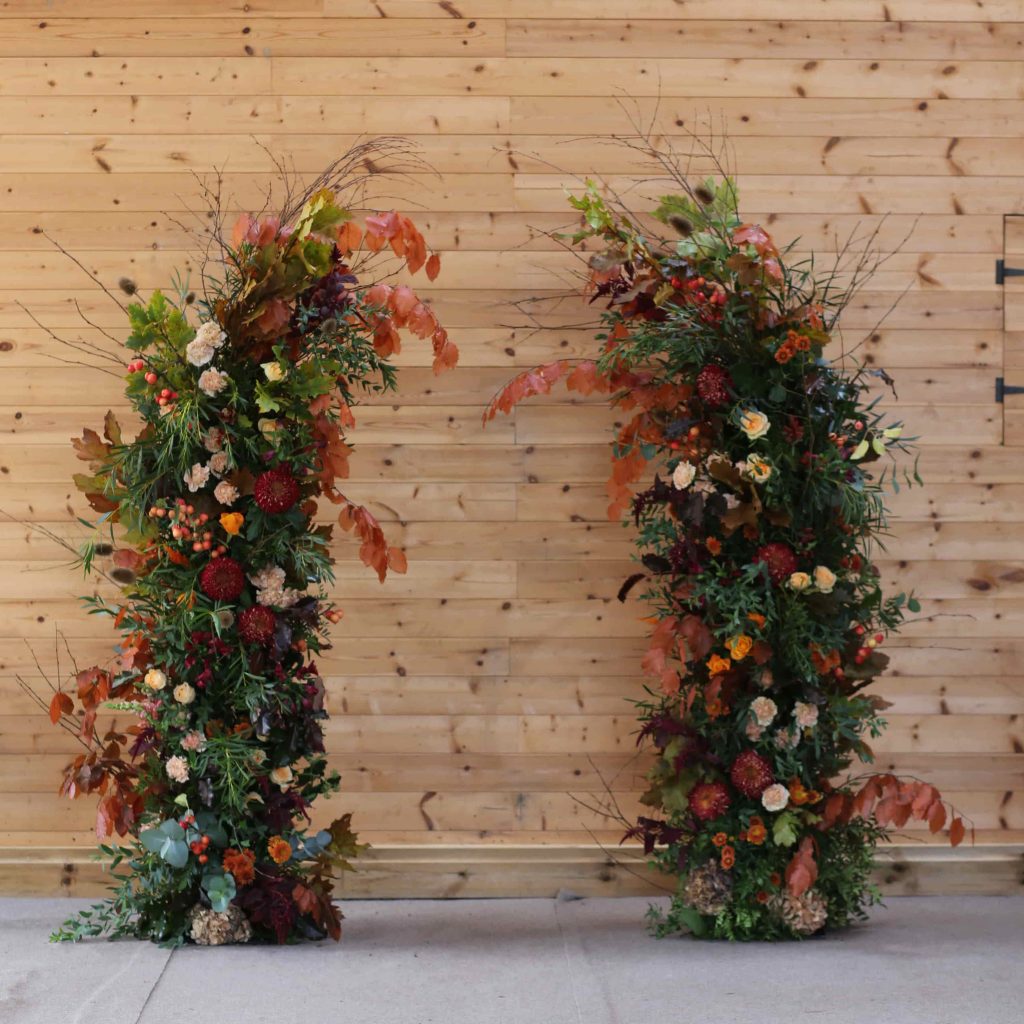
Welcome back to Foam Free Friday! Today’s post is about how to create a foam free autumn archway but of course this method applies to all seasons. This arch was made recently at the beautiful venue of Chafford Park which is nestled in the Kent countryside. Here I am looking pretty pleased with myself having completed the ceremony display!

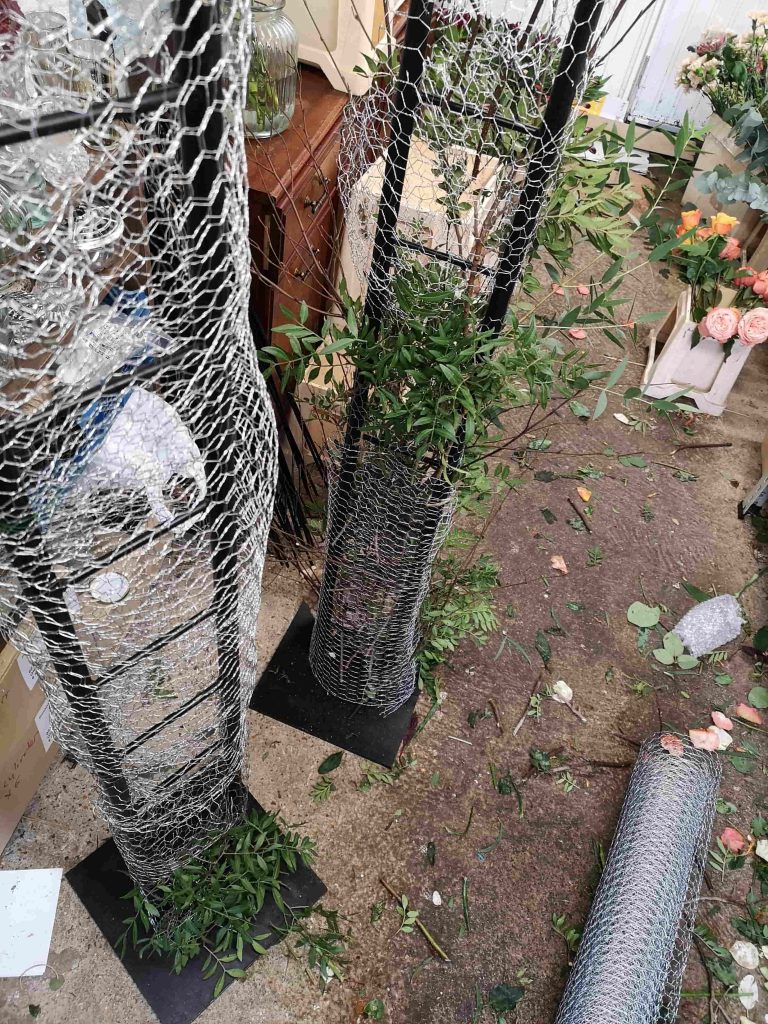
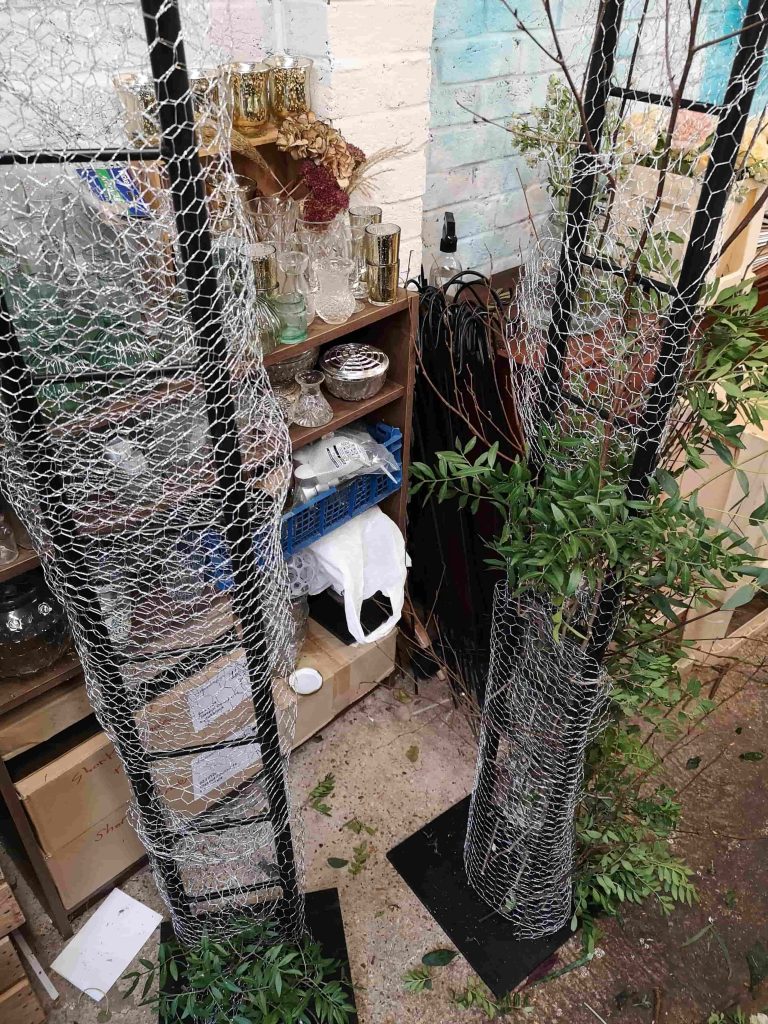
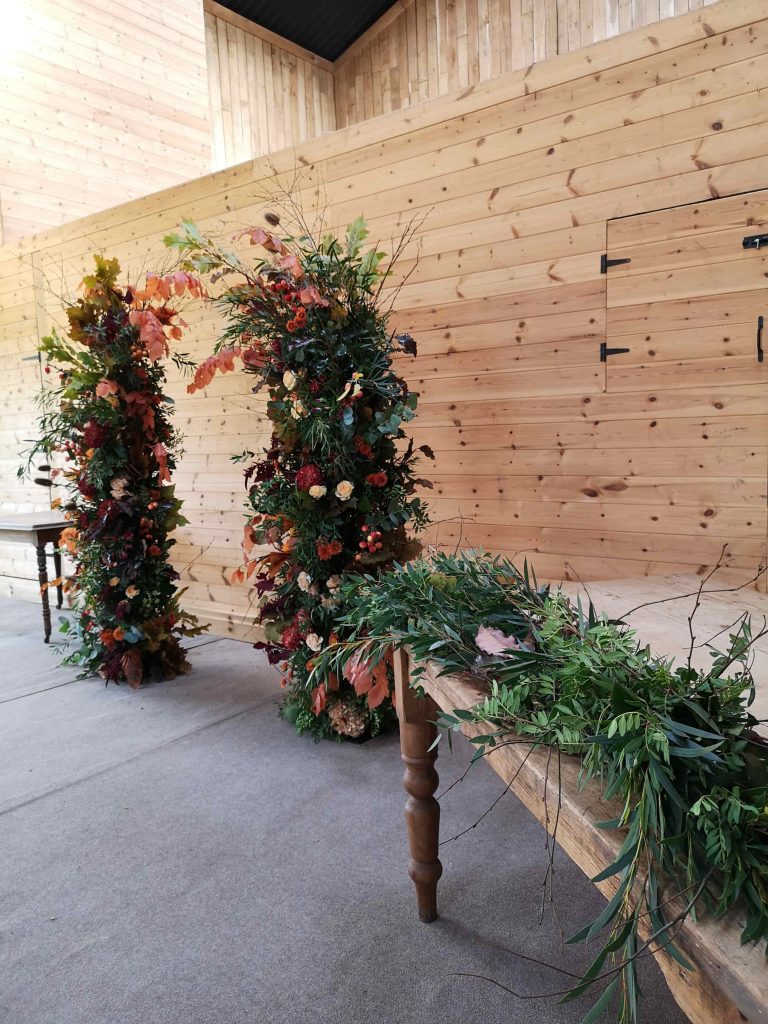
To create this design I used two freestanding vertical structures which were from a metal arch base, the structure would usually be a full archway with a curved top but that was removed for the purpose of this design as we were crating a looser more natural/growing looking design.

more foam free ideas

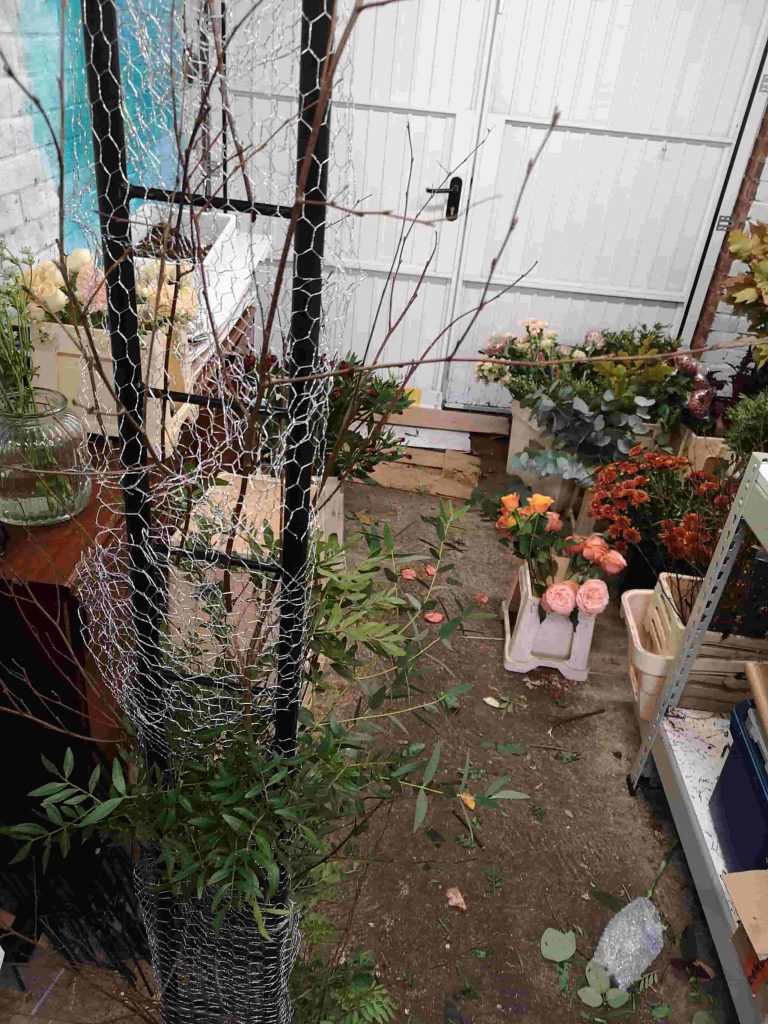
Below is how the base plates and vertical arch structure looks to begin with. They are nice and sturdy and will stay upright – this is important to think about as these designs can be very front heavy. You want the weight distributed evenly with no chance of toppling over during the ceremony! I have covered the structures in chickenwire which I will then start to weave foliage through.

I started covering the base of the chickenwire with hardy foliage which I knew would last out of water, this was mainly pistache which is a good value foliage and is great for coverage before you add your more decorative textured greenery. I decided to cover the base before going to the venue as this dramatically reduces the time it takes to create the arch – it’s always covering the mechanics that takes the time. Plus you don’t want big gaps in your design with chickenwire poking through! I used to use the green chickenwire as it is much easier to disguise and then I realised that it’s covered in plastic, which is annoying! So plain chicken wire it is then. I also added in some birch twigs and berried ivy for some added texture.

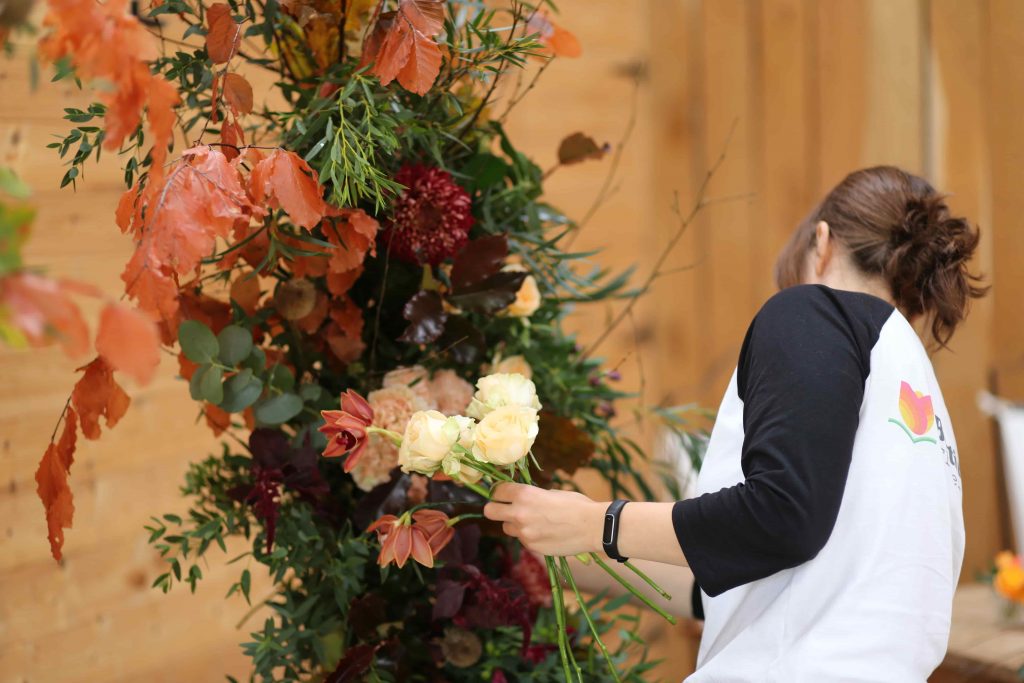
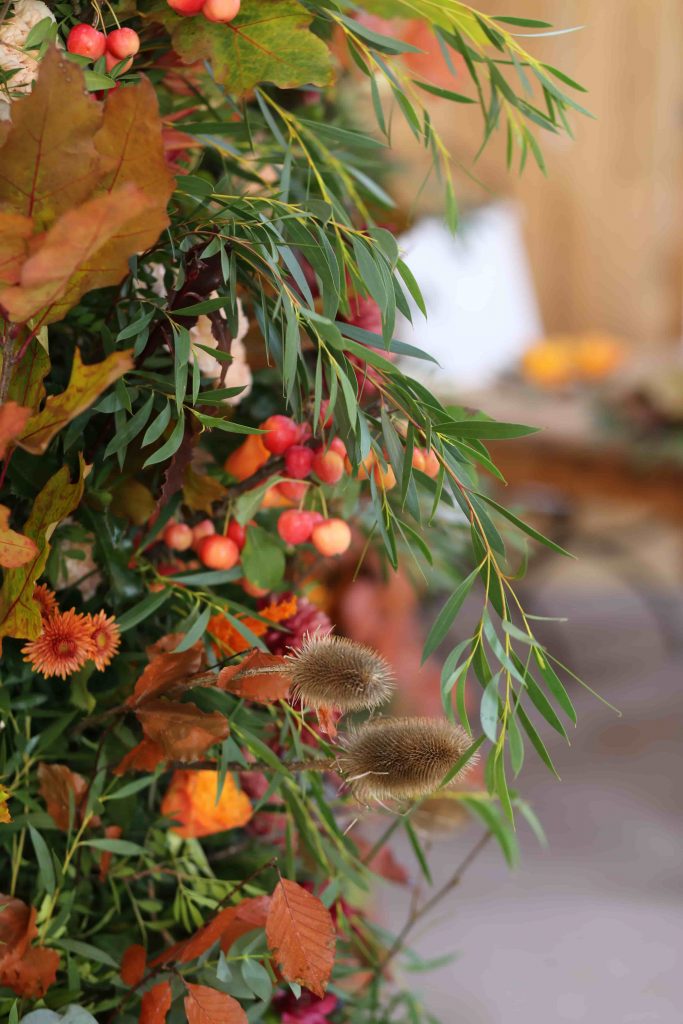
Once the base is covered I then start to make the shape with the larger branches and autumn leaves which give a lovely natural arch. Foliage I used was mostly from the amazing Irish Green Guys (such good foliage!) which included eucalyptus parvifolia, photinia, eucalyptus moorei and birch branches. Plus some additional preserved beech which means the colour stays a beautiful burnt orange but without the leaves dropping. All this is out of water, no moss is needed inside the chickenwire here. A lot of the flowers available this time of year (this was late October) are quite hardy so can handle a day out of water. I did order with this in mind and didn’t have any soft delicate stems such as astrantia or ammi which would wilt. If I were to add in soft stems I’d put in water tubes or I’d tie on grave spikes/pots/bottles/vases – anything that can hold water really!

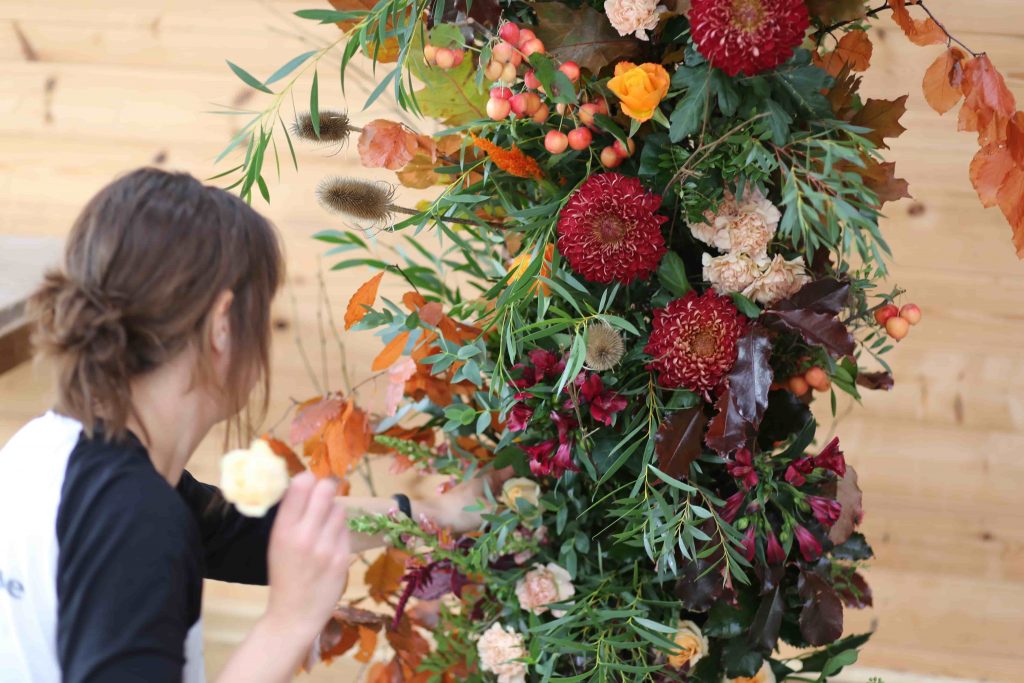
Next, add flowers. I used roses, gorgeous caramel coloured carnations, lisianthus, amaranthus, a few large deep burgundy chrysanthemum blooms, dried teasels, altsromeiria, cymbidium orchids, autumnal bronze chrysanthemums, antirrhinum and also crab apples.

As I said above, this was all out of water and was perfectly happy all day long. It still looked pretty good when I came back to collect on the Monday morning, so it had survived all Saturday and Sunday. This was in a cool barn and would however be different on a scorching summer day. If you know the weather is going to be really hot then you’ll have to water tube or add in extra containers which hold water as mentioned above. That being said there are still quite a few flowers and foliages that will stand the test of time even on a hot day. Carnations, chrysanthemums, lisianthus and orchids to name a few.

I hope you’ve found this helpful, tune back in for more next Friday. Check out my last post here if you missed it .

Foam Free Friday

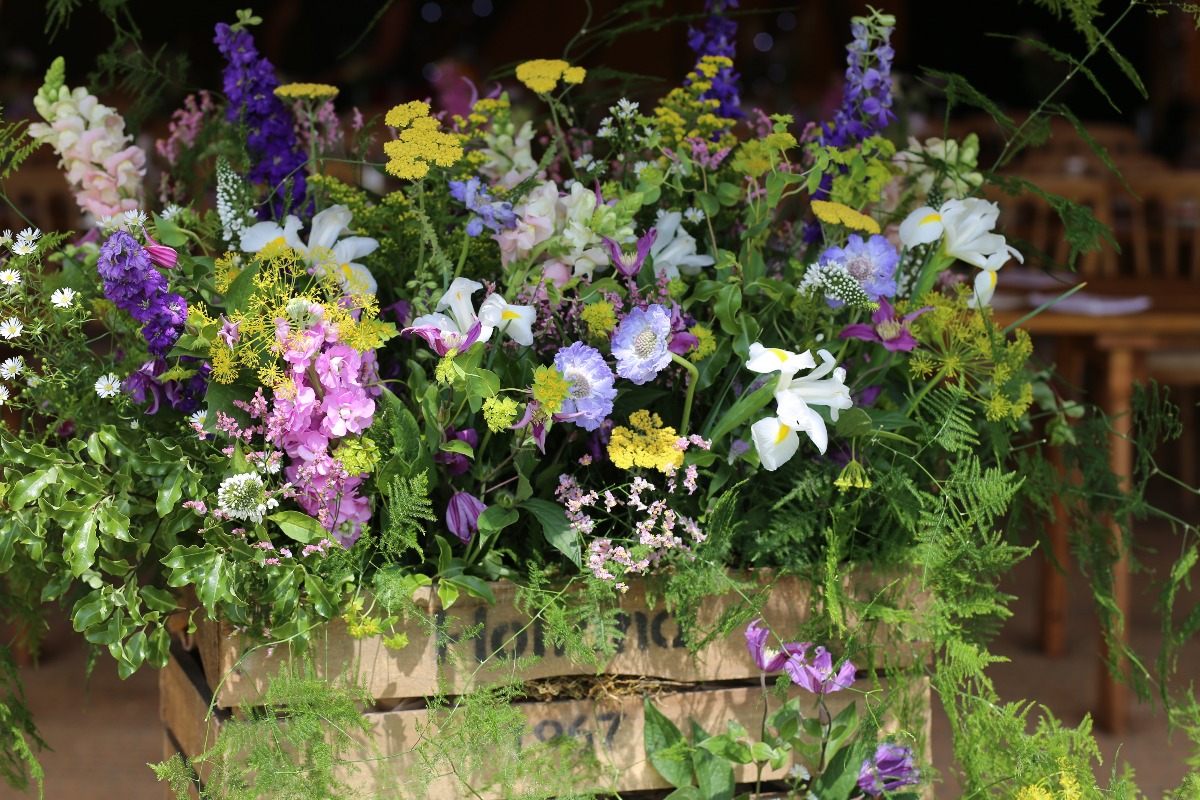
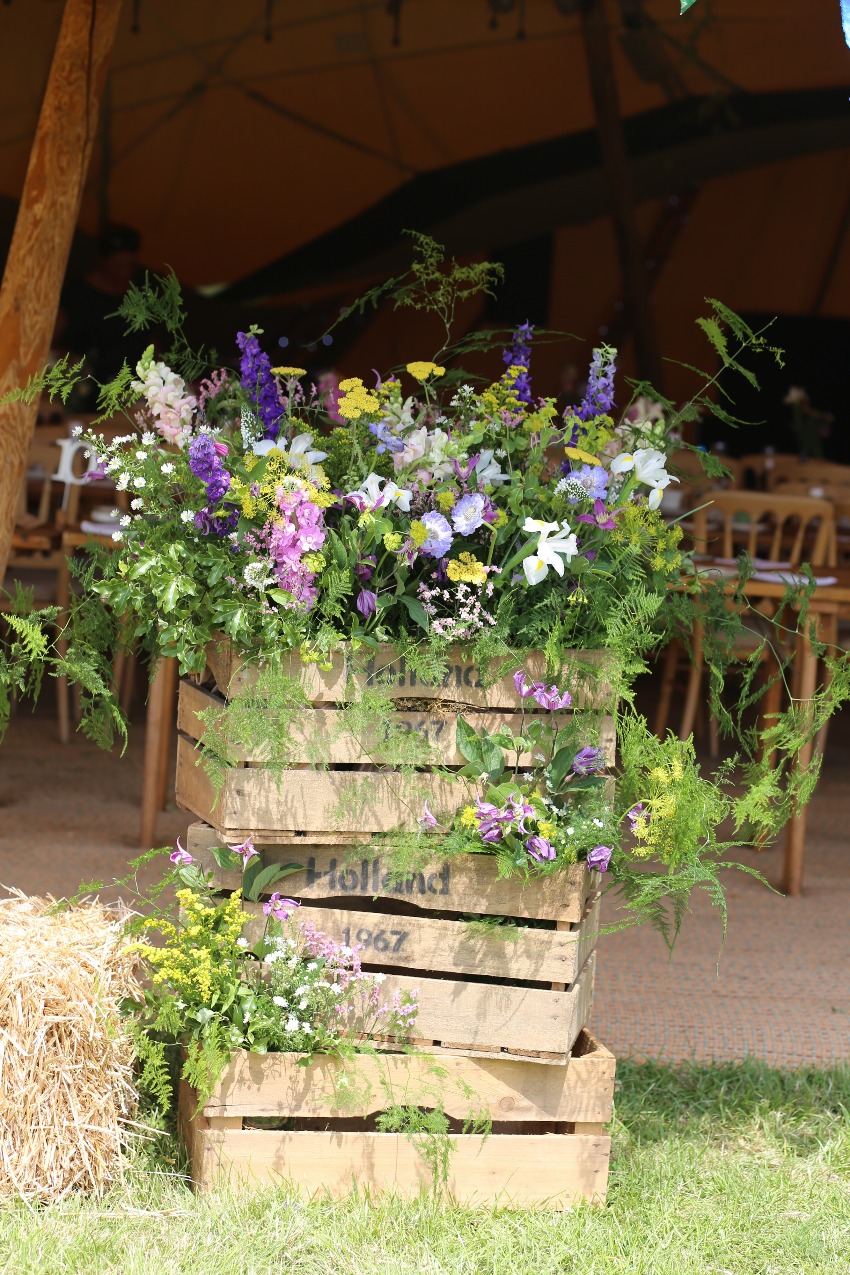
Wild flowers in a wooden crate

Welcome to my first ‘Foam Free Friday’ blog post! I have decided to launch a series of blog posts based around working foam free as it is something that is very much on a lot of florists minds at the moment. When it comes to floristry, we are of course faced with the same issues as everyone else when it comes to environment and we need to consider the ways in which our industry impacts the world we live in.

As many of you might be aware, floral foam is a plastic. Unfortunately it is kind of disguised as a natural ingredient, it’s green and crumbly and very easily washes away down the drain. We have been merrily using this wonder product for many years as it is so easy to use and saves time when running a fast paced business. However, it is a single use petroleum based plastic which has to go into land fill after it is used. Even worse is that it breaks down into micro plastics and gets into our water supplies, it is almost impossible to use floral foam without tipping the residue down the drain. Since finding this out I have stopped using it.

So after stopping using floral foam I quickly had to find some new techniques in order to produce the same quality work which has longevity and also looks beautiful. I am going to share my journey with you and each Friday will post a new article with a different ‘how to’ guide.

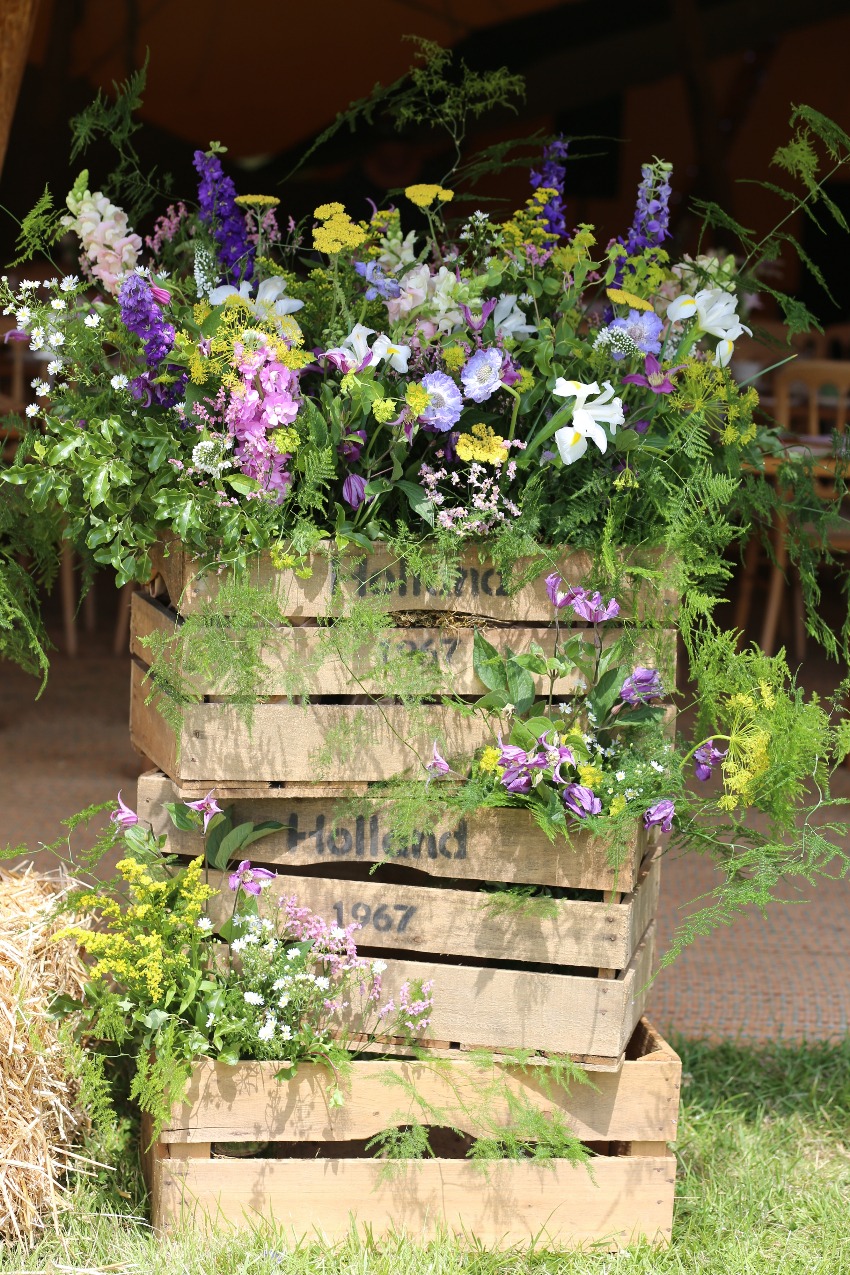
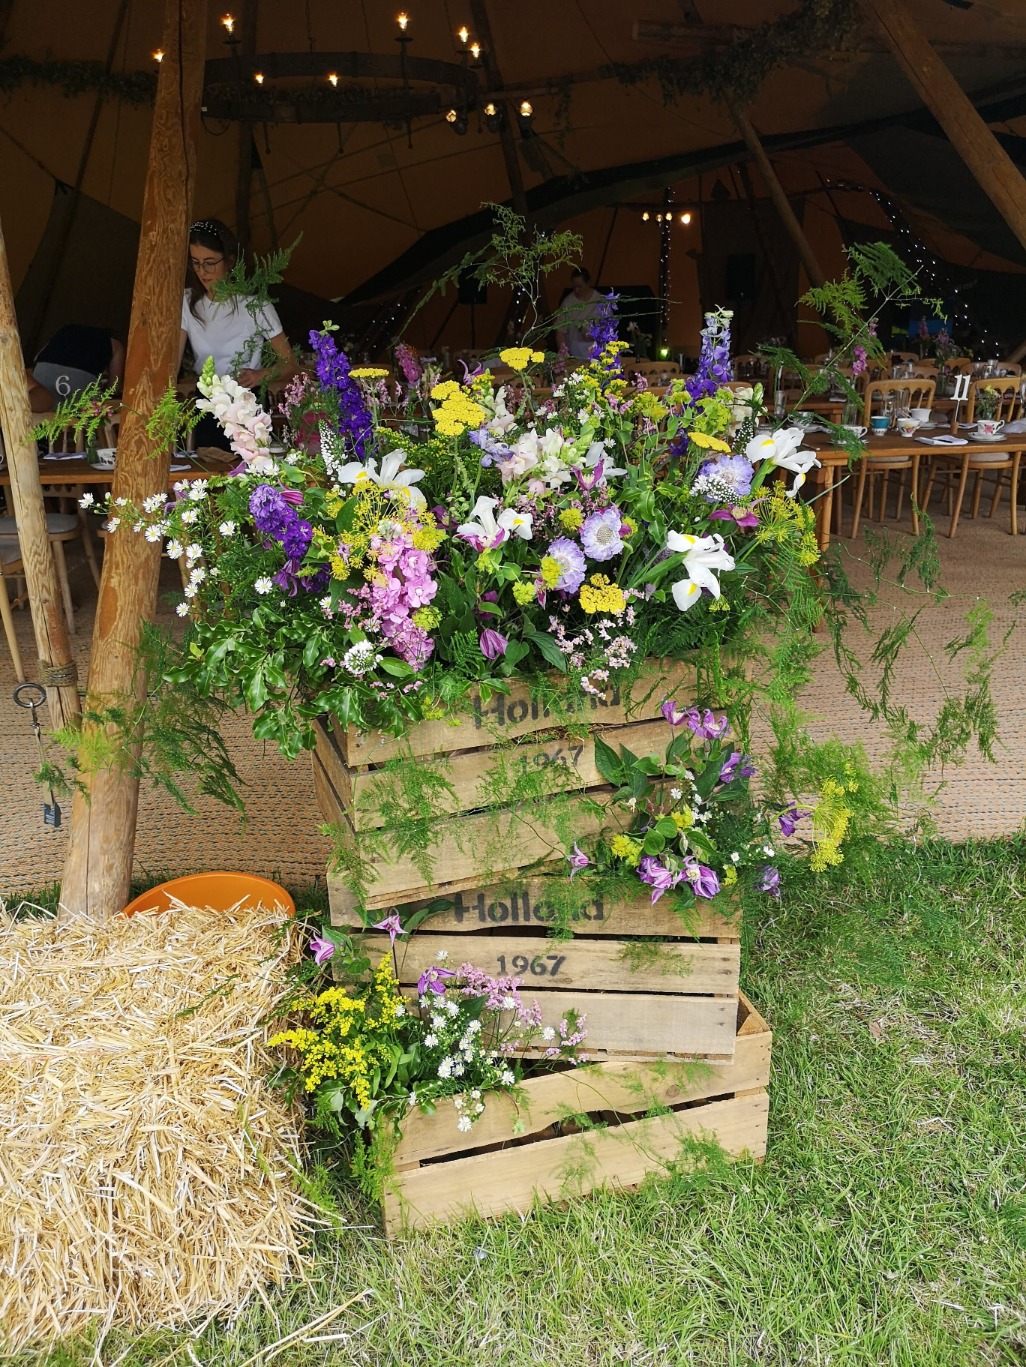
This wooden crate arrangement above has been made using buckets of water with chicken wire in. This is actually way better for the flowers than foam anyway, delicate summer flowers are really not too happy in foam as it dries out quickly in the heat – and this wedding took place on a HOT and sunny mid July day. The flowers were very grateful for a good drink.

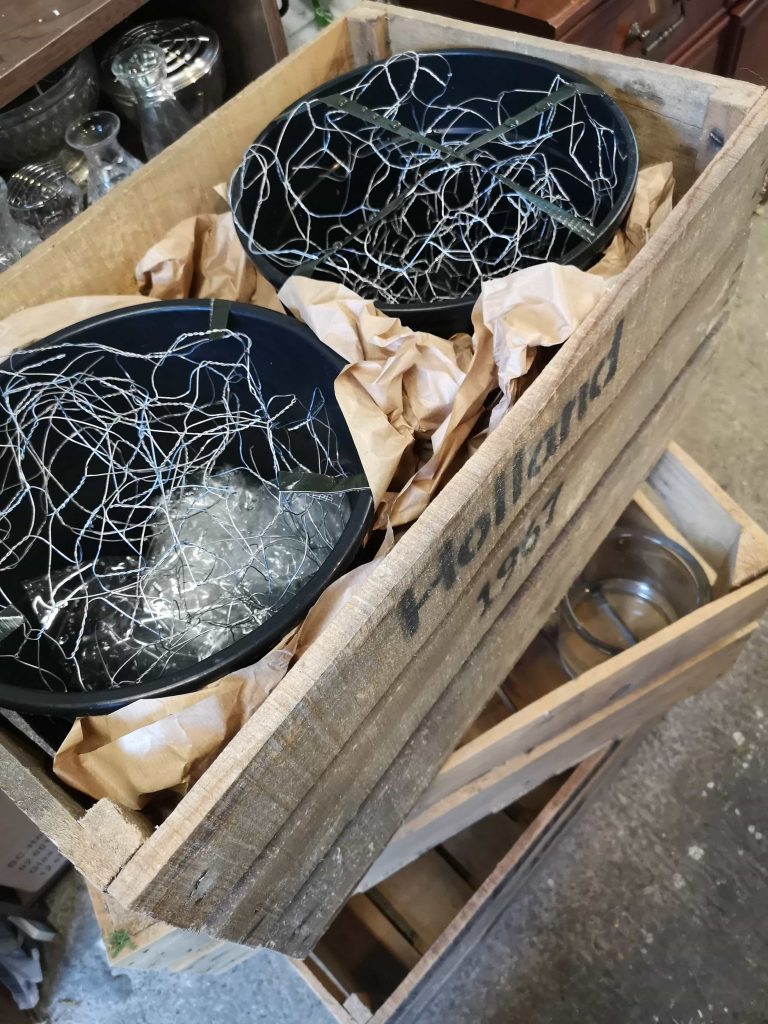
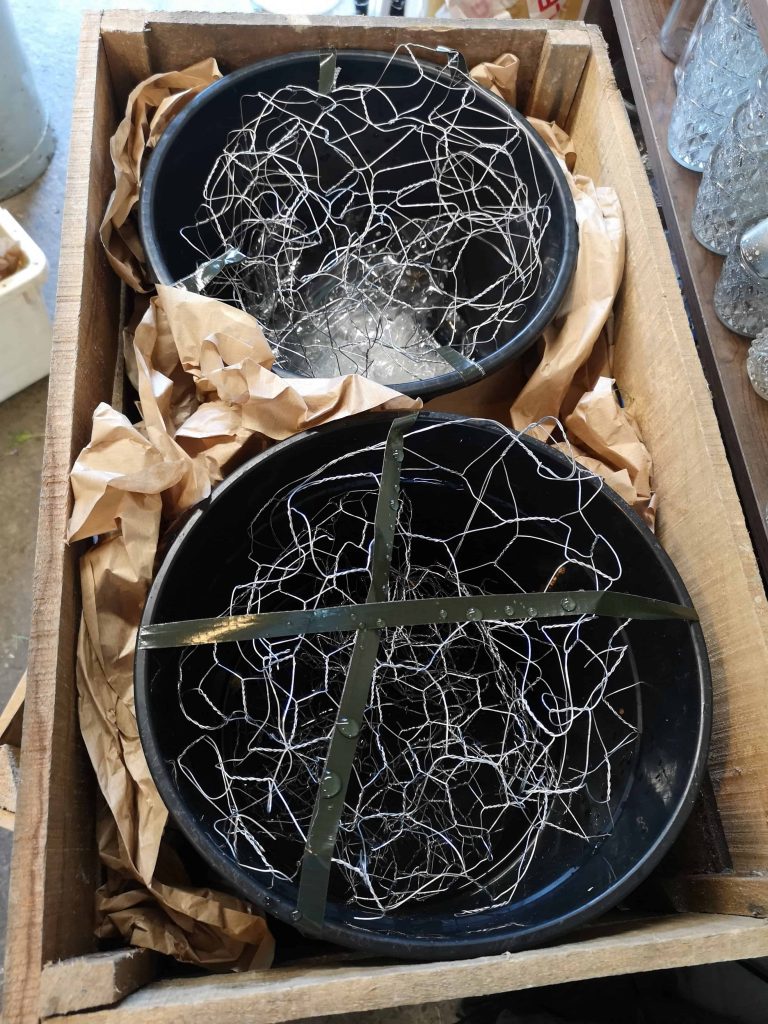
I used two florist black buckets (you know the ones that appear with your order sometimes? If not you can buy them easily) then scrunched up a ball of chickenwire and fixed to the sides of the bucket to ensure nothing fell out. I have to say that here I did use pot tape to secure, which is technically a plastic, you could probably use some kind of eco string instead though. These posts are very much me taking you on my journey of figuring out mechanics – not a polished course of foam free mechanics so forgive me if my methods aren’t “perfect” yet.

With the chickenwire, you need to scrunch into a kind of double layered ball – if there is only one layer then the stems will just flop over to the edges. Having two layers gives additional security and allows stems to be held at two points. This may not quite make sense in words but I’ll link back to a better photo when I have one!

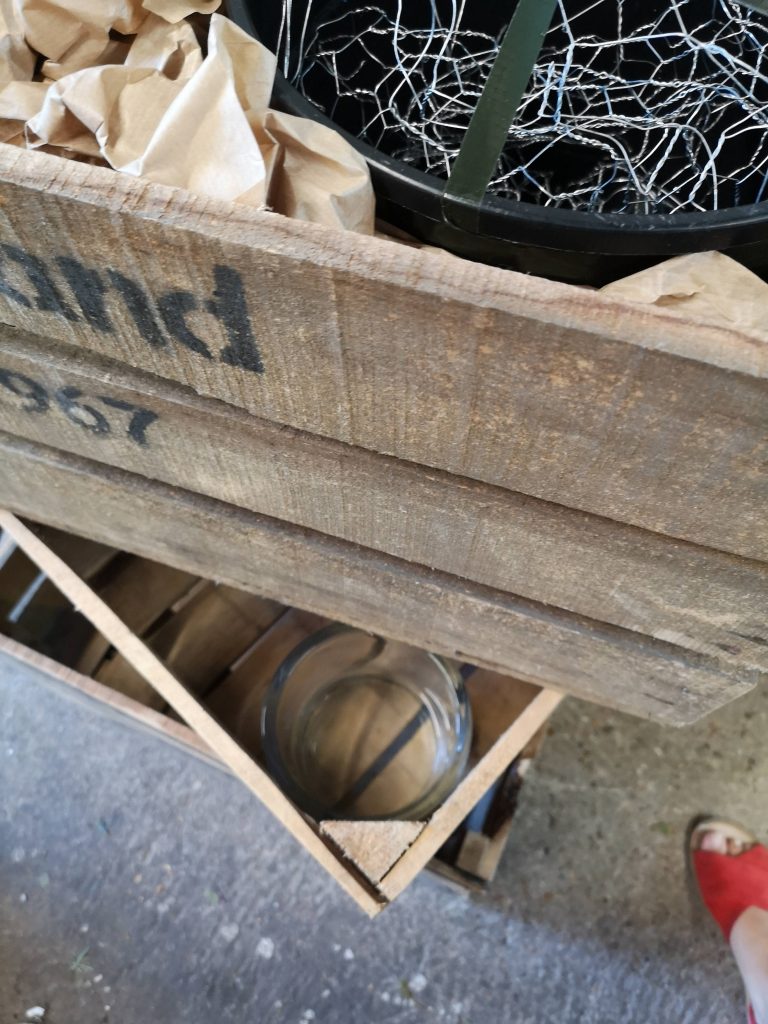
The lower two flower clusters are in little vases which I placed in the corner of the base and central crate before I put the next one on top at an angle. You don’t need chicken wire in these ones as the flowers are held up by the sides of the crate.

So there you have it! Pretty simple don’t you think? I’m hoping this will demystify the process to the florists who are so used to using foam that it seems challenging to move away and also to florists who are just starting out with their training. Colleges are still teaching with foam as the ‘best way’ so you might find yourself newly qualified and not really knowing what to do next if you aren’t keen on using foam.

Here is another post I wrote on working foam free where I include tips and pictures on making a candelabra.

Tune back in next Friday and I will (hopefully!) have another post for you with some more mechanics. Thanks for reading and have a great weekend everyone!